- 41 -
Setting TCP/IP Printing Settings
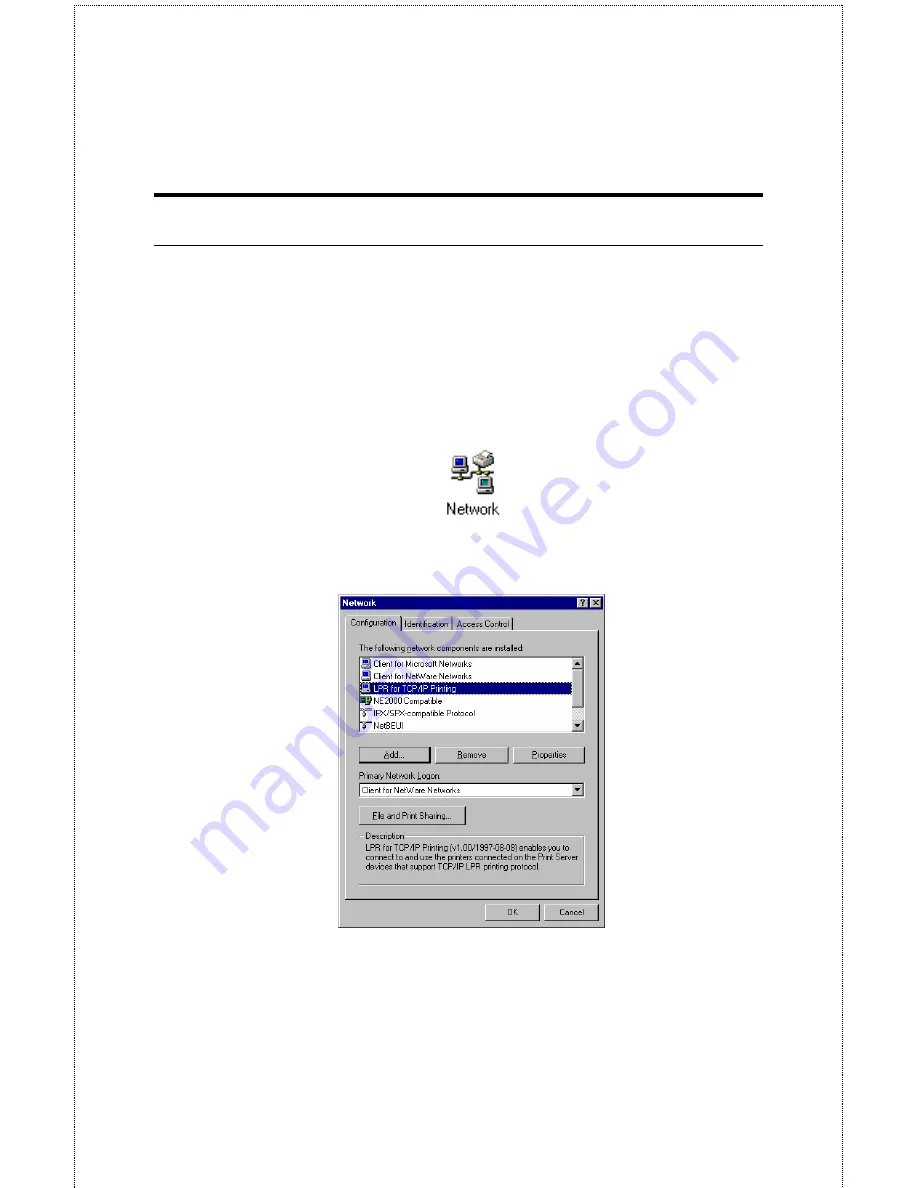
The lpr client’s Properties dialog allows you to change several of the
client’s settings. To change these settings,
1.
From the
Start
menu, choose the
Settings
submenu, then the
Control Panel
item within it. Windows will display the
Control Panel folder.
2.
Double-click on the
Network
icon in the Control Panel folder.
3.
Choose the LPR for TCP/IP Printing client and click the
Properties
button.
4.
Click on the Settings tab to access the lpr client settings.
Change the settings as necessary, and press
OK
to let the
changes take effect.
Содержание SP755C
Страница 27: ...27 Save to Print Server Please double check all the configurations and click Yes to save the settings...
Страница 30: ...30 Factory Reset Please click Yes to reload the factory settings of the print server...
Страница 32: ...32 About This screen displays the information of the print server...
Страница 44: ...44 Create a new Standard TCP IP Port Click Next...
Страница 46: ...46 Select LPR and put the Port name in the field labeled Queue Name Then Click OK Click Next...
Страница 48: ...48 Click Next Select a Printer Name...
Страница 49: ...49 Sharing can be enabled here Also a Test Page can be printed to confirm proper configuration...
Страница 50: ...50 When the Test Page has been printed click Finish to complete the installation...
Страница 52: ...52 Select Local Printer Create a new Standard TCP IP Port...
Страница 55: ...55 Click Next Click Finish...


