51
Step 3. Enter the web interface main screen
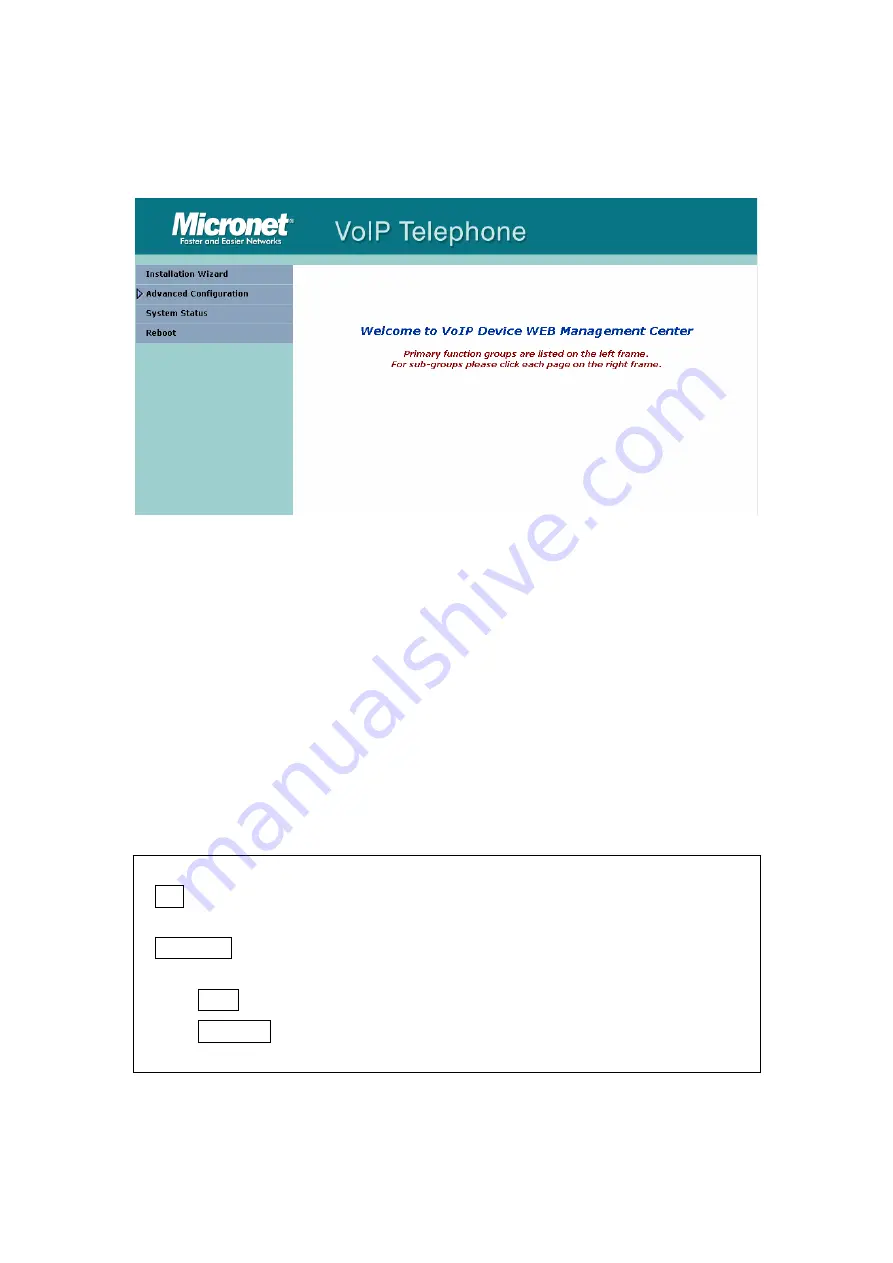
After enter login name and password, user can see web interface main screen
as below.
Step 4. Start to configure
After enter web management interface, user can see four main items.
1. Installation Wizard:
User can follow steps in wizard to make first-time
initial configuration.
2. Advanced Configuration:
This menu includes other advanced
configuration items. Please press triangle figure to list all items below
Advanced Configuration.
3. System Status:
User can check SIP Phone current status here.
4. Reboot:
After make any change, user has to reboot SIP Phone to apply
change.
Button Definition:
1.
OK
: After change or input any parameter, press this button will save data
into SIP Phone.
2.
CANCEL
: Press this button will clean data input by user and restore to
original data.
(A)
ADD
: Add a new data.
(B)
DELETE
: Delete a specific data according to index number.
Содержание SP5102
Страница 7: ...6 Support QoS to ensure voice quality Cost effective suitable for pure VoIP environment ...
Страница 8: ...7 1 3 Telephone Appearance Front View Bottom shell ...
Страница 9: ...8 ...
Страница 42: ...41 3 8 Reboot OK Reboot Please Wait ...
Страница 75: ...74 5 5 System Status 5 5 1 Network Status Display all current network status of SIP Phone ...
Страница 76: ...75 5 5 2 Version Information Display software version ...
Страница 80: ...79 6 2 quit command Type quit exit close will logout SIP Phone SP5102 and Telnet Program ...
Страница 82: ...81 6 4 reboot command After typing commit command type reboot to restart the SIP Phone SP5102 ...
Страница 84: ...83 6 6 commit command Save any changes after configuring the SIP Phone SP5102 ...
Страница 92: ...91 ...
Страница 94: ...93 ...
Страница 100: ...99 ...


