#endif
/* Initialize serial console */
serial_console_init();
/* Hardware timer */
hw_timer_init();
/* button initialization */
button_init();
hw_timer_register_callback(timer_callback_fn);
DBG_LOG("Initializing BLE Application");
/* initialize the BLE chip and Set the Device Address */
ble_device_init(NULL);
/* Register ATBTLC1000 Callbacks */
register_btlc1000_callbacks();
/* Custom service init */
custom_environment_service_init ( ) ;
/* Register Gatt server callbacks */
register_gatt_server_callbacks ( ) ;
/* Start Advertising process */
start_advertisement();
while(true)
{
ble_event_task();
}
}
9.
Click "
" to save the project <Ctrl+S>.
10. Compile the project by pressing "
" button <F7>.
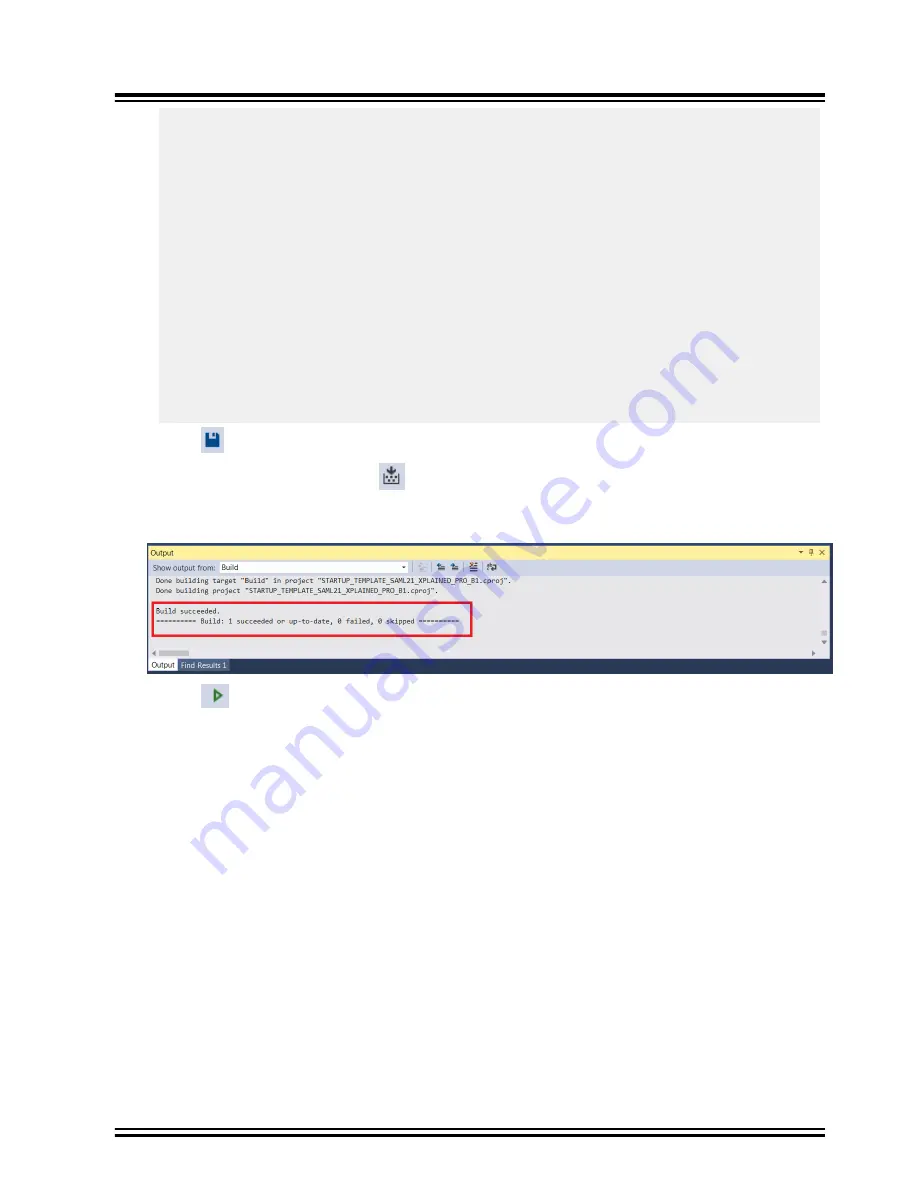
11. Verify that no build error appears in the Atmel Studio output window.
Figure 5-3. Atmel Studio Output Window
12. Click "
" to program the project binary on the SAM L21 Xplained Pro. <Ctrl+Alt+F5>.
13. Open the “Microchip SmartConnect” application on Android or iOS device.
14. Connect and pair to the peripheral (pass key: 123456).
15. Custom service must now be visible after pairing with peripheral under "Microchip SmartConnect"
application.
ATBTLC1000
Setting up and Handling Custom Service
©
2017 Microchip Technology Inc.
Training Manual
DS00002599A-page 41


