


P 9
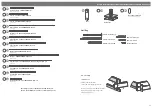
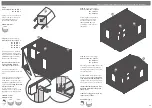
Please retain product label and instructions for future reference
Pre drill
hole
70mm
screw
20
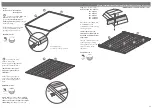
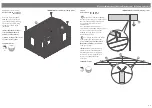
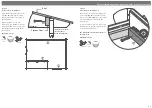
Step 13
(See Pre-Assembly)
Parts needed - No. 20 QTY 1
Place the second Log Board
(No. 20)
above the doors as
shown in the illustration, fixing
the board into position through
each notch with 2x70mm
screws.
*Ensure that the boards are
level and flush with each
other as you lay each one.
**Ensure to stagger the screws
to ensure not to collide.
2x70mm Screws
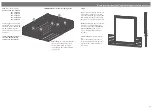
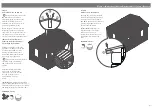
5b
4c
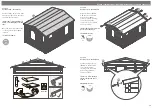
Step 14
(See Pre-Assembly)
Parts needed - No. 4c QTY 1
No 5b QTY 1
Part
No’s. 4c & 5b)
are the second
boards from the gable
only
(
gable is un-fixed for assembly
purposes
) rest these into
position and secure through
the notches in the board.
*Ensure that the boards are
level and flush with each
other as you lay each one.
**Ensure to stagger the screws
to ensure not to collide.
4x70mm Screws
Pre drill
hole
70mm
screw
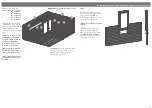
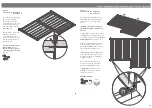
21
Step 15
(See Pre-Assembly)
Parts needed - No. 21 QTY 1
Keep adding the remaining
boards onto the front and
gables following the same
method outlined in the
previous steps.
*Ensure that the boards are
level and flush with each
other as you lay each one.
**Ensure to stagger the screws
to ensure not to collide.
2x70mm Screws
Pre drill
hole
70mm
screw
IMPORTANT:
Pre-drill before fixing screws.
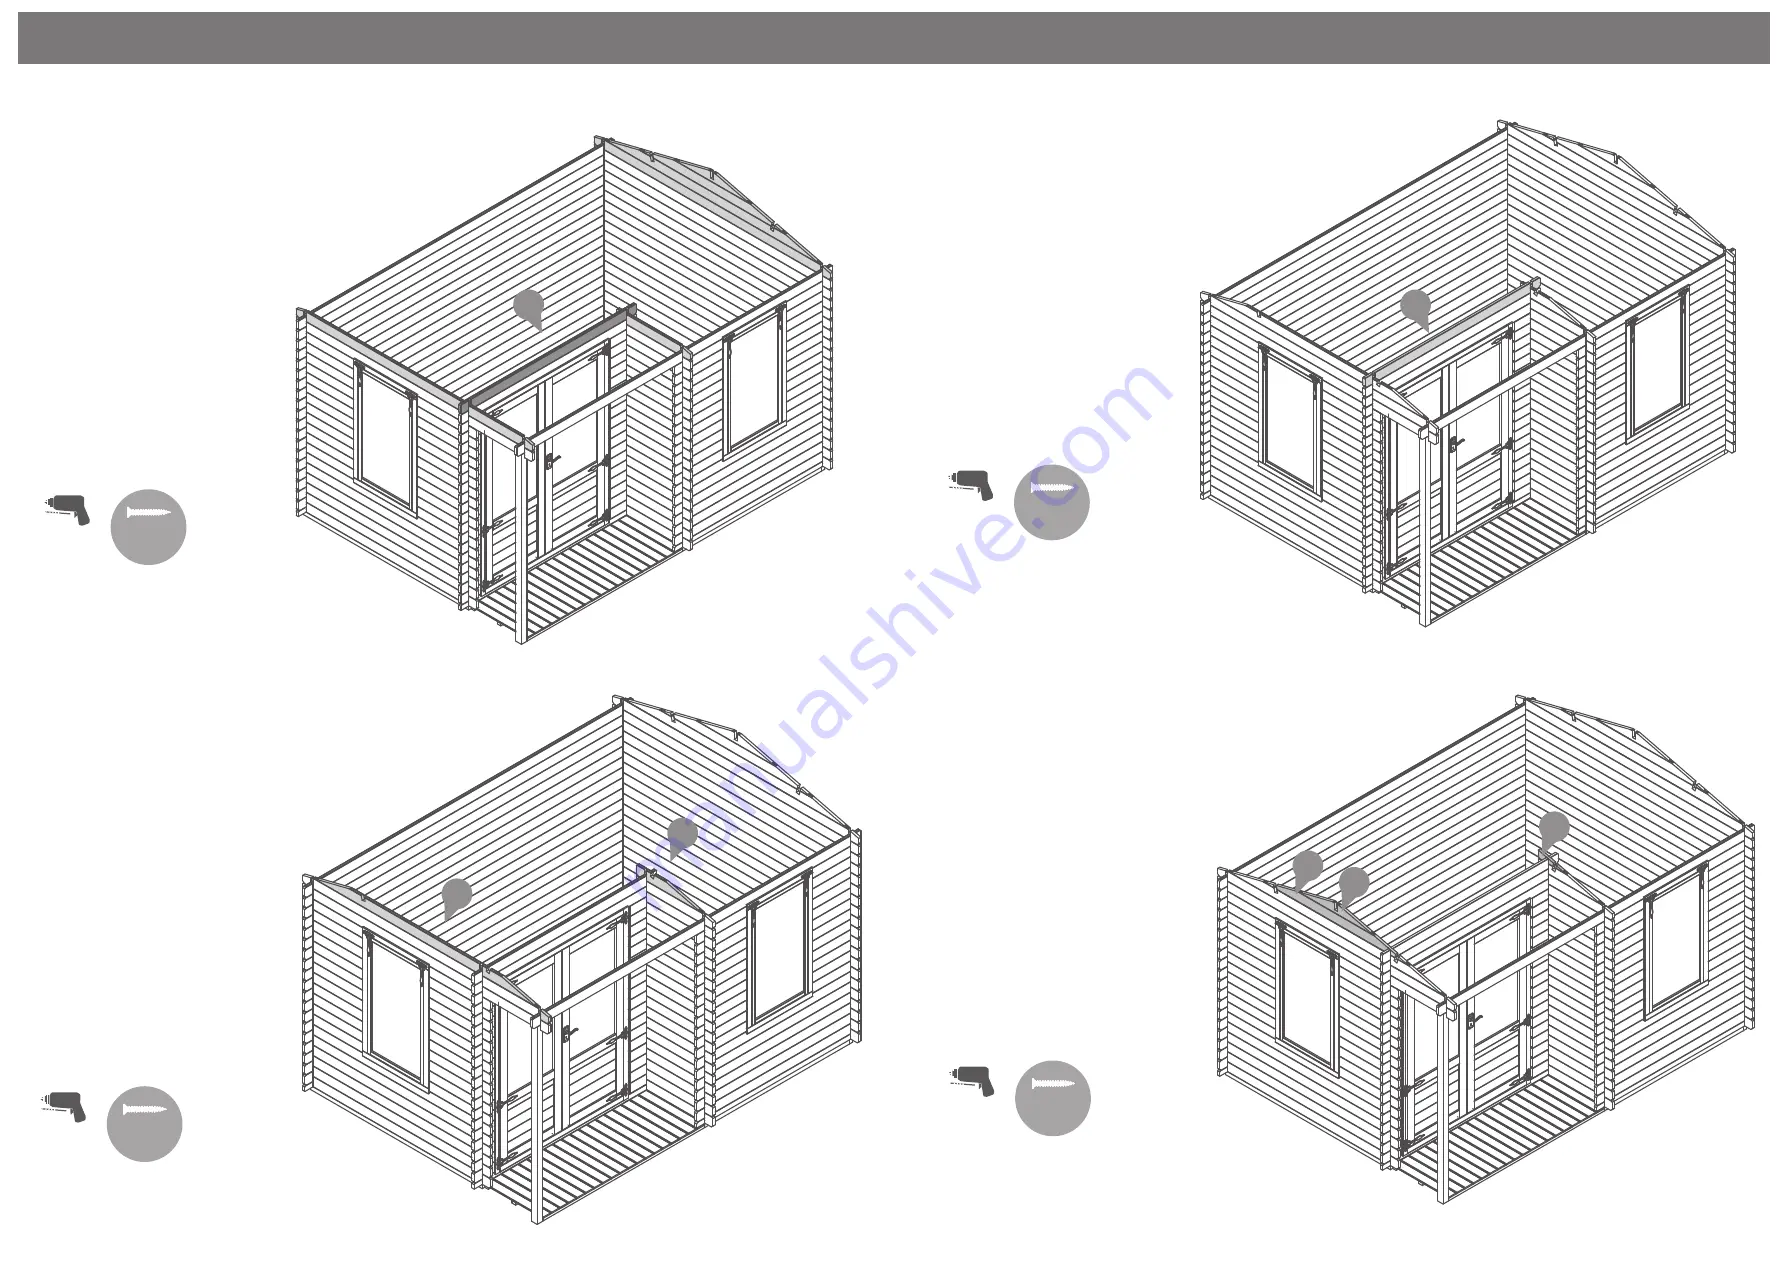
Step 16
(See Pre-Assembly)
Parts needed - No. 4a QTY 1
No 4b QTY 1
No. 5a QTY 1
Parts
No. 4a, 4b & 5a
are the last
log boards from the gables; rest
these into position and secure
through the notches in the board.
*Ensure that the boards are
level and flush with each other
as you lay each one.
**Ensure to stagger the screws
to ensure not to collide.
2x70mm Screws
Pre drill
hole
70mm
screw
4b
4a
5a
IMPORTANT:
Pre-drill before fixing screws.
IMPORTANT:
Pre-drill before fixing screws.
IMPORTANT:
Pre-drill before fixing screws.


