


P 8
Please retain product label and instructions for future reference
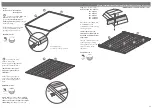
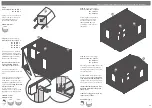
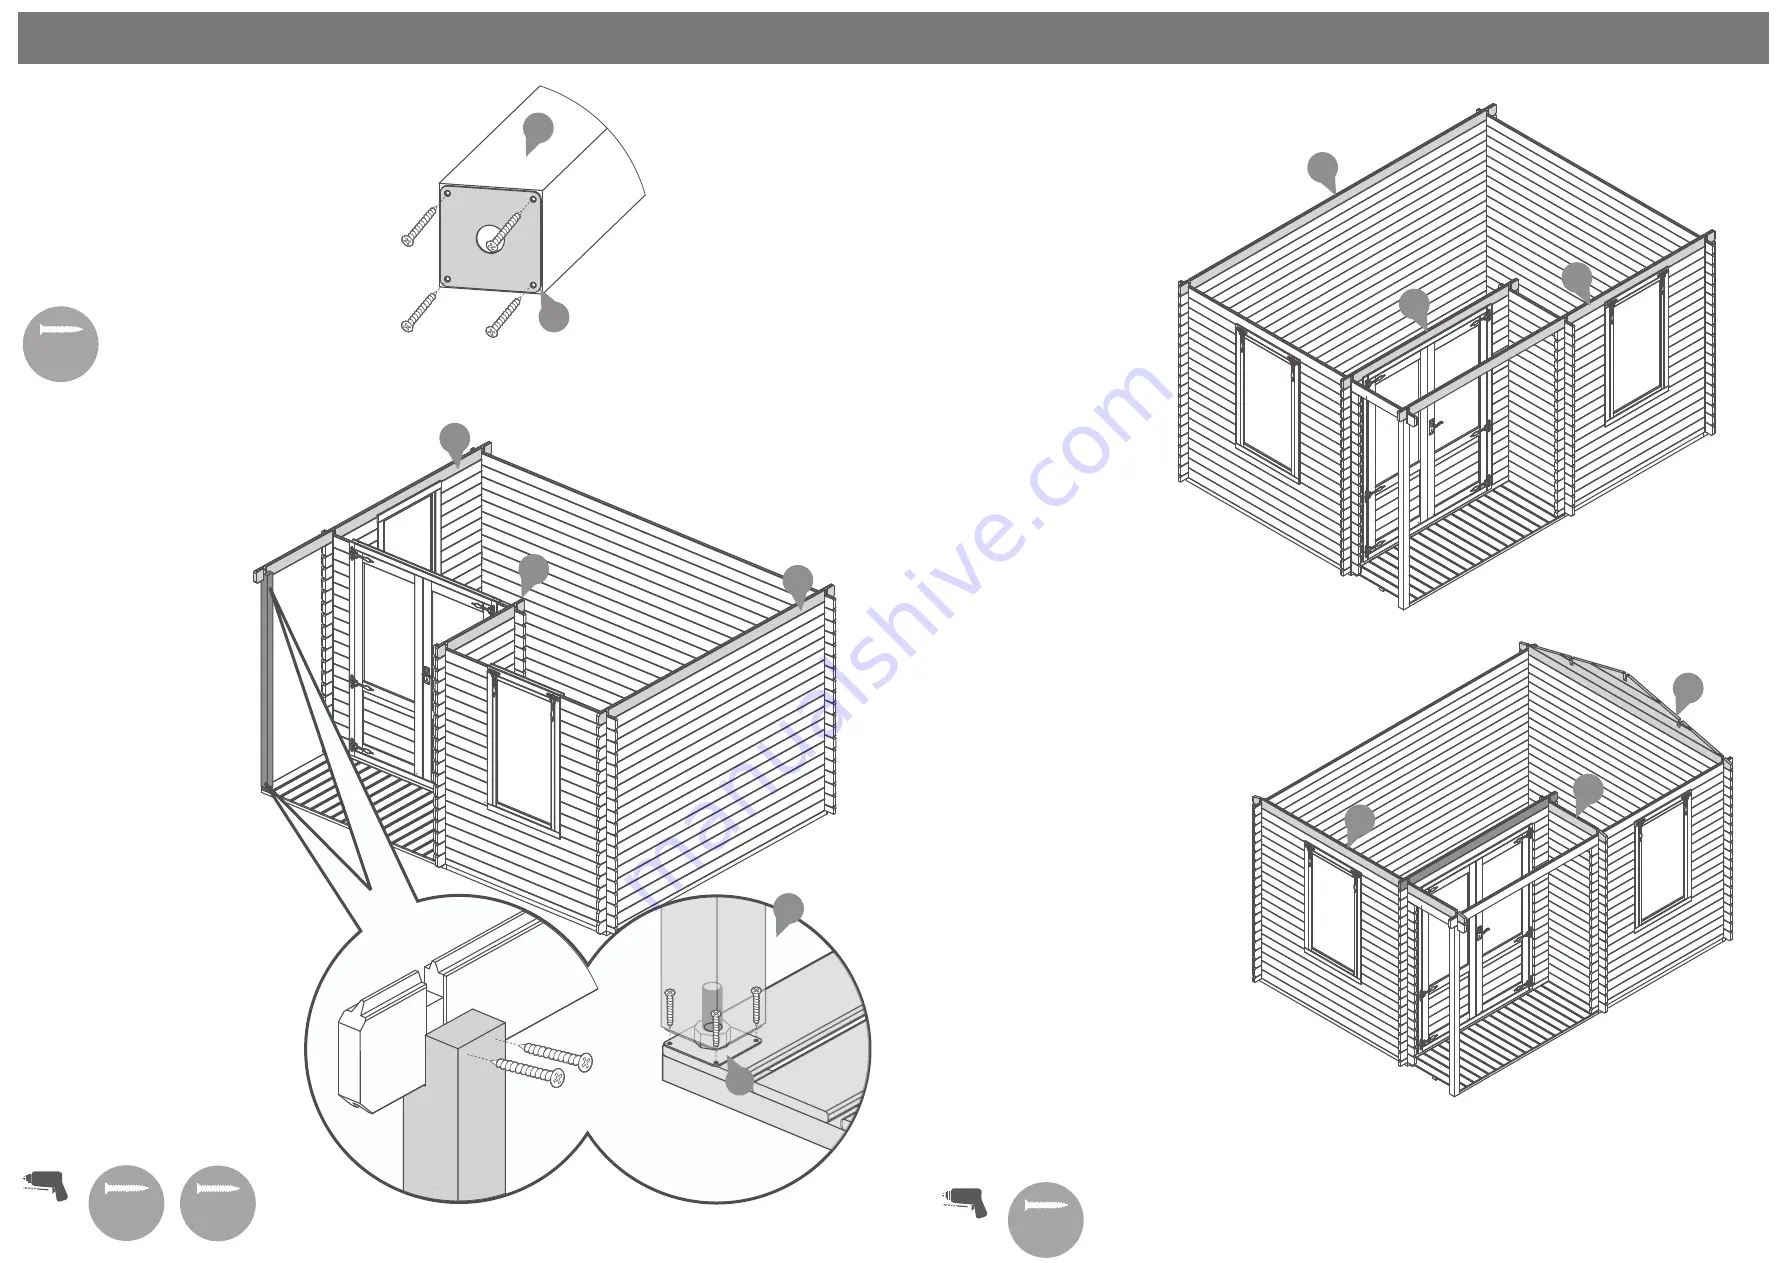
Step 12
(See Pre-Assembly)
Parts needed - No. 3 QTY 1
No. 4d QTY 1
No. 5c QTY 1
Place the gable top (
No. 3
) onto the
assembly and fix into position by
screwing through the notches into
the boards below.
Part
No’s. 4d & 5c
are the bottom
boards from the gable
only
(
gable
is un-fixed for assembly purposes
)
rest these into position and secure
through the notches in the board.
*Ensure that the boards are level
and flush with each other as you
lay each one.
**Ensure to stagger the screws to
ensure not to collide.
6x70mm Screws
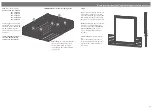
Step 10
(See Pre-Assembly)
Parts needed - No. 11 QTY 1
No. 12 QTY 1
No. 22 QTY 1
No. 25 QTY 1
No. 39 QTY 1
Following the same method
outlined in
Pre-Assembly
, lay
the next three boards (
No’s. 11,
12 & 22
) onto the assembly as
shown in the illustration.
*Ensure that the boards are
level and flush with each
other as you lay each one.
Fix each board to the one
below using 1x70mm screw per
side.
Fix the bottom part of the Post
Plate
(No. 39)
to the veranda
using 10mm screws. Place the
Veranda Post
(No. 25)
onto the
protruding (
ensuring the board
sits into the notch
).
Secure into place using
2x70mm screws at the top and
adjust the nut to suit the post.
8x70mm Screws
4x10mm Screw
Pre drill
hole
70mm
screw
10mm
screw
13
36
14
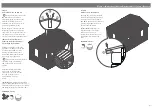
Step 11
(See Pre-Assembly)
Parts needed - No. 13 QTY 1
No. 14 QTY 1
No. 36 QTY 1
Following the same method
outlined in
Pre-Assembly
,
fix the next three boards
(
No’s. 13, 14 & 36
) onto
assembly as shown in the
illustration.
3
5c
4d
Pre drill
hole
70mm
screw
22
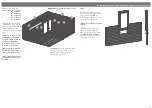
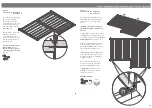
Step 9
Parts needed - No. 39 QTY 1
No. 25 QTY 1
Fix the top section of the post
plate to the base of the post
using 4x40mm screws as
shown in the illustration.
4x40mm Screws
25
12
11
39
25
39
40mm
screw


