


P 14
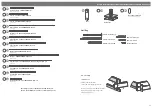
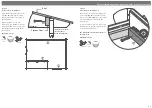
Please retain product label and instructions for future reference
HANDLE
WITH CARE
1
2
3
4
Felt
tacks
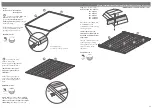
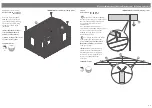
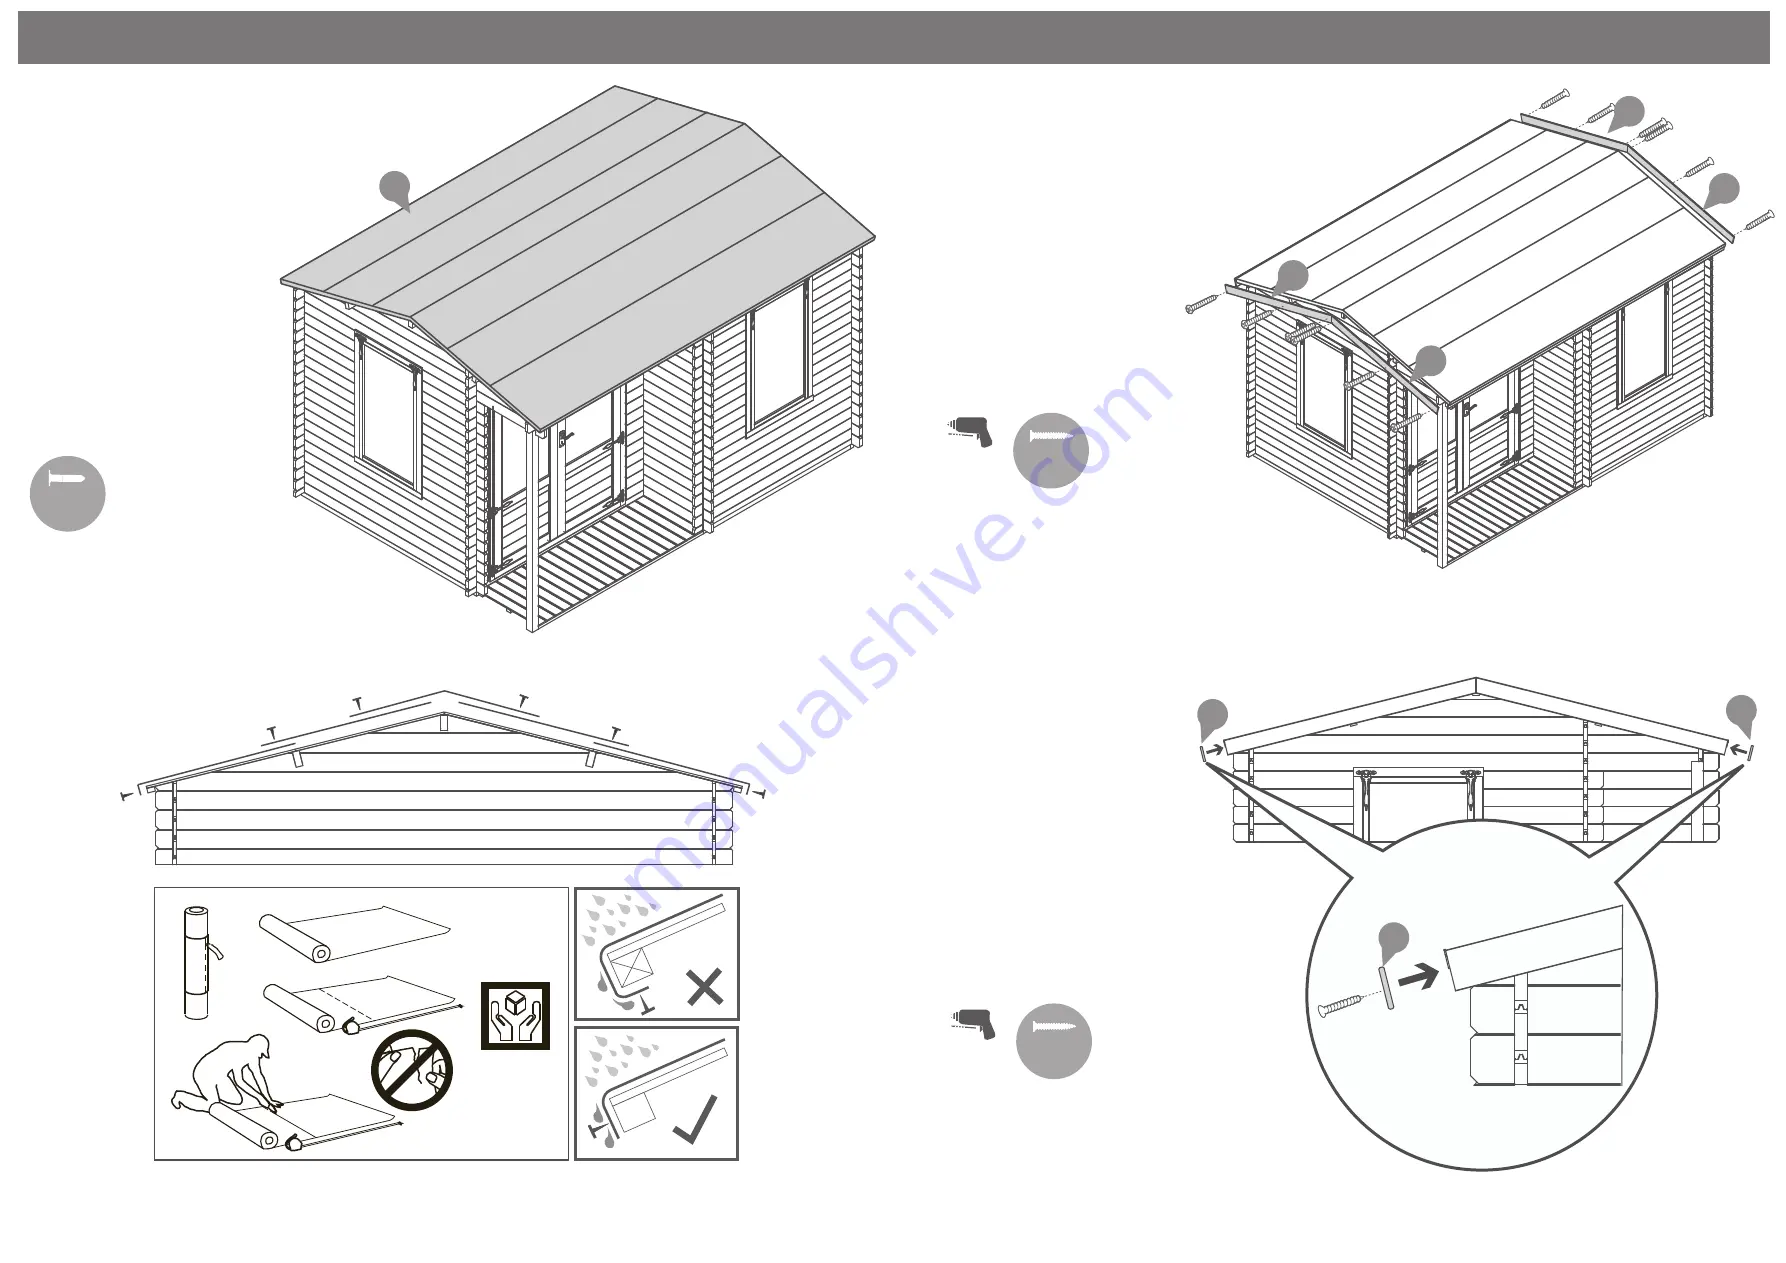
Step 25
Parts needed - No. 38 QTY 1
Cut the felt (No. 38) into five strips
and lay onto the roof in the order
shown in the illustration.
*Ensure there is approximately
50mm of overhanging felt each
side.
Once the felt is laid out fix to the
roof using felt tacks at 100mm
intervals.
*Felt size: 4130mm
1.
2.
3.
4.
5.
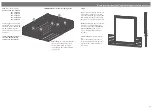
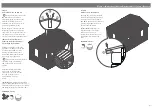
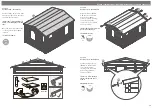
Step 26
Parts needed - No. 26 QTY 4
Align the fascia’s (
No. 26
)
with the roof and fix into
place using 3x40mm
screws per fascia, making
to screw through the
fascia into the roof purlins
and eaves frame..
*Ensure the angled cuts meet
at the top of the apex.
12x40mm Screws
Pre drill
hole
40mm
screw
26
26
26
26
27
27
32
27
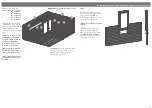
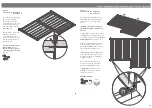
Step 27
Parts needed - No. 27 QTY 2
Fix the two larger fascia’s
(
No. 27
) to the front and
rear of the building,
securing each fascia into
place using 10x40mm
screws per fascia.
*Ensure to screw through
the fascia into the eaves
frames.
20x40mm Screws
Pre drill
hole
40mm
screw
38


