Maintenance
Page 42
4.4
Installing or Removing Plug-In Boards
4.4.1
Installing a Plug-In Board
»
Make sure that you insert the assembly into the correct slot.
-
The slots for the PSUs are marked by gray guide rails.
-
The CPU board must be inserted into the system slot.
Note: The system slot has red guide rails and is marked by a triangle next to the fixing
screw:
»
Insert the assembly into the guide rails. Make sure that the board is exactly situated
in the top and the bottom guide rail.
»
Slide the assembly into the slot until you notice a resistance.
»
Firmly press the assembly into the slot until the board’s front panel is smoothly
aligned to the neighboring front panels.
»
If the board has an ejector: Turn the ejector up until it clicks into place.
»
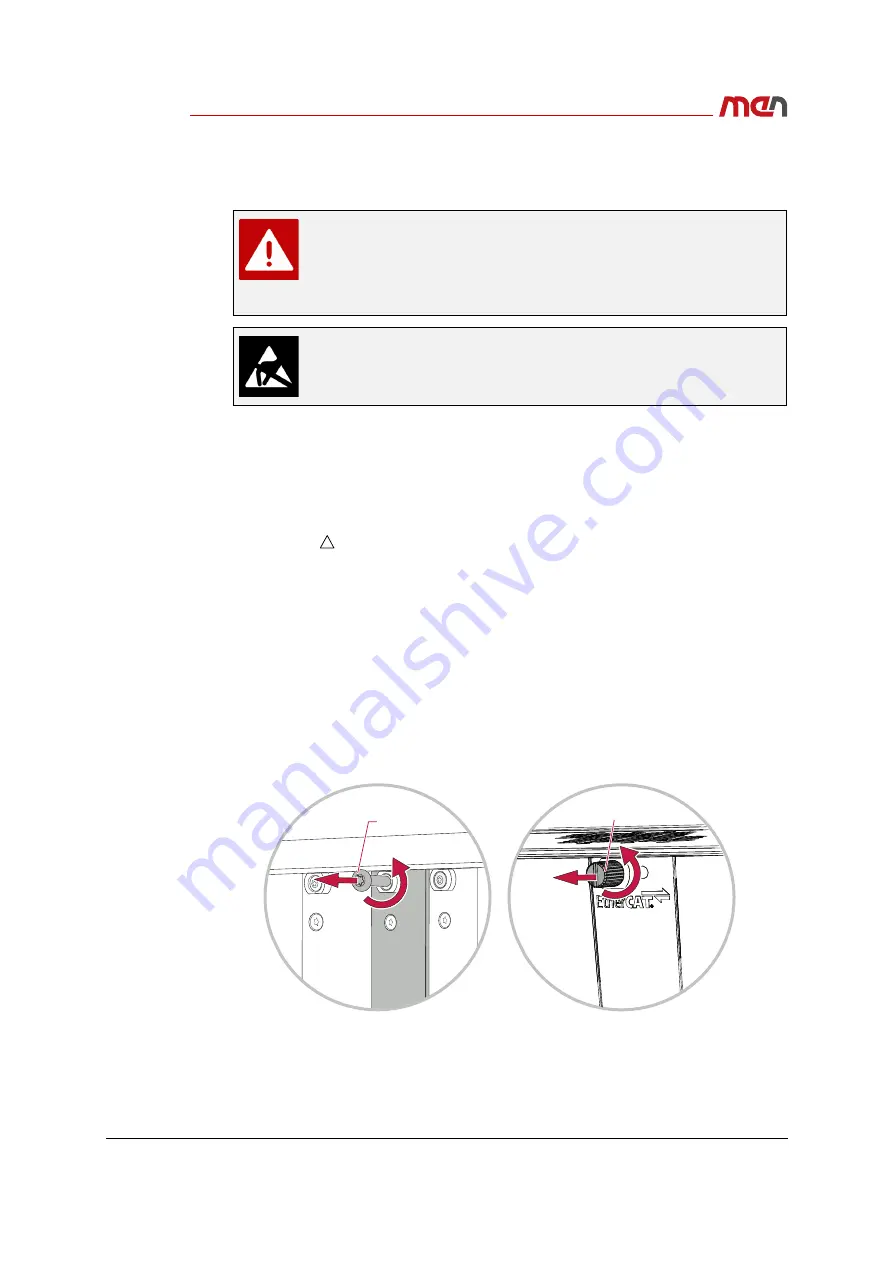
Fasten the fixing screws (tightening torque: 0.3 Nm).
4.4.2
Removing a Plug-In Board
»
Loosen the fixing screws of the assembly you want to remove.
If the board has an ejector:
»
Press down the red switch on the ejector.
Works on the computer system may only be carried out by personnel
qualified for the specific task, who, based on their training and
experience, are able to identify risks and avoid potential hazards when
working with these products/systems.
Always power off the system before removing plug-in cards.
Observe the instructions concerning electrostatic discharge listed in
Chapter Electrostatic Discharge (ESD) when you carry out works on the
computer system.
Fixing screw
Fixing screw
(knurled-head screw)

