19
English
18
Note: With the Left Mouse button, click on the video thumbnail of your choice while
holding the button down, you may drag the selected thumbnail around your project work
area to avoid key or special areas (like peoples faces or various items) of your custom
background picture if you have chosen one.
8. You can use the on-screen remote control to move around the menu, e.g., to
view the videos as they will appear once the DVD-Video disc has been made.
Click on "Preview Menu Animation" button to see how the animated buttons or
Motion menu background will look if you chose those options or Click the
"Next" button to proceed to the next window.
Before burning the disc, make the final settings then click Burn to continue.
Burn to: Select the Memorex DVD recorder from the list of connected recorders.
Write to Hard Disk Folder: If you do not want to burn the project (yet) but you
want to save it to the hard disk instead, click on this button to open up a window
where you can select the location you to which you can save it.
Volume Name: Change the name of the disc if you wish to do so.
Recording Settings: Depending on the selected destination recorder, you can
adjust the recording settings, e.g., to select the burn speed or set the Book Type
to DVD-ROM for better player compatibility.
To Improve DVD Playback Compatibility: Various older generation DVD drives
and Home DVD players, particularly older players, do not recognize DVD+R, +RW
or +R DL recorded discs and may not read or play them.
It is possible to get these devices to recognize and play these discs by changing the
type code setting of the disc from a DVD+R, +RW or +R DL disc to a “DVD-ROM”
disc so that the drives and players treat them just as regular DVDs. The Memorex
version of Nero software provides an option of changing the disc media type code,
known as the Booktype Bitsetting.
The Nero software and your drive are set to the “Automatic” setting by default. In
order to improve the DVD playback and overall compatibility, choose the “DVD-
ROM” setting.
Places to make the change: Open the Nero Toolkit menu and select Nero CD-DVD
Speed, the “Bitsetting” option appears under the “Extra” menu. Nero Express has
this option under the "Options" button on the “Final Burn Settings” screen.
NeroVision Express has the option under the "Recording Settings" button on the
“Burn Options” screen.
For more details on this subject, please click on the Memorex FAQs button in the
StartSmart menu under the Nero Toolkit area to visit our online FAQs area.
Note: Clicking on the "More" button expands the burning window and offers addition-
al setting options, such as selection of the coding quality and the aspect ratio of the
video.
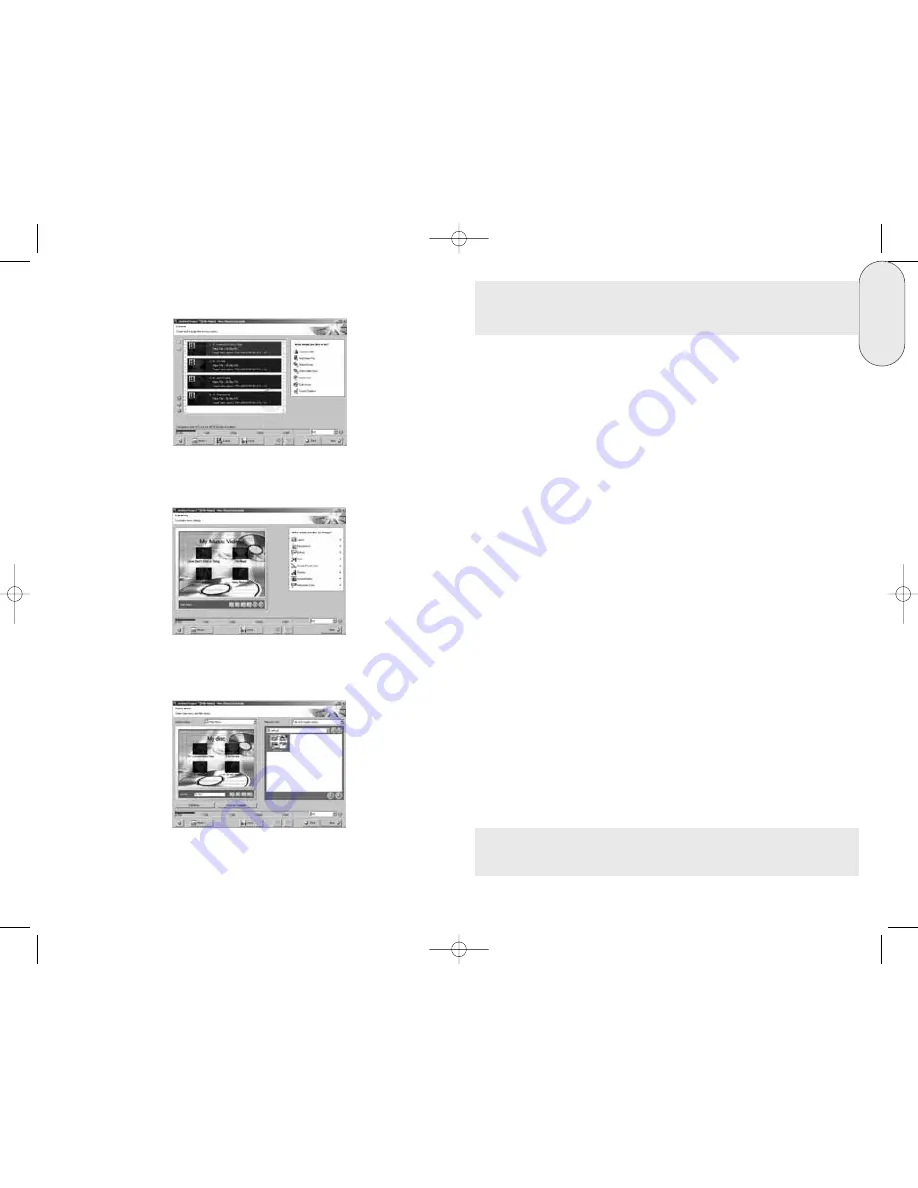
5. All selected files appear in the compilation window. Click on the "Next" button
to create the menu.
6. Select your Menu by choosing one of the available templates on the right then
click on the "Edit Menu" button to adjust the template for your needs.
7. Make the desired changes to the DVD menu by highlighting the individual
menu items with the mouse and selecting the desired option. Click on the
"Next" button to go back to the Select Menu window.
Click on the "Next" button to proceed to the Preview window.
32023220_SG 050207.qxp:32023292_QIG_LO.qxp 8/3/07 11:48 AM Page 18


