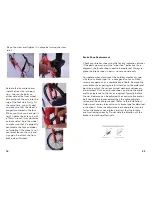


Storage
Protect your bicycle from the elements by storing it in a dry,
shady location. Prolonged ultra violet light exposure may
cause the paint to fade or the rubber and plastic parts to
crack. The bicycle should be cleaned, lubricated and the
frame waxed if it is to be stored for any length of time. De-
fl ate the tires to half pressure and hang the bicycle off the
ground. Store away from electric motors as ozone emissions
may damage the rubber and paint. Do not cover with plas-
tic as rusting may occur due to “sweating.”
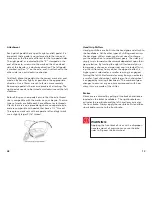
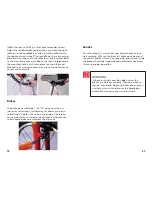
Security
In an attempt to prevent your bicycle from being stolen the
following precautions should be undertaken.
1. Take note of the bicycle serial number, generally located
underneath the bottom bracket of the frame.
2. Register the bicycle with the manufacturer/distributor
and local police
3. If your bicycle is left unattended, always secure it to an
immovable object, such as a lamp post. Use a high qual-
ity bicycle lock that will resist hack saws and bolt cutters.
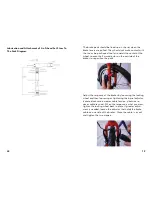
Regular and proper upkeep of your new bike means:
• Smooth
Running
• Longer lasting components
• Safer
Riding
• Cost
savings
•
Routine bicycle maintenance is an essential component of
riding. The condition of your bicycle changes every time
it is used, meaning more frequent maintenance is neces-
sary the more you ride your bicycle. The tables listed below
outline the recommendations for servicing your bicycle. By
referring to these you should be able to complete most of
your bicycle maintenance yourself. Contact your specialist
bicycle dealer if you require further assistance.
26
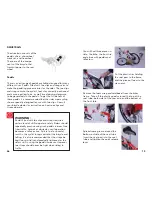
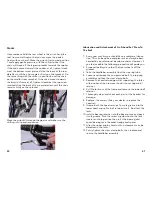
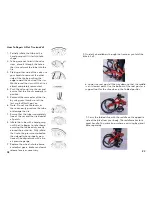
Hub Bearing Adjustment
The hub bearings of both wheels should be inspected for
side movement. Adjustment is required if there is any more
than slight lateral movement.
To adjust
:
1. Remove the wheel from the bicycle.
2. Use a fl at, open ended cone spanner to hold the adjust-
ing cone of the hub and simultaneously loosen the hub’s
locknut on the same side.
3. Turn the adjusting cone as required until there is minimal
side play, and before binding of the bearings occurs.
4. Hold the adjusting cone in position and secure the lock-
nut.
5. Test that the wheel spins freely without excessive lateral
movement, or binding on the bearings.
35