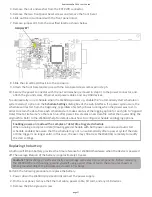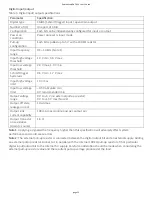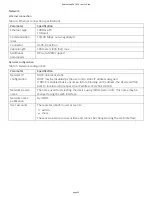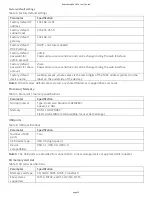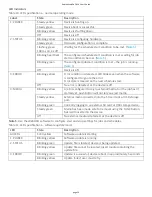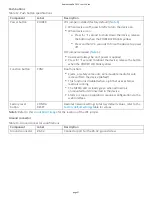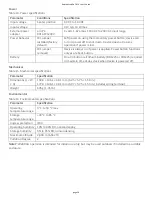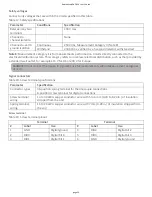
4. Remove the nut and washer from the EXT PWR connector.
5. Remove the two front panel bezel screws and remove the front bezel.
6. Slide out the circuit board with the front panel intact.
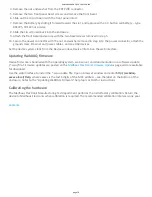
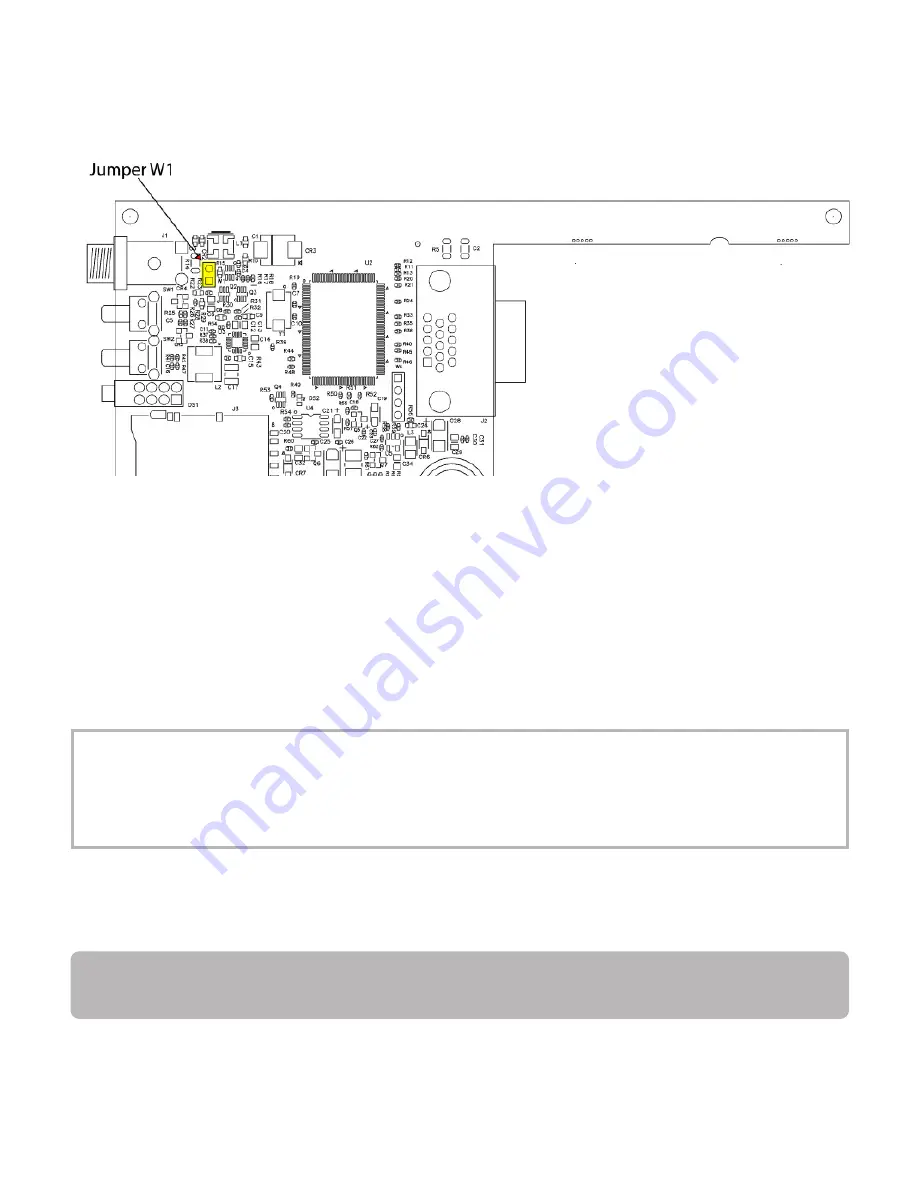
7. Remove jumper W1 from the specified loca on shown below.
8. Slide the circuit board back into the enclosure.
9. A ach the front bezel and secure with the two bezel screws removed in step 5.
10. Secure the power connector with the nut and washer (removed in step 4) to the power connector, and
a ach the ground screw, Ethernet and power cables, and any USB devices.
To automa cally run a schedule when the WebDAQ powers up, enable the "Automa cally start schedule on
system startup" op on on the Schedule Se ngs dialog box of the web interface. If a power cycle occurs, the
schedule will restart from the beginning, regardless of which job was running when the power was lost. In
order to retain the data from each schedule start, make sure to set the logging op on for each job to "Append
Date/Time to File Name" so that each run a er power loss creates a new data file rather than overwri ng the
original file. Refer to the WebDAQ help for details about how to configure schedule and logging op ons.
Enabling power-on mode with a complex or date/ me triggered schedule
When running a complex or date/ me-triggered schedule with both power-on mode and auto start
schedule enabled, be aware that the schedule may not run automa cally a er a power cycle if the date
or me trigger is no longer valid. In this case, the user may s ll access the WebDAQ remotely to modify
the start se ngs.
Replacing the ba ery
A bu on cell lithium ba ery provides the me reference for WebDAQ hardware when the device is powered
off. The average lifespan of the ba ery is approximately 10 years.
Cau on! The discharge of sta c electricity can damage some electronic components. Before removing
the WebDAQ from its housing, ground yourself using a wrist strap or touch the computer chassis or
other grounded object to eliminate any stored sta c charge.
Perform the following procedure to replace the ba ery.
1. Power down the WebDAQ device and disconnect the power supply.
2. On the rear panel, remove the Ethernet cable, power cable, SD card, and any USB devices.
3. Remove the #6-32 ground screw.
RedLab WebDAQ 316 User's Guide
page 17


