Page 16
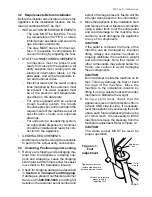
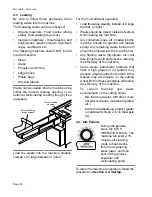
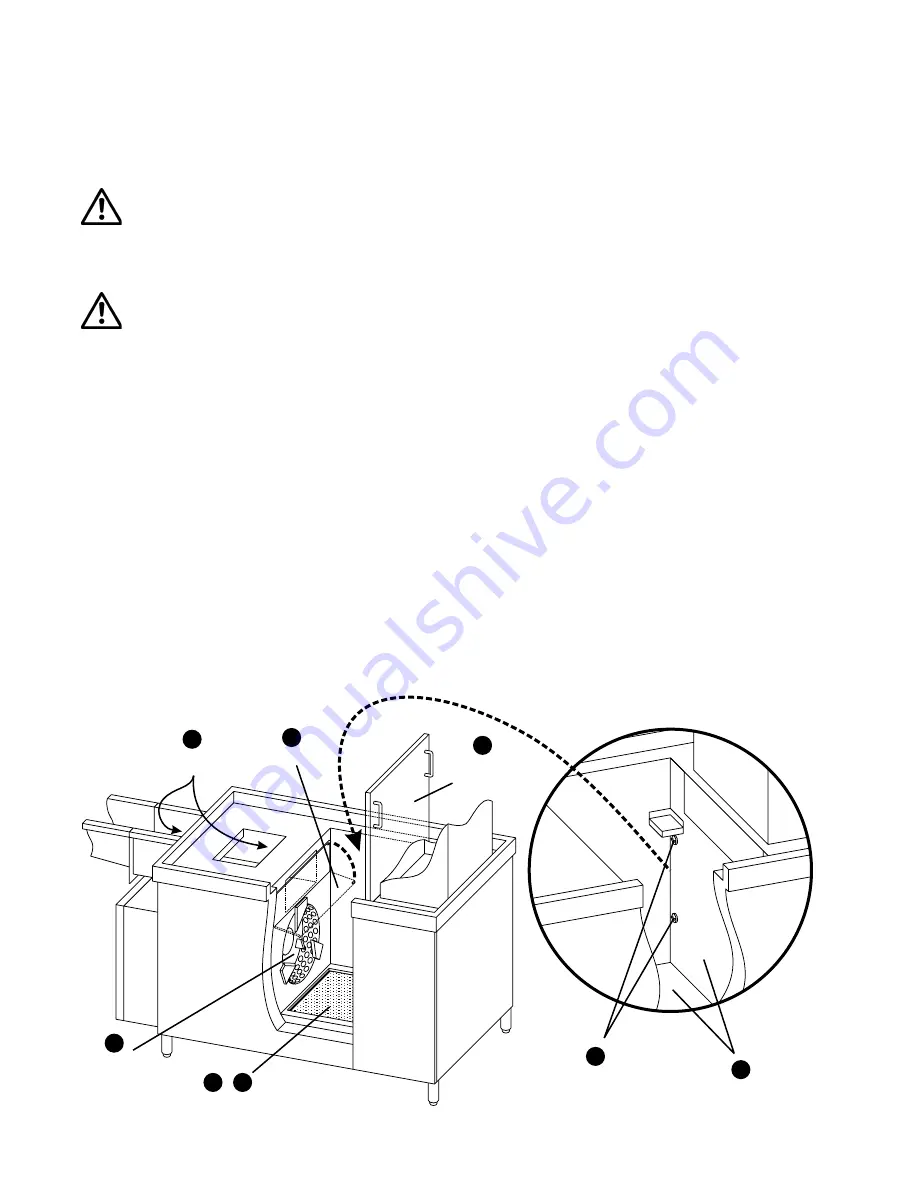
Open tank
access door
Flush chute
towards tank
2
Lift flap
Remove and clean scrap basket
3
1
4 5
-
Flush
cutting
wheel
6
Clean tank
interior
7
Clean level
sensors
(2)
8
S
ECTION
5 - C
LEANING
5
C
LEANING
For proper operation and effective cleaning,
the dishwasher should be cleaned regularly
as described below.
WARNING!
Before ANY cleaning, check that the
circuit breaker/fused disconnect is in
the OFF position and that the unit is
switched off.
WARNING!
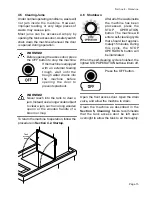
Open the drain valve and allow the tank
to drain completely before cleaning.
CAUTION
Never use a high-pressure water spray when
cleaning the machine.
IMPORTANT
For easier cleaning, always allow the
machine’s self-cleaning rinse to finish before
shutting down the machine.
5.1 Daily or As Required
The following cleaning procedures should be
performed at LEAST once per day at the end
of operation. Depending on the type of waste
being processed and the amount of buildup
on the cutting wheel, it may be necessary to
perform these steps on a more frequent basis.
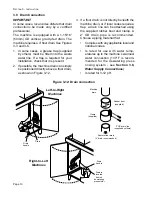
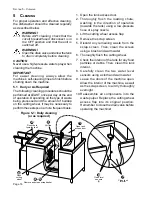
1. Open the tank access door.
2. Thoroughly flush the loading chute,
washing in the direction of operation
(towards the tank) using a low-pressure
hose or spray nozzle.
3. Lift the cutting wheel access flap.
4. Remove the scrap screen.
5. Discard any remaining waste from the
scrap screen. Then, clean the screen
using a brush and warm water.
6. Thoroughly flush the cutting wheel.
7. Check the interior of the tank for any food
particles or debris. Then, clean the tank
interior.
8. Carefully clean the two water level
sensors using a cloth and warm water.
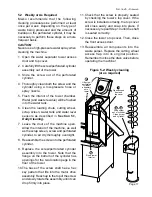
9. Leave the doors of the machine open.
Allow the interior of the machine, as well
as the scrap screen, to air dry thoroughly
overnight.
10.Reassemble all components into the
waste pulper. Replace the cutting wheel
access flap into its original position.
Remember to close the drain valve before
operating the machine!
Figure 5-1: Daily cleaning
(or as required)

