background image

Kessy


Prog.


Operation


manual


9

‐ 

3.6.  Settings function 

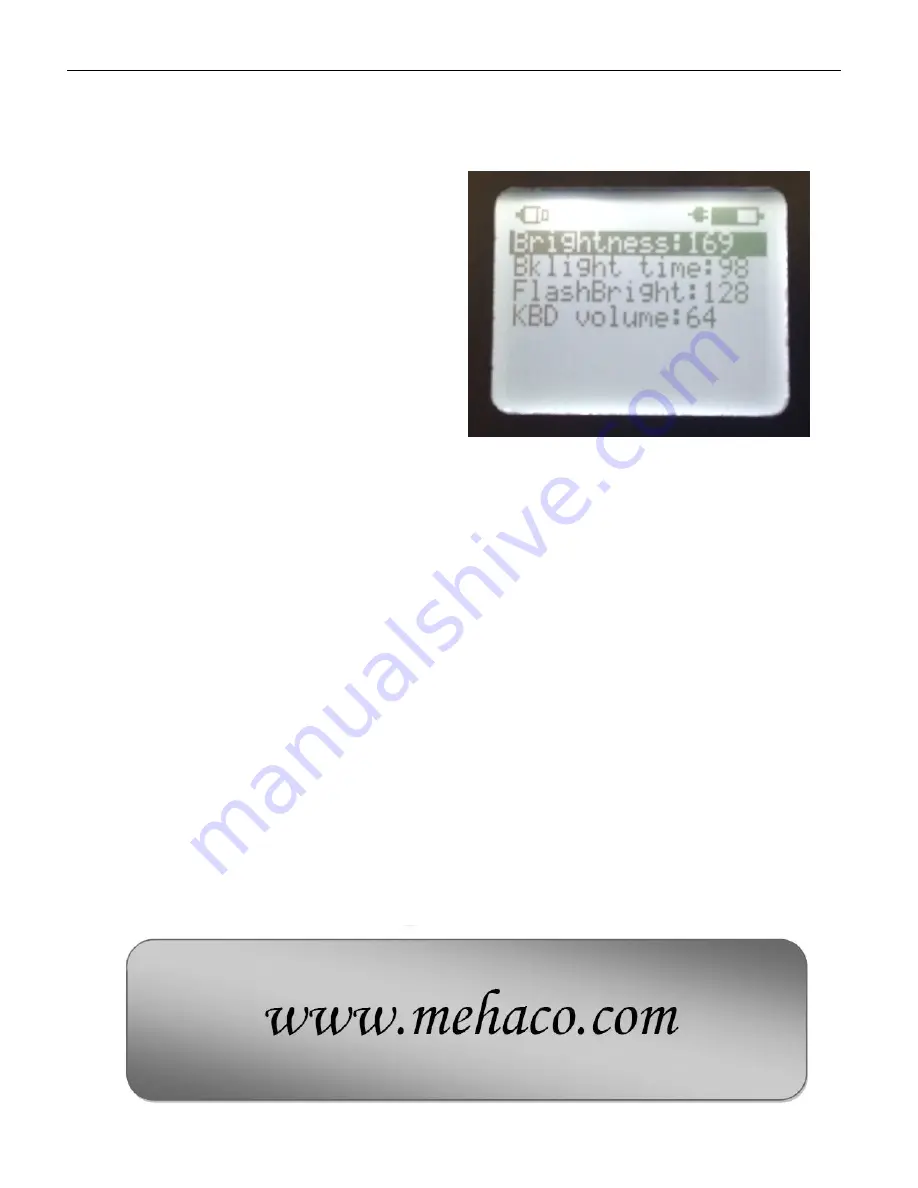
In settings menu you may adjust following 

parameters: 


LCD backlight brightness (Brightness); 


Built-in LED brightness (Flashlight); 


LCD backlight turnoff time (Backlight time); 


Beep volume for button pressing (KBD volume). 

Use ‘left’ and ‘right’ mini-joystick position to 

adjust parameters, ‘Return’ button for exit. DC-
charger connection and USB connection are indicated 
on LCD in upper right and upper left corners 
respectively. 

Pic.11  Settings menu with DC-power and USB connection 

indication. 


Содержание Kessy Prog

Страница 1: ...KessyProg Electronic keys registration device for vehicles equipped with Kessy immobilizer unit Operation manual...

Страница 2: ...bles Kessy Prog recognizes software version and corresponding keys registration algorithm automatically after connection to Kessy unit Key registration in unit type 0 1 2 could be performed with only...

Страница 3: ...keys cannot be registered in another Kessy unit Immobilizer systems with Kessy unit use only following types of transponders HITAG2 group PCF7936 single chip PCF7946 transponder in original key witho...

Страница 4: ...Enter button You will see message New Project If Enter button is pressed EEPROM memory of Kessy unit will be stored in device s internal memory You should do it only at first time you connect to cert...

Страница 5: ...sition number with mini joystick and confirm selection with symbol Maximum number of registered key is 8 so the position number must be equal or less than 8 New key may be registered on empty or alrea...

Страница 6: ...istered in current Kessy unit Kessy Prog device will program it Writing TP message will appear and modify EEPROM content Writing EEPROM If programming process completes successfully you will see next...

Страница 7: ...of Kessy unit will be stored in device s internal memory You should do it only at first time you connect to certain Kessy unit In case of later connection for second and so on key registration press...

Страница 8: ...enu As function starts you will see Waiting inverter startup on LCD and later Take TP or cancel Now bring a key or chip as shown on pic 7 If key or chip reading is successful its type and state will b...

Страница 9: ...ss Flashlight LCD backlight turnoff time Backlight time Beep volume for button pressing KBD volume Use left and right mini joystick position to adjust parameters Return button for exit DC charger conn...

Отзывы: