4. Main Menu
14
ENGLISH
4.3 Record setup
1.
In the real-time monitoring, press the MENU key to get to the main menu.
2. Use the
t
or
u
key to change to „Recording settings“ and confirm with OK.
3.
Select „Recording schedule“ and confirm with OK.
4.
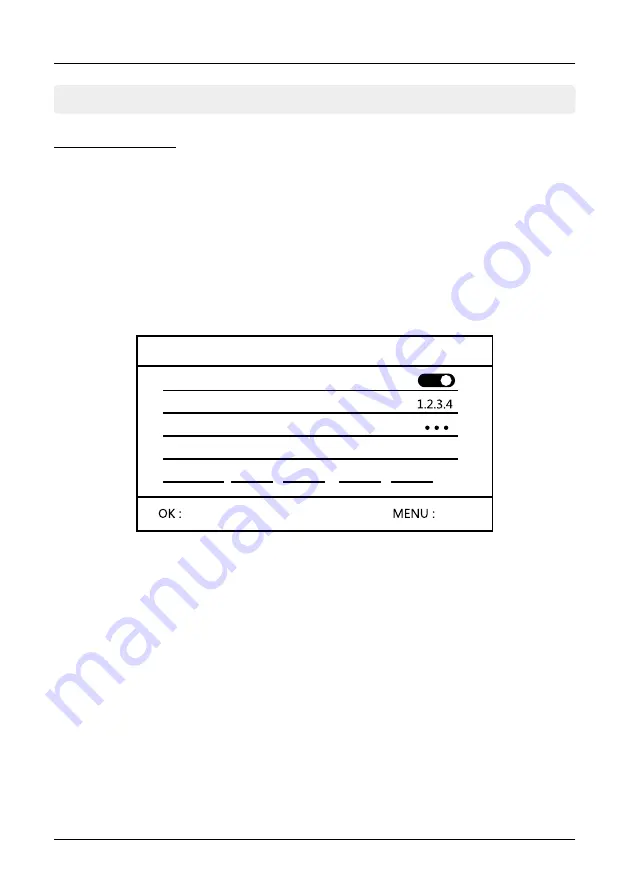
Choose the first schedule:
Enable
Enables or disables the schedule.
Channel
Choose which camera(s) should be active for this schedule.
Weekday
Select on which days of the week this schedule should be active.
Type
Choose when to start recording. There are two different choices
available:
1. When a motion is detected by the camera.
2. Starts recording for a specified time.
Time
Set the time when recording should be started and stopped
again. Use the
t
or
u
key to switch between the times. Select it
with OK and set the time with the
p
or
q
button.
Record Schedule
You can create a schedule to capture each individual camera. Set a start and
end point and define the recording type. You can max. Create 4 different
schedules.
Select
Back
Record setup
Time
Type
Weekday
Channel
Enable
Motion, Timer


