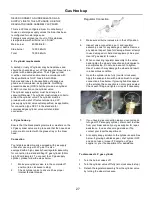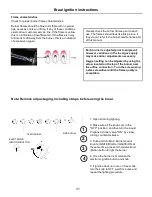
1. Open lid during lighting.
2. Make sure all the knobs are in the
“
OFF
”
position, and then turn the Liquid
Propane Cylinder valve
“
ON” by slowly
turning counterclockwise.
3. Push and turn Main Burner control
knob to IGNITE/HIGH or IGNITE/ON, at
the same time, press and hold electronic
ignition button to light the burner.
4. Once the burner is lit, release the
electronic ignition button and knob.
5. If ignition does not occur in 5 seconds,
turn the knob to OFF, wait 5 minutes and
repeat the lighting procedure.
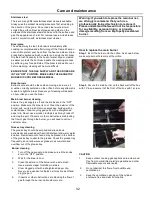
Flame characteristics
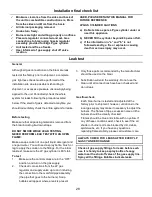
Check for proper burner flame characteristics.
Burner flames should be blue and stable with no yellow
tips, excessive noise, or lifting. If any of these conditions
exist call our customer service line. If the flame is yellow,
this is a indication of insufficient air. If the flame is noisy
and tends to lift away from the burner, this is a indication
of excessive oxygen.
Each burner is adjusted prior to shipment;
however, variations in the local gas supply
may make minor adjustments necessary.
Oxygen setting can be adjusted by using the
screw located on the top of the burner near
the orifice connection . Turn the screw using
a star-screwdriver until the flame quality is
acceptable
Visually check the burner flames prior to each
use, The flames should look like this picture, if
they do not, refer to the burner maintenance part
of this manual.
Note: Remove all packaging, including straps, before using the braai.
1
2
3
4
31
Braai ignition instructions
main burner
side burner
ELECTRONIC
IGNITION BUTTON
①
②
③
④


