background image

DE

EN

ES

FR

IT

NL

5

1.  About these operating instructions

Read these operating instructions carefully and comply with the infor-
mation provided in them. This will ensure that your device works reliably 
and has a long service life. Always keep these operating instructions 
close to the device. Keep these operating instructions in a safe place so 
they can be passed on to the new owner if you decide to sell the device.

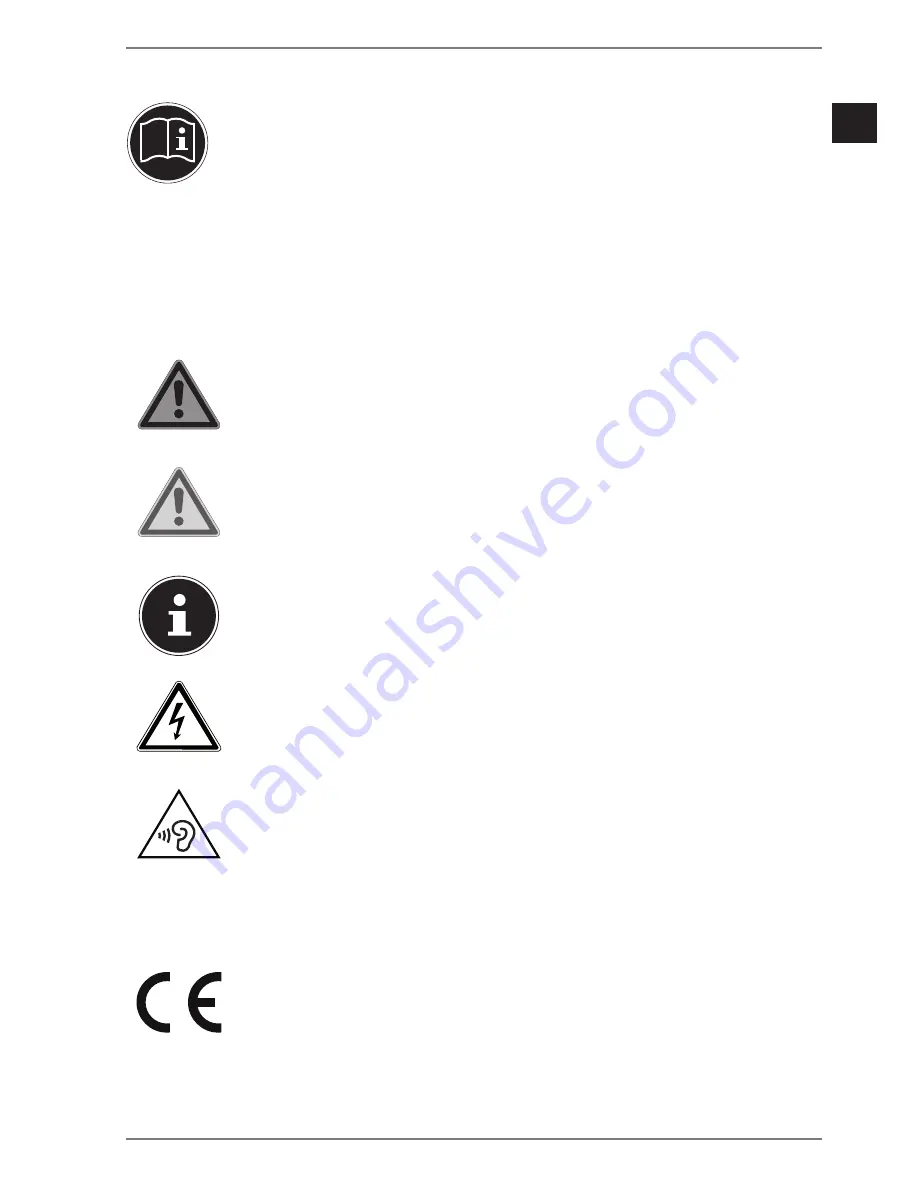
1.1.  Key to symbols

If a block of text is marked with one of the warning symbols listed below, the hazard 
described in that text must be avoided to prevent the potential consequences de-
scribed there from occurring.

DANGER!

Warning: risk of fatal injury!

WARNING!

Warning: risk of possible fatal injury and/or serious 
irreversible injuries!

Additional information on using the device!

WARNING!

Warning: risk of electric shock!

WARNING!

Warning: danger due to loud volume!

• 


Bullet point/information on steps during operation


Instruction to be carried out

Declaration of Conformity (see "Declaration of Conformity" section): 
Products that feature this symbol meet the requirements of the EC 
directives.

Содержание ERAZER X54911

Страница 1: ...86 4 cm 34 LED Backlight Monitor MEDION ERAZER X54911 MD 22100 Operating instructions ...

Страница 2: ...t 13 6 2 Rear 14 7 Getting started 15 7 1 Before connecting the monitor 15 7 2 Mounting the stand 15 7 3 Setup 16 7 4 Mounting on the wall 18 7 5 Connection 19 7 6 Switching on standby 20 7 7 Setting the monitor resolution 21 8 Menu 22 9 Energy saving features 24 10 Troubleshooting 24 10 1 No picture picture interference 24 10 2 Incorrect colour reproduction image is too bright dark 25 11 Cleaning...

Страница 3: ...f text is marked with one of the warning symbols listed below the hazard described in that text must be avoided to prevent the potential consequences de scribed there from occurring DANGER Warning risk of fatal injury WARNING Warning risk of possible fatal injury and or serious irreversible injuries Additional information on using the device WARNING Warning risk of electric shock WARNING Warning d...

Страница 4: ...at have not been supplied or ap proved by us Only use replacement parts or accessories that we have sup plied or approved Comply with all the information in these operating instruc tions especially the safety information Any other use is con sidered improper and can cause personal injury or property damage Do not use the device in potentially explosive atmospheres This includes petrol stations fue...

Страница 5: ...5 EC However this device is not equipped with full functionality to minimise con sumption according to the Ecodesign Directive In this product category this function is usually defined or dictated by the connected end device personal computer RoHS Directive 2011 65 EU 3 1 Trademark information The HDMI logo and High Definition Multimedia Interface are registered trademarks of HDMI Licensing LLC Ot...

Страница 6: ... carried out by children unless they are supervised DANGER Risk of choking and suffocation Packaging film can be swallowed or used improperly creating a risk of choking and suffocation Keep packaging material such as plastic film or plas tic bags away from children DANGER Risk of injury If subjected to excessive pressure there is a risk of the display breaking Use protective gloves when wrapping u...

Страница 7: ...roplets or spray and do not place any liquid filled containers vases or similar on or next to the device or the power pack Liquids penetrating the device may impair the electrical safety of the product The slots and openings on the monitor are for ventilation pur poses Do not cover these openings risk of overheating fire hazard Position the cables so that no one can tread on them or trip over them...

Страница 8: ...be carried out please contact only our author ised service partners 4 4 Environmental conditions Only use the device in accordance with the environmental conditions specified in the technical data DANGER Risk of electric shock Major changes in temperature or fluctuations in humid ity can cause moisture to build up within the monitor due to condensation this can cause an electrical short circuit Af...

Страница 9: ...cess To disconnect the power supply from your monitor pull the plug from the socket DANGER Risk of electric shock The monitor contains live parts They pose a risk of elec tric shock or fire if an unintentional short circuit occurs Never open the monitor housing and do not push objects inside the monitor through the slots and openings Do not place any objects on the cables as they may be dam aged K...

Страница 10: ...urchase to ensure that all items are included If anything is miss ing please contact us within 14 days of purchase The following items are supplied with your monitor Monitor HDMI cable Mains adapter EU power cord CH power cord USB cable Bracket for wall mounting Monitor stand Documentation DANGER Risk of choking and suffocation Packaging film can be swallowed or used improperly creating a risk of ...

Страница 11: ...Move left return to the previous menu close menu Move right open menu submenu select option confirm selection Move backward navigate up in the menu increase set value select op tion if menu is closed set brightness Move forward navigate down in the menu decrease set value select op tion if menu is closed set contrast 4 Operating LED indicates the operating state ...

Страница 12: ...n 7 HDMI HDMI port 8 DVI DVI D port 9 Audio connection 3 5 mm stereo jack 10 Headphone connection 3 5 mm stereo jack 11 DP DisplayPort connection 12 Fold out hook for hanging a headset 13 Mounting area for wall bracket 14 USB hub 4x USB 3 0 ports 5 V max 1 A 15 USB B 3 0 port input for USB hub ...

Страница 13: ...utions supported by this monitor can be found in section 7 7 Setting the monitor resolution on page 21 7 2 Mounting the stand Attach the monitor stand as shown in the illustration Carry out this step before con necting the monitor Place the monitor on a level surface with the monitor surface facing down Place the mounting plate of the monitor stand in the recess on the rear of the monitor A Use tw...

Страница 14: ...the line of sight parallel to the win dow front The parallel line of sight must also be maintained with regards to artificial lighting equipment In other words the same criteria and reasoning apply when the work space is illuminated with artificial light If it is not possible to position the monitor as described the following measures may be helpful swivel lower or tilt the monitor slats or vertic...

Страница 15: ... elongated and bent at an angle of no more than 10 Take care to ensure that your wrists do not rest directly on the edge of the table Legs your thighs should be horizontal or angled slightly downwards The lower legs should form an angle of approx 90 to the thighs Your feet should rest flat on the floor Use a footrest if you need one but first ensure that your seat height has been adjusted correctl...

Страница 16: ... the points indicated A using a Phil lips screwdriver Remove the stand B Place the supplied bracket in the recess on the mounting plate C Screw the device into place using the intended holes on the device housing Use the screws supplied to do so The hole spacing of the bracket is 100 x 100 mm according to the VESA standard When mounting the device make sure that the screws are no larger than M4x10...

Страница 17: ...the signal cable into one of the connections on the monitor HDMI DVI DP Plug the other end into the appropriate connections on the computer Only one type of connection can be used at a time 7 5 2 Connecting the audio cable Plug the audio cable into the connection on the monitor and into the corre sponding connection on the computer If an HDMI or DisplayPort signal cable is used no separate audio c...

Страница 18: ...o the lowest setting Start playback and increase the volume to a comfort able level 7 5 4 Connecting the power supply Connect the supplied mains adapter to the connection of the device Plug the other end into an easily accessible mains socket The mains socket must be close to the monitor and easily accessible use the same electric circuit as for the computer 7 6 Switching on standby Press the butt...

Страница 19: ...uter according to the instructions in your operating system Physical resolu tion pixels Vertical frequency Hz Physical resolu tion pixels Vertical frequency Hz 720 x 400 70 1280 x 768 75 640 x 480 60 1280 x 1024 60 640 x 480 75 1280 x 1024 75 800 x 480 60 1360 x 768 60 800 x 480 72 1366 x 768 60 800 x 480 75 1400 x 1050 60 800 x 600 60 1440 x 900 60 800 x 600 72 1600 x 900 60 800 x 600 75 1600 x 1...

Страница 20: ...a value Move the button repeatedly to the left if you wish to navigate to a previous menu or to close the menu The menu automatically disappears if you do not press any buttons on the monitor for a preset period of time The following explains the main functions or setting options CONTRAST Set the display contrast BRIGHTNESS Adjust the brightness COLOR TEMP Select the colour temperature OSD LANGUAG...

Страница 21: ...drive on or off If the function is switched on the reaction time is re duced ADAPTIVE SYNC Automatic adjustment of the refresh rate only for AMD and selected NVIDIA graphics cards ECO Switch ECO energy saving mode on and off AUTO POWER only HDMI and DP If this function is activated the device automatically switches to standby mode after 4 hours of inactivity no operation of the device RGB LED Set ...

Страница 22: ...operating mode On 1 10 Troubleshooting If problems occur with your monitor make sure that the monitor has been properly installed If the problems persist then read this section for information about possi ble solutions 10 1 No picture picture interference The mains cable must be firmly seated in the socket and the power switch if available must be switched on The computer must be switched on and t...

Страница 23: ...isconnect all cables before cleaning Do not use solvents corrosive or gaseous cleaning agents Clean the monitor with a soft lint free cloth Take care to ensure that no water droplets remain on the monitor Water can cause permanent discolouration Store the packaging material in a safe place Only use this box to transport the monitor The monitor housing does not contain any parts that require cleani...

Страница 24: ...ely complex manufacturing process used in this context Pixel defect class Defect type 1 Continuous ly lit pixel Defect type 2 Continuous ly black pixel Defect type 3 Defective sub pixel lit black 0 0 0 0 0 I 1 1 2 1 0 1 3 5 II 2 2 5 5 n 0 2 x n 10 III 5 15 50 50 n 0 0 2 x n 100 IV 50 150 500 500 n 0 0 2 x n 1000 n 1 5 The permitted number of defects for every type named above in each class of pixe...

Страница 25: ...st not be disposed of in normal household waste In accordance with Directive 2012 19 EU the devices must be properly disposed of at the end of its service life This involves separating the materials in the devices for the purpose of recycling and minimising the environmental impact Take old devices to a collection point for electrical scrap or a recycling centre Contact your local waste disposal c...

Страница 26: ... V 50 60 Hz 1 5 A max Output voltage 19 V 4 7 A Screen Screen size 86 4 cm 34 TFT with LED backlight Aspect ratio 21 9 Resolution 3 440 x 1 440 pixels Brightness 300 cd m typical Contrast 3 000 1 typical Dynamic contrast 5 000 000 1 Reaction time 16 ms grey to grey typical 5 ms overdrive grey to grey typical Connections Screen HDMI with HDCP decoding DVI D with HDCP decoding DisplayPort with HDCP ...

Страница 27: ... on the wall2 Vesa standard hole spacing 100 x 100 mm 2 13 1 Product data sheet In accordance with Regulation 1062 2010 Model X54911 MD 22100 MSN 3002 6049 Energy efficiency class B Visible screen size diagonal size approx cm in 86 4 34 Average power consumption when switched on in watts 53 Annual power consumption kWh year 77 Standby power consumption in watts 0 28 Power consumption when switched...

Страница 28: ...u can also contact our Service team via our hotline or by post Opening times Hotline number UK Mon Fri 08 00 20 00 Sat Sun 10 00 16 00 0333 3213106 Hotline number Ireland 1 800 992508 Service address MEDION Electronics Ltd 120 Faraday Park Faraday Road Dorcan Swindon SN3 5JF Wiltshire United Kingdom You can download this and many other sets of operating instruc tions from our service portal at www...

Страница 29: ...by copyright Mechanical electronic and any other forms of reproduction are prohibited without the written permission of the manufacturer Copyright is owned by the company MEDION AG Am Zehnthof 77 45307 Essen Germany Please note that you cannot use the address above for returns Please always con tact our Customer Service team first ...

Страница 30: ...32 ...

Отзывы: