Chapter 4 Operation
- 22 -
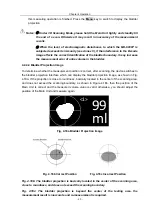
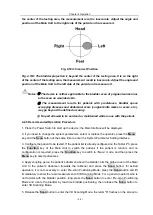
the center of the testing area, the measurement result is inaccurate. Adjust the angle and
position of the Main Unit to the right side of the patent and re-measure it.
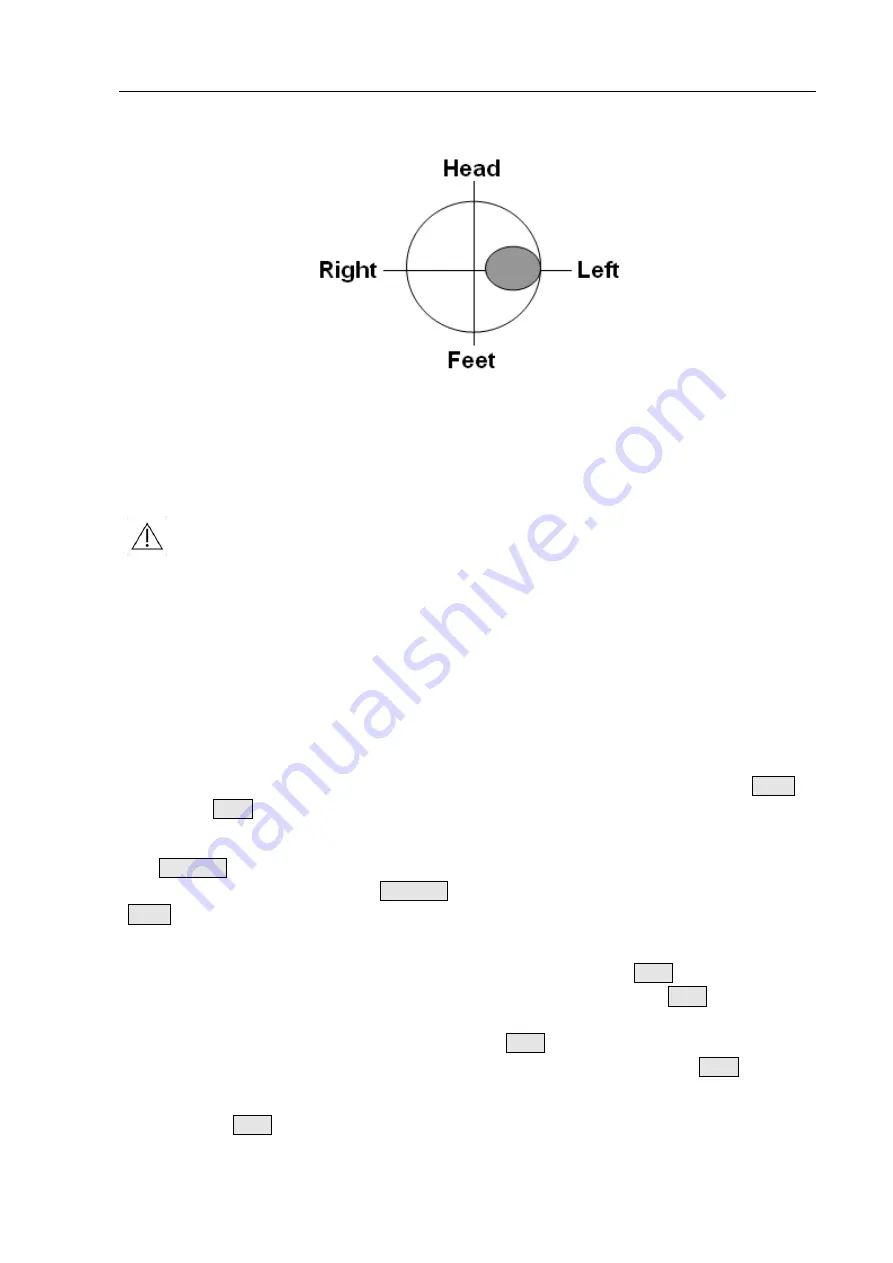
Fig. 4.19d: Incorrect Position
Fig. 4.19d: The bladder projection is beyond the center of the testing area. It is on the right
of the center of the testing area, the measurement result is inaccurate. Adjust the angle and
position of the Main Unit to the left side of the patent and re-measure it.
Notes:
①
The device is neither applicable to the bladder scan of pregnant women nor
to the scan on wounded skin.
②
The measurement results for patients with prostatauxe, bladder space
occupying diseases and abdominal scars (surgical knife marks or scars, etc.),
may go beyond the defined accuracy.
③
No part allowed to be serviced or maintained while in use with the patient.
4.2.5 Recommended Operation Procedure
1. Press the Power Switch to start up the device; the Main Interface will be displayed.
2. If you need to change the system parameters, select or replace the operator, press the
Menu
key and the
Scan
button at the same time to enter the System Parameter Setting Interface.
3. Configure the patient to be tested. If the patient list is already configured on the Tablet PC, press
the
Function
key of the Main Unit to switch the patient; if the patient is random and no
configuration is required, press the
Function
key to switch to <New> mode, and then press the
Menu
key to select patient sex.
4. Apply coupling gel on the patient
’s abdomen above the bladder; aim the probe cover of the Main
Unit to the patient
’s abdomen (towards the tailbone) and press the
Scan
button; for skilled
operators, it is not necessary to enter Pre-scan Positioning Mode, press the
Scan
button and lift
immediately to enter the rapid measurement of 3D Scanning Mode. For a general operator who is
not familiar with the bladder position, long-press the
Scan
button to enter Pre-scan Positioning
Mode and locate the bladder by real-time bladder positioning, then release the
Scan
button to
enter 3D Scanning Mode.
5. Release the
Scan
button to enter the 3D Scanning Mode, the letter "S" flashes on the screen to

