13
7RH[LWIURPWKH6(7830RGHSUHVVDQGKROGLQ
the INPUT Control and the Front Panel Display
will revert back to its normal display. Refer to
figure 1.
<RXU0F,QWRVK&KDVEHHQIDFWRU\FRQILJXUHGIRU
default operating settings that will allow immediate
enjoyment of superb audio without the need for fur-
ther adjustments. If you wish to make changes to the
IDFWRU\GHIDXOWVHWWLQJVD6HWXS)HDWXUHLVSURYLGHGWR
customize the operating settings using the Front Panel
Information Display. Refer to the C47 Front Panel Il-
lustration on the previous page while performing the
following steps.
Note: If the C47 is currently On, proceed to step 2.
3UHVVWKH67$1'%<213XVKEXWWRQRQWKH)URQW
3DQHORUSUHVVWKH3RZHU213XVKEXWWRQRQ
the Remote Control to switch On the C47. The
C47 will go through a brief startup initialization
with the Front Panel Information Display indicat-
ing the last used source and volume setting. This is
followed by the volume setting indication starting
at zero and then increasing to the last used volume
setting. Refer to figure 1.
2. Press and hold in the INPUT Control until the
Front Panel Information Display indicates “C47,
9BBB61$(+BBBB´RUKLJKHU)LUPZDUH
YHUVLRQ5HIHUWRILJXUH
5RWDWHWKH,1387&RQWUROWRVHOHFWWKHQH[W6HWXS
0RGH0HQXLWHP³6(783,QSXWV+ROG,1
-
3875HIHUWRILJXUH&RQWLQXHWRURWDWHWKH
,1387&21752/WRYLHZWKHRWKHU6(783
0RGH2SWLRQV
The C47 functionality is controlled by internal soft-
ware that is know as Firmware. The Version of the
Firmware in the C47 can be identified at any time by
XWLOL]LQJWKH6HWXS0RGH
How to Operate the Setup Mode
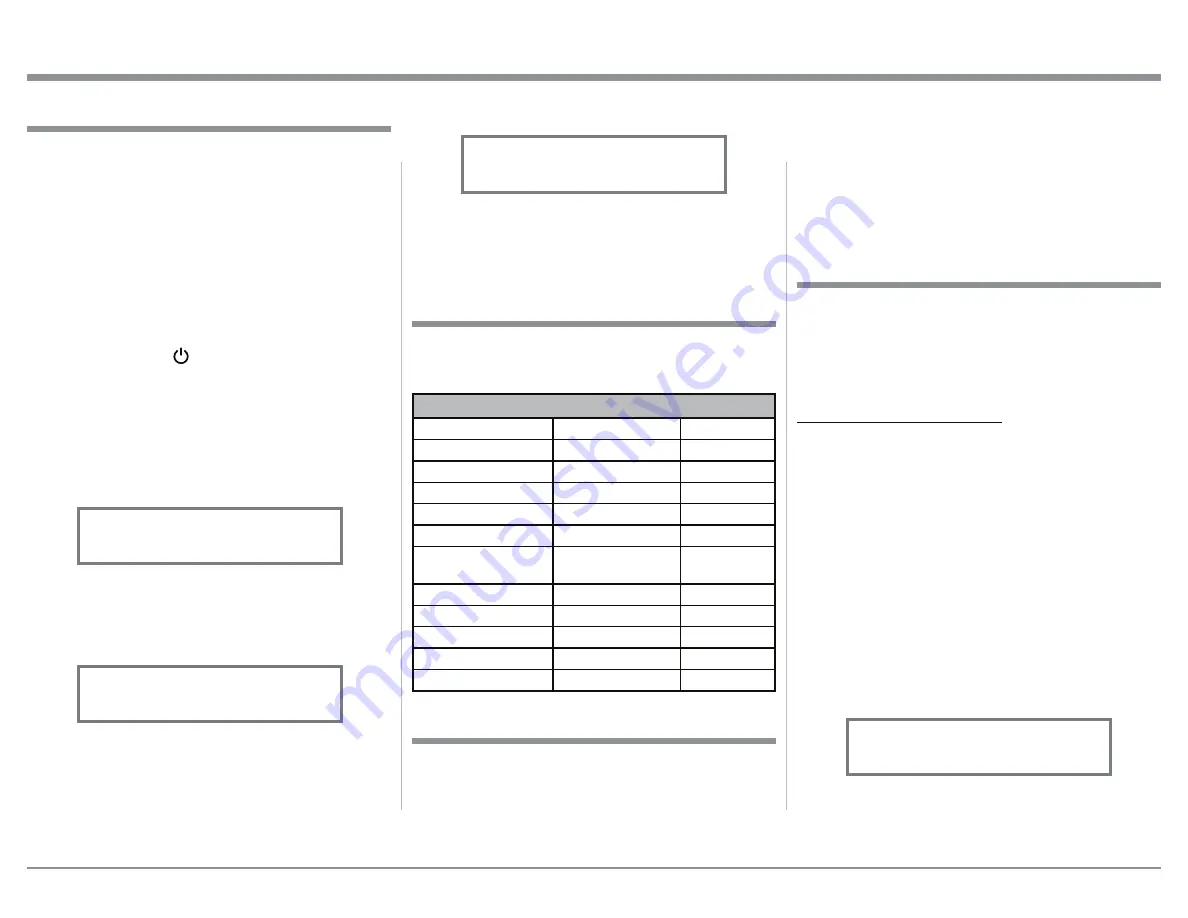
7KH'HIDXOW6HWWLQJV&KDUWEHORZLQGLFDWHVWKH)XQF
-
WLRQ1DPH'HIDXOW6HWWLQJDQGWKH3DJH1XPEHUIRU
additional information.
Default Settings
Firmware Version
Default Settings
Function Name
Setting
Page No.
C47
V_._ _ - _._
13
,13876
On / Rename
13
2873876
6ZLWFKHG
15
TRIGGER 1
Output 1
16
TRIGGER 2
Output 2
16
'$7$32576
WKUX
All Data
16
3$667+58
OFF
17
565DWH
115200 Baud
17
Remote Control Codes
Normal
17
,56HQVRU
Enabled
17
3RZHU0RGH
Enabled
17
Setup
Figure 2
C47 V1.00
S/N: AEH____
Figure 1
INPUT: BAL 1
15%
The C47 provides the ability to switch unused IN-
38762IIRUEDFN2QLIWKH\KDYHEHHQSUHYLRXVO\
VZLWFKHG2II7KHGHIDXOW,13871DPHVFDQEH
changed to match the name of the component con-
nected to it or any other custom name desired (within
&KDUDFWHUV
,13876:,7&+('212))
,QWKHIROORZLQJH[DPSOHWKH81%$/,QSXWZLOOEH
switched Off.
Note: When an INPUT is swiched Off, its name will
no longer appear on the Front Panel Informa-
tion Display when using the INPUT Control
(Front Panel or Remote Control).
1. Press and hold in the INPUT Control to enter the
6(78302'(5HIHUWRILJXUH
5RWDWHWKH,1387&RQWUROXQWLO³6(783,QSXWV
+ROG,1387DSSHDUVRQWKH,QIRUPDWLRQ'LVSOD\
Refer to figure 3.
3UHVVDQGKROGLQWKH,1387&RQWUROXQWLO³6(7
-
UP: _______, On / Rename” appears on the
Display. If necessary rotate the INPUT Control to
VHOHFWWKH81%$/,QSXW5HIHUWRILJXUH
7RVZLWFKWKH81%$/,QSXW2IIURWDWHWKH
92/80(&RQWUROXQWLOWKHGLVSOD\LQGLFDWHV
Input Settings
1. Press and hold in the INPUT Control to enter
6HWXS0RGH
2. Referring to the Front Panel Information Display-
the number after the character “V” is the Firm-
ware number. Refer to figure 2.
7RH[LWWKH6HWXS0RGHSUHVVWKH,1387&RQWURO
Figure 3
SETUP: Inputs
(Hold INPUT)
Figure 4
SETUP: UNBAL 3
On / Rename


