49
9.10 conSolE kEypad & oVErlay rEplacEMEnt - continUEd
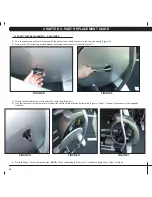
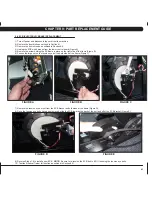
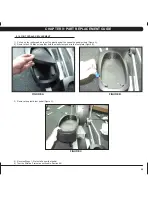
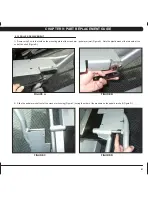
figUrE H
figUrE i
figUrE j
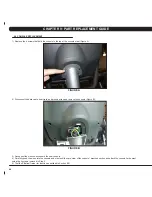
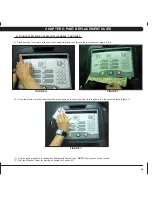
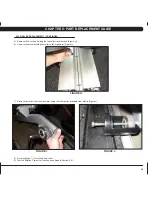
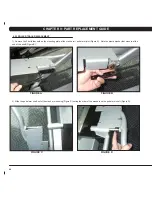
9) Press down on the corners of the overlay to keep it in place, then remove the protective film (Figure H & I).
10) Once the overlay is in the correct position, press down on the overlay with a cloth to adhere it to the console plastic (Figure J).
11) Use the same procedure to replace any additional faulty overlays.
note:
Overlays can not be reused.
12) Test the Elliptical Trainer for function as outlined in Section 8.21.
cHaptEr 9: part rEplacEMEnt gUidE
Содержание E7XE-01
Страница 1: ...E 7 x E 0 1 e l l i p t i c a l T r a i n e r S E R V IC E M AN U A l...
Страница 2: ......
Страница 5: ...1 1 1 SERIAL NUMBER LOCATION Chapter 1 serial number location...
Страница 31: ...27 8 1 Electrical Diagram Chapter 8 TROUBLESHOOTING...
Страница 74: ...70 10 3 ELLIPTICAL TRAINER ASSEMBLY STEPS Chapter 10 elliptical trainer specifications and assembly guide...
Страница 87: ...83 notes...

