background image

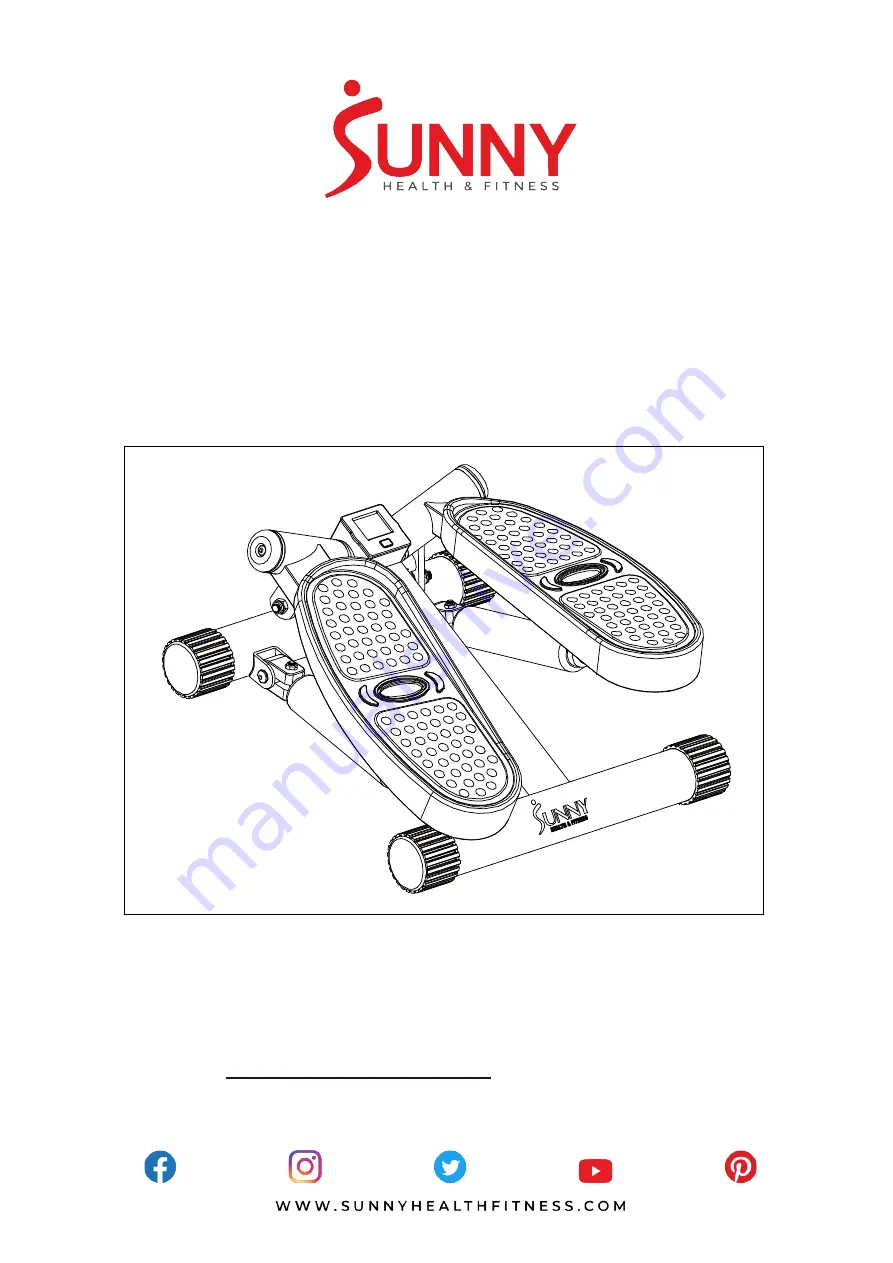
PINK ADJUSTABLE TWIST STEPPER

P8000

USER MANUAL

IMPORTANT!

Please  retain  owner’s  manual  for  maintenance  and  adjustment  instructions. 

Your  satisfaction  is  very  important  to  us,

PLEASE  DO  NOT  RETURN  UNTIL  YOU  HAVE 

CONTACTED US

:

[email protected]

or 1- 877 - 90SUNNY (877-907-8669). 

Содержание P8000

Страница 1: ... MANUAL IMPORTANT Please retain owner s manual for maintenance and adjustment instructions Your satisfaction is very important to us PLEASE DO NOT RETURN UNTIL YOU HAVE CONTACTED US support sunnyhealthfitness com or 1 877 90SUNNY 877 907 8669 ...

Страница 2: ...quipment The equipment is designed for adult use only 4 Use the equipment on a solid flat level surface with a protective cover for your floor or carpet To ensure safety the equipment should have at least 4 feet 1 2 M of free space all around it 5 Ensure that all nuts and bolts are securely tightened before using the equipment The safety of the equipment can only be maintained if it is regularly e...

Страница 3: ...2 EXPLODED DIAGRAM ...

Страница 4: ...ront of the manual Please contact us at support sunnyhealthfitness com or 1 877 90SUNNY 877 907 8669 3 No Description Spec Qty 15 Screw M5 4 16 Bolt 2 17 Cap 4 18 Bolt M6 4 19 Bolt M6 2 20 Nut M6 4 21 Hydraulic Cylinder 2 22 Nut M8 3 23 Washer 2 24 Bolt M8 2 25 Pulley 1 26 Pulley Bracket 1 27 Washer 1 28 Knob 1 No Description Spec Qty 1 Pedal R L 2 2 Bolt M6 2 3 Bearing Cap 2 4 Bearing Sleeve 4 5 ...

Страница 5: ...8 TO ADJUST TENSION STEPPING HEIGHT 1 Turn the Knob No 28 counter clockwise to the left to lessen the stepping range and tension 2 Turn the Knob No 28 clockwise to the right to increase tension and widen the stepping range Remove the main frame from the box Lift one pedal up with your hands Ensure the is secured around the as shown in the picture below The assembly is complete ...

Страница 6: ...l for sound to come from the cylinder as the cylinder gets hot during use Do NOT touch the cylinder during or after use to avoid burn injuries IF THE STEPPER STARTS TO SCREECH DURING EXERCISE 1 Loosen the screw of the U shaped bracket and cable 2 Lubricate the U shaped bracket and the cable to improve the sliding condition as seen in the picture below 3 After lubricating with oil secure the U shap...

Страница 7: ...ercise from start to finish COUNT Automatically accumulates step counts taken during sessions Meter counts 1 step for every step on each foot REPS MIN Displays count of steps per minute SCAN Press the MODE button until the arrow points to SCAN Once on SCAN the display will scan through each of the functions in sequence NOTE 1 If you have an inaccurate reading on the monitor replace the battery imm...

Страница 8: ...using your hand or the tool provided 3 Insert the new battery using your hand or the tool provided Ensure that the positive side of the battery labeled with a sign is facing upward 4 Place the plastic cap back onto the battery 5 Connect the wire into the meter 6 Attach the meter on Main Frame Version 1 7 ...

Страница 9: ......

Отзывы: