headline bars
continuation tabs
notes
warnings
headline bars
continuation tabs
notes
warnings
headline bars
continuation tabs
notes
warnings
12
model no. 054-6821-2 | contact us 1-800-689-9928
OPERA
TING INSTRUCTIONS
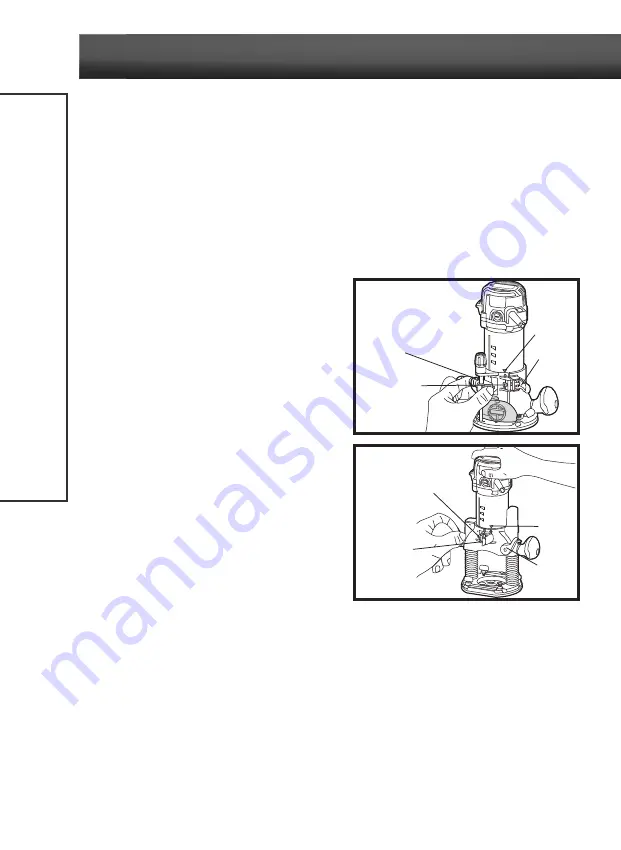
INSTALL THE MOTOR IN THE FIXED BASE
(fig 3)
1. Disconnect the plug from the power supply.
2. Place the fixed base on a flat surface.
3. With the back of the fixed base facing you, open the motor clamp.
4. Press the coarse-adjustment button while you align the motor to the fixed base so that the arrows align.
5. Slide the motor down into the fixed base.
6. The router motor will now slide up or down when the coarse-adjustment button is pressed in.
7. After all adjustments are made, close the motor clamp securely.
REMOVE THE MOTOR FROM THE FIXED
BASE
(fig 3)
1. Disconnect the plug from the power supply.
2. Place the router on a flat surface.
3. With the back of the router facing you, open the
motor clamp.
4. Push in the coarse-adjustment button while you lift
the router motor out of the fixed base.
INSTALL THE MOTOR IN THE PLUNGE
BASE
(fig 4)
1. Disconnect the plug from the power supply.
2. Place the plunge base on a flat surface.
3. With the back of the plunge base facing you, open
the motor clamp and make sure that the plunge
action is in the “DOWN” position with the plunge-
depth locking lever locked.
4. Align the arrow on the motor housing with the arrow
on the plunge base, and then lower the motor housing into the plunge base.
5. Slide the motor into the base as far as it will go.
6. Close the motor clamp securely.
REMOVE THE MOTOR FROM THE PLUNGE BASE
(fig 4)
1. Disconnect the plug from the power supply.
2. Place the router on a flat surface.
3. With the back of the plunge base facing you, open the motor clamp and make sure that the plunge action is
in the “DOWN” position, with the plunge-depth locking lever locked.
4. Lift the motor straight up out of the base.
fig 3
fig 4
Locking nut
Arrow
Arrow
Motor
clamp
Locking nut
Coarse-adjustment
button
Locking
lever
Motor
clamp
Содержание 054-6821-2
Страница 21: ...21 EXPLODED VIEW PARTS LIST ...
Страница 26: ......
Страница 27: ......
Страница 28: ......


