


16
■
Delete Gamma
Use this setting to Delete any custom Gamma tables that have been loaded to the monitor’s memory.
Note
: Once a setting is
Deleted, it cannot be recovered from the monitor.
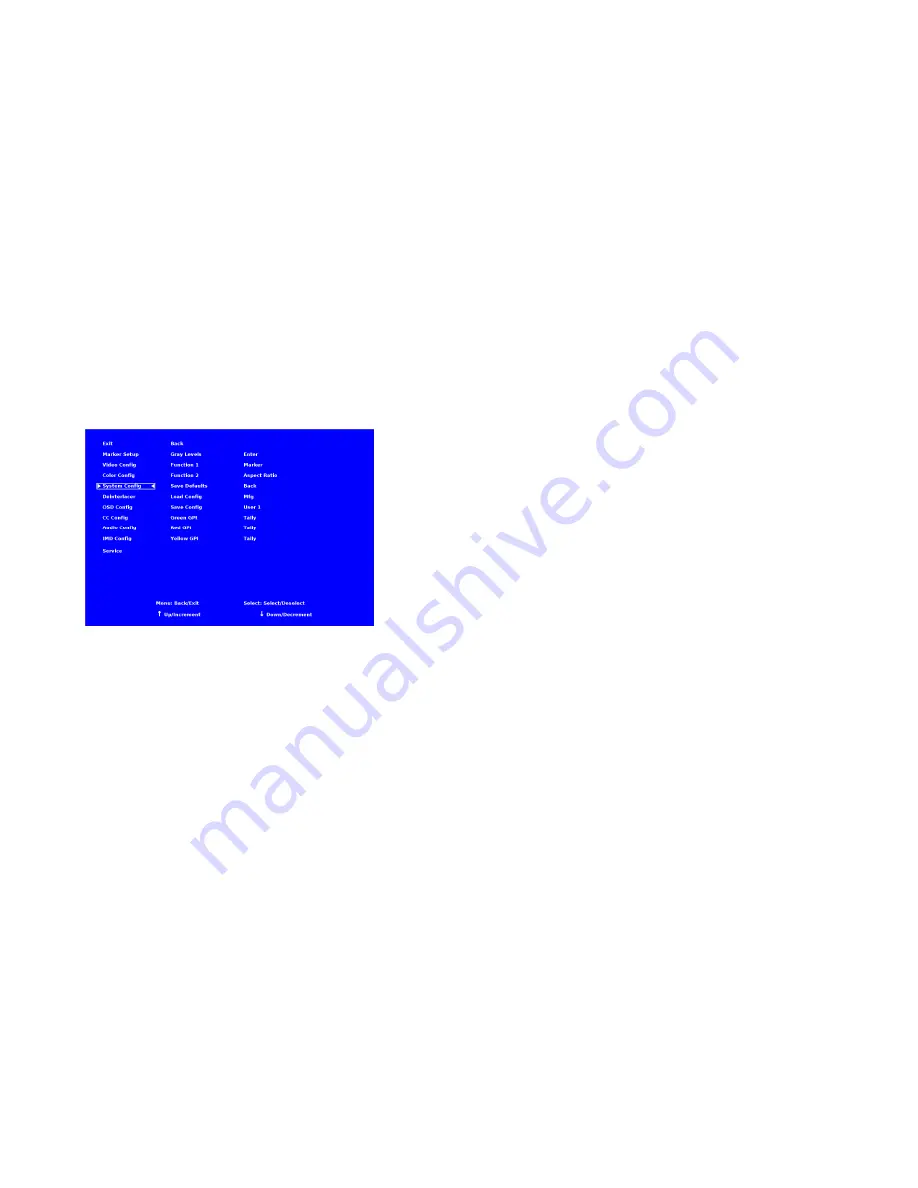
SYSTEM CONFIGURATION SUBMENU
Use the System Configuration submenu to control various system parameters.
■
Gray Levels
Use the Gray Levels menu option to view 256 levels of flat field gray. This feature is useful for color temperature comparison and
calibration.
The input must be disconnected for the Gray Levels feature to function
.
■
User-Definable Function Buttons
Use the Function 1 and Function 2 menu items to define each function button on the front panel of the monitor. The following
options are available for each button:
•
Marker
Enable and rotate amongst marker settings (choices depend on aspect ratio setting)
•
Center Marker
Enable/disable center marker
•
Marker Enable
Enable/disable screen markers
•
Marker Backgrd Rotate amongst marker backgrounds
•
IMD
Display/hide IMD text
•
Anc. Time Code Display/hide time code
•
OSD Tally
Rotate amongst types of OSD Tally
•
Audio Monitor
Display/hide audio presence indicator
•
User 1-6
Load any of the 6 User Customizable presets
•
Mute
Enable 100 dB audio signal attenuation
•
Aspect Ratio
Toggle between 4:3 and 16:9 aspect ratios
System Configuration Submenu
17
•
Pixel to Pixel
Enable/disable Pixel-to-Pixel mode
•
Ctemp/Gamma Rotate amongst color temperature settings
•
Blue Only
Enable/disable Blue Only mode
•
Monochrome
Enable/disable Monochrome mode
■
Save Defaults
Use this setting to save the current values of the Color, Brightness, and Contrast controls as the default values. The defaults can
then be accessed by pushing the knob twice.
•
Back
Exit without making any changes
•
Save
Save current settings as defaults
•
Mfg
Return to the manufacturer’s defaults (all settings at 50).
■
Saving and Loading User Presets
Use the SAVE CONFIG and LOAD CONFIG menus to save current settings to one of 6 presets, or load a preset. Each Preset saves
all monitor settings except for IMD configuration.
•
Use the LOAD CONFIG menu to load one of presets USR1 – USR6. Factory default settings can also be loaded by
selecting MFG. (Factory defaults cannot be overwritten.)
•
Use the SAVE CONFIG menu to save the current settings to a preset from USR1- USR6.
■
Green, Red, Yellow GPI
Use the GPI settings to determine the function of a specific Tally pin on the back of the unit. The GPI Pin actions are toggled by
bringing the pin LOW. The Red, Green or Yellow Tally pins can activate a variety of settings, listed below.
•
Tally
Illuminate Green, Red or Yellow Tally LED
•
Monochrome
Enable/disable Monochrome mode
•
Blue Only
Enable/disable Blue Only mode
•
Pixel to Pixel
Enable/disable Pixel to Pixel mode
•
Audio Monitor
Display/hide Audio Presence indicator
•
OSD Tally
Rotate amongst types of OSD Tally
•
IMD
Display/hide IMD text
•
CTemp/Gamma Rotate amongst CTemp/Gamma presets
•
Aspect Ratio
Toggle between 4:3 and 16:9 aspect ratios
•
Anc. Time Code Display/hide time code
•
Marker Level
Rotate amongst marker settings
The following settings are activated only when the Green, Red or Yellow Pin is brought into a LOW state by connecting it with
one of the GND pins. Once the Tally Pin is brought HIGH again (remove the connection to GND), the settings will be deactivated.
•
Monochrome (L) Rotate amongst color temperature settings
•
Markers (L)
Enable/disable Blue Only mode
•
Marker Mask 50% (L)
Enable/disable Monochrome mode
•
Marker Mask Black (L)
Enable/disable Blue Only mode
•
Marker Center(L) Enable/disable Monochrome mode
Содержание V-R241-IMD-3G
Страница 2: ...2 This page intentionally left blank 31...


