5
Easy Touch Panel 10™
Deleting buttons
If you wish to define your own configuration, you must first delete the existing buttons. In this way, you delete all the
existing buttons in the active configuration (configuration 1 or 2):
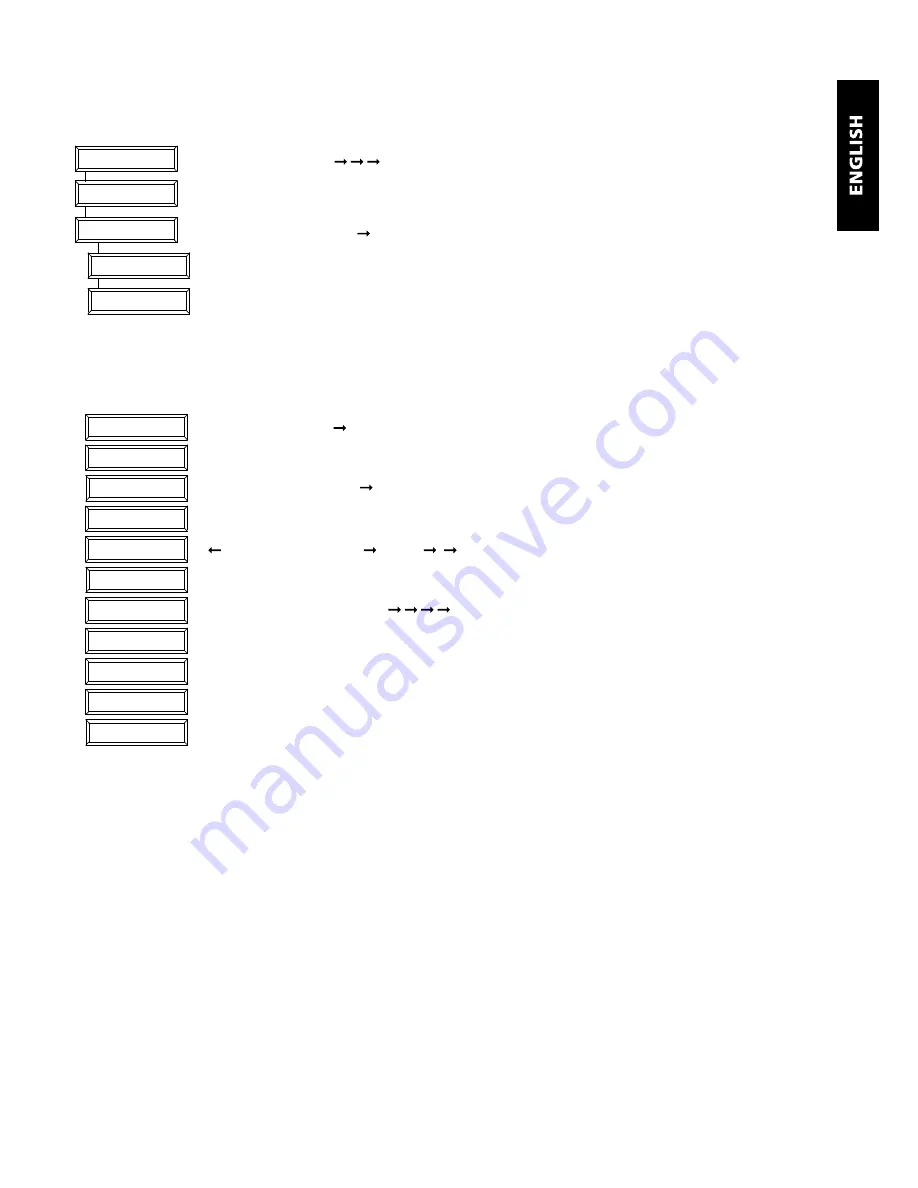
choose by pressing ‘ , , ’.
REMOVE ALL?, press
‘OK’
ARE YOU SURE?, press ‘ ’
YES, press
‘OK’
ALL BUTTONS HAVE BEEN DELETED.
Add buttons
You are free to choose the position, size and function of the buttons. Here, we provide you with an example of how you
add a large (25x25mm) button with house/unit code ‘B4’ and function ‘ON’
choose by pressing ‘ ’.
ADD NEW BUTTON?, press
‘OK’
SIZE OF BUTTON, press ‘ ’
LARGE (25x25MM), press
‘OK’
MACRO, HOUSE CODE , press ‘ , ’
HOUSE CODE B, press
‘OK’
CONFIRM FUNCTION, press ‘ , , , ’
UNIT CODE 4, press
‘OK’
BUTTON ON, press
‘OK’
NOW TOUCH THE TOUCH SCREEN Press on the place where you want to programme the button
until you hear 5 short and then one long beep.*
SAVED, your button is programmed.
*Note: If you try to programme one button too close to another one, the message ‘ERROR OVERLAP!’ will appear on the
screen. You must then choose another position for the button.
SELECT USING ‘>’
REMOVE ALL?
ARE YOU SURE?
ALL REMOVED
YES
HOUSE CODE: B
UNIT 4
BUTTON:ON
TOUCH SCREEN NOW
STORED
SELECT USING ‘>’
ADD NEW BUTTON?
BUTTON SIZE...
LARGE (25 X 25MM)
<MACRO, HOUSE>
SET FUNCTION


