Over time, the Kapton tape on your build plate
will be scratched and torn, and you will need
to replace it with one of the die-cut Kapton
sheets that was included in the package with
your MakerBot Replicator 2X.
To replace the Kapton tape:
1. Peel off the old Kapton tape and discard it.
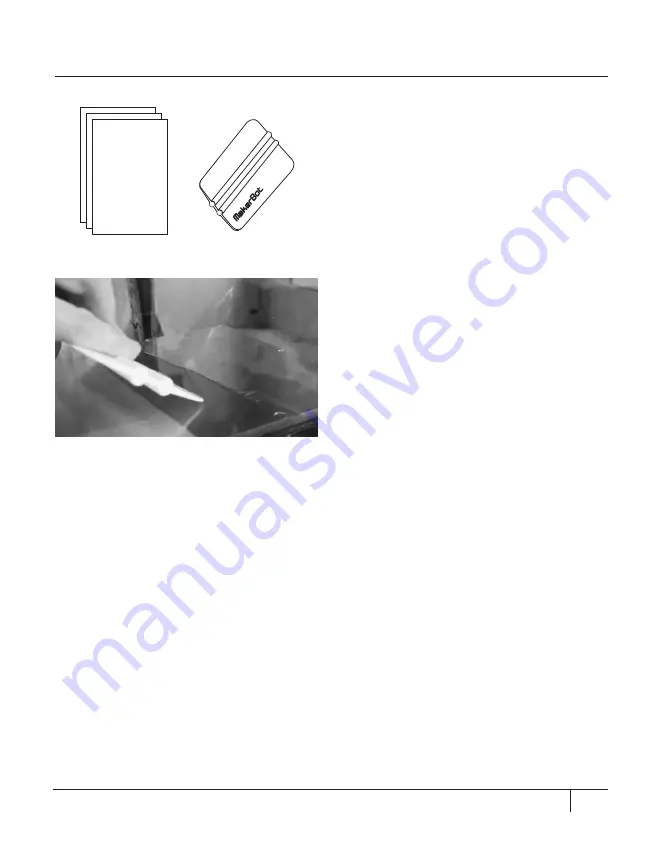
2. Locate the extra sheets of Kapton tape
that were included with your MakerBot
Replicator 2X. [Fig. 2.2] If you have used all
of the included sheets of Kapton tape, rolls
of Kapton tape are available at
http://store.makerbot.com/.
Find the tape applicator that was included
with your MakerBot Replicator 2X. [Fig. 2.3]
If you can’t find the tape applicator, you can
use a plastic spatula or a credit card.
3. On one of the short sides of the sheet,
peel back the plastic backing approximately
1/4 inch from the edge, so that 1/4 inch
of the sticky side of the Kapton tape is
exposed.
4. Place the exposed strip of Kapton tape
along the edge of one of the short sides of the
build plate. Use your finger to apply pressure
and adhere the Kapton tape to the build plate.
5. Use the tape applicator to simultaneously
roll back the plastic backing bit by bit and
smooth the newly exposed Kapton tape
as you go. Make sure to smooth out any
bubbles. [Fig. 2.4]
6. Continue smoothing the tape down bit by
bit until you have covered the entire plate.
REPLACING KAPTON TAPE
31
MAINTENANCE
Fig. 2.2
Fig. 2.3
Fig. 2.4
Содержание Replicator 2X
Страница 1: ...TROUBLESHOOTING AND MAINTENANCE...
Страница 2: ......
Страница 4: ...Troubleshooting 1...
Страница 28: ...Maintenance 2...
Страница 39: ...39 TERMS OF SERVICE NOTES...
Страница 40: ...MakerBot One MetroTech Center 21st Floor Brooklyn NY support makerbot com makerbot com...


