background image

THE PASSION PEOPLE

www.magura.com

6

3

. Always make sure that the brake system does not have any leaks by activating the

lever blade, holding it and checking the hose connections and reservoir cover for eventual
leaks. (Also see page 11)

4. 

Always protect your rotors and brake pads from oil and lubricants (e.g. by lubricating

your chain). Avoid detergents and soap on the brake pads. Contaminating the pads with oil
and lubricants will cause a permanent loss of braking power. Such contaminated pads can
no longer be used and should be replaced! Clean a contaminated rotor with MAGURA disc
cleaner, dishwater or alcool. See further hints about changing the brake pads on pages 12-
13.

5

. Release your brake lever and check whether your wheel moves freely and without

drag. Check eventually whether the wheels are correctly mounted and if the quick release
skewers are tightened sufficiently. (Also see page 9)

6. 

Are your tires in a good condition, and have they enough air pressure? Test this with

your fingers. Lift up your bike and turn the wheels of your bike. An insufficient rotation
might be due to damaged tires, broken axles and/or broken spokes.

7. 

Pick up your bike and let it drop from a moderate height. Listen for any rattling noi-

ses. If any are heard check the bearings and all screwed connections.

8. 

Always follow the instructions given in the owner’s manual of your bicycle.

Never use your bicycle if any  of the points mentioned above relate to your bicy-

cle! Consult a professional bike mechanic if you feel unsure. A faulty bicycle may
result in serious accidents with possible fatal injuries of the rider! Be careful to
check always to check the following points:

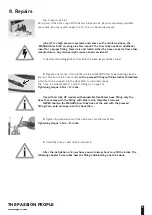
In case of a disc brake equipped bicycle you should always keep in mind the fol-

lowing points:

Never activate the lever blade without the brake pads in place and the wheels 

mounted. In case this should have happened see page 10 of this manual.

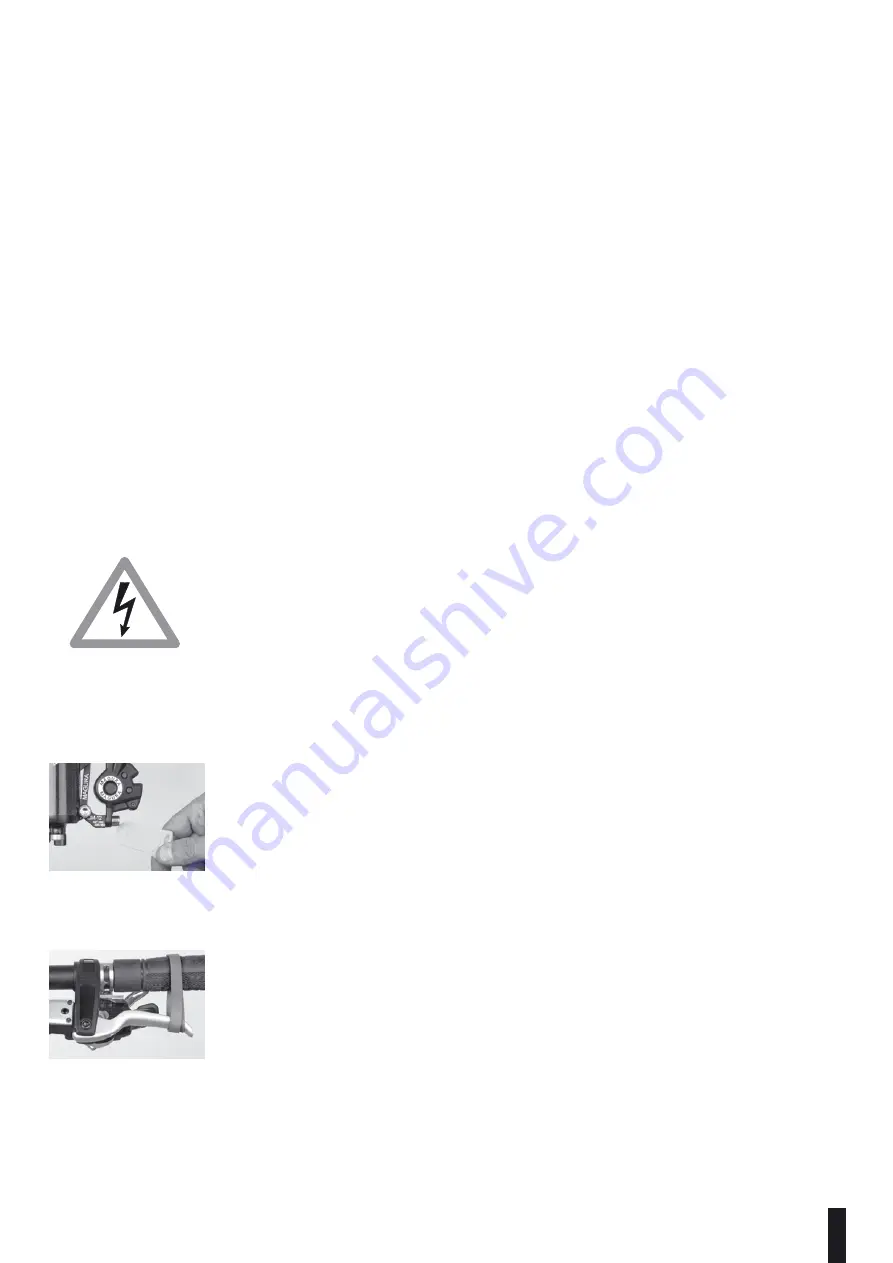
Never throw away the transport device, which has been delivered with the brake.

Always clip it between the brake pads whenever the wheel is removed (e.g. transport 
of the bike).

Always carefully remove wheels. Make sure that the rotors are not damaged, deformed

or contaminated with lubricants.

If the bike is transported upside-down squeeze (with mounted wheel or transport

device!) the lever blade before, hold pressure and fix the blade in 
this position with a rubber band or a cable tie.

During transport in an aircraft you can leave your brake as it is, e.g. you do not 

have to empty it.

4. Transport of the bicycle

Содержание JULIE hp

Страница 1: ...THE PASSION PEOPLE www magura com THE PASSION PEOPLE WORKSHOP 2009 English...

Страница 2: ...t to you There is almost no terrain where a Freerider won t go Tough and stable components are amust have Here they are There are bikers out therefor whom uphill is just a means to an end The downhill...

Страница 3: ...nty 18 13 Trouble Shooting 19 14 Spare parts tuning adaptors 20 21 Table of Contents WARNING This symbol means possible danger for your health and even life if you do not follow the instructions given...

Страница 4: ...its contents and follow our recommendations to help make your new braking experience enjoyable and trouble free Please note that the Louise brake is delivered in different versions with different rot...

Страница 5: ...aking with Should this not be the case you wll have to train to your new setup otherwise any unintended front wheel braking manoeuvre may cause an acci dent leading to possible serious injury If in do...

Страница 6: ...e and let it drop from a moderate height Listen for any rattling noi ses If any are heard check the bearings and all screwed connections 8 Always follow the instructions given in the owner s manual of...

Страница 7: ...10 12 11 5 4 Unpack your Julie HP disc brake 1 brake lever master cylinder connected through the 2 brake hose with the 3 brake caliper with transport device ATTENTION 4 remove the transport device onl...

Страница 8: ...lso bike mechanic or end consumer is responsible for the correct function of the complete bicycle in this context Improper combinations and insuffi cient installation can cause damage and serious acci...

Страница 9: ...iciently As to thru axle hubs or wheels consult the manual of the respective fork manufacturer 6 Squeeze now the brake lever hold the pressure 7 7 Tighten the fitting bolts B Tightening torque 6 Nm 51...

Страница 10: ...badly aligned In such a case you should contact your dealer who can care with the MAGURA Gnann o mat disc optimizer for a totally even surface of the disc brake mounts These are absolutely necessary...

Страница 11: ...ccessory see magura com for your rear brake according to the instructions that are included in the kit Hold the hose carefully so that it cannot snap away Cut the hose squarely The sleeve nut can be r...

Страница 12: ...ds are subject to wear due to friction between rotor and pads The Julie disc brake features a fully automatic pad wear adjustment Regularly check the thickness of your brake pads and replace them if n...

Страница 13: ...a clean rag Make sure that the friction side of the new brake pads points towards the rotor 8 Secure the new pads with the fitting screw a new one is delivered with the new pads Tightening torque 1 N...

Страница 14: ...Tube wearing also this imprint One end of this hose comes with a pressed fitting with blue loctite threadlock which has to be screwed into the Heat Eater as described above The hose is available with...

Страница 15: ...transparent filler tube by pushing in by hand the M6 barbed fitting Put the other end of the filler tube on the syringe and fill the syringe completely with MAGURA ROYAL BLOOD mineral oil Fill the syr...

Страница 16: ...ve several times 10 Before you remove the syringe on the reservoir make sure that there is only a small quantity of oil inside Place a rag around the brake lever and the caliper thus pre venting overf...

Страница 17: ...the syringe and screw in the 3mm allen bleeding screw Tightening torque 2 5 Nm 22 in lbs Re position the brake calliper tightening torque 6 Nm 51 in lbs Re install the brake pads and the wheel Always...

Страница 18: ...th removed wheel brake pads worn holder of pads is wearing the rotor accident incorrect installation break in the brake page4 clean the rotor with warm dis hwater or alcohol replace con taminated brak...

Страница 19: ...rvice kit code 0721 294 contains everything that you need for bleeding and repairing a brake ATTENTION the kit does NOT include a spare hose MAGURA braided hose for all MAGURA disc brakes easily short...

Страница 20: ...0722 421 10x 0721 314 10 x 0720 848 2 5 Nm Ventidisc 6 holes IS 203 mm 0722 569 180 mm 0722 568 160 mm 0722 567 Titanium bolt kits 1x M5x18 0737 812 6x M5x10 0737 813 2x M6x18 0737 811 0722 530 SL Rot...

Страница 21: ...tandard 8 Front Fox 40 Adaptor 12 180 Int Standard 6 Front 0722 426 160 Int Standard Rear Adaptor 26 203 Postmount 7 Front Thor 0724 131 Direct Mount 203 Postmount 8 Front Wotan Travis etc 180 Postmou...

Страница 22: ...ing phone 064 89134 fax 064 41334 wschmidt indigo ie Israel Toy House phone 972 26718282 fax 972 26724521 sales pedalim com Italy Areab phone 0438 435550 fax 0438 439847 info areab it Japan MC Interna...

Отзывы: