


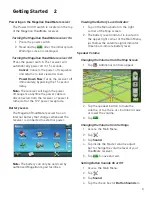


11
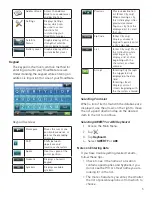
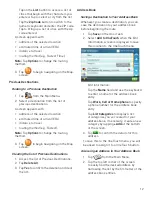
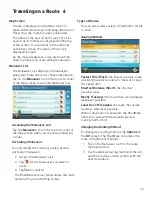
Tap
Options
to change routing method.
Tap
to preview the route.
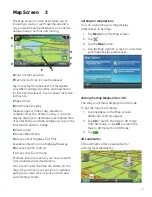
6. Tap
to begin routing on the Map
screen.
Note:
To use a destination later, tap
Save
(before tapping
GO
) to save it in your
Address Book or in the OneTouch menu.
Tips on Entering Addresses Quickly
• When you are entering the name of a city
or a street, only characters that appear in
possible search results are displayed. The
other characters are grayed out.
• Tap
List
after a couple of letters when
entering city names or street names, as
items that contain the specified characters
are listed.
• Search by ZIP codes to narrow the number
of matching cities to (usually) four or fewer.
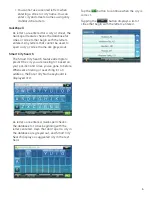
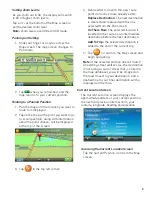
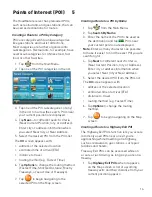
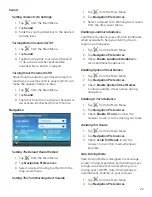
Intersections
Creating a Destination to an Intersection
An intersecting street can pinpoint the location
when you don’t know the street number.
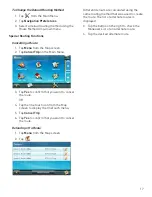
1. Tap
from the Main Menu.
2. Enter City. To do this:
• Use the keyboard to enter the first few
characters of any significant word in
the city name to enter a new city. Tap
on the city name or
if the city you
are searching for appears in the top
field.
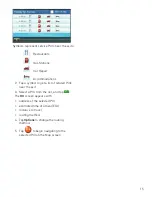
• Tap
Previous
to select the city from
the list of previous cities.
• Tap
List
to display a list of cities that
begin with the characters you entered.
Tap to select the city from the list.
• Tap
Zip Cod
e to switch to the numeric
keyboard and enter the ZIP code. Tap
to bring up a list of cities with this zip
code.
3. Enter the Street name:
With the city selected, the keyboard will
be displayed, prompting you to enter the
street name.
Use the keyboard to enter the street
name. Enter the first few characters of
any word in the street name and tap
or continue entering characters until the
list of streets is displayed.
Note:
You do not need to enter accented
characters.
Tap on the street name from the list.
4. Enter the second street name the same
way as you entered the first street.
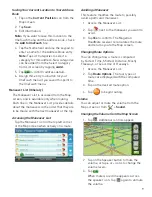
A screen appears with:
• address of the selected location
• estimated time of arrival (ETA)
• distance to travel
• routing method (e.g. Fastest Time).
Note:
Tap
Options
to change the routing
method.
5. Tap
to begin routing on the Map
screen.
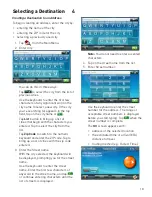
City Centers
Creating a Destination to a City Center
City Center lets you select any city on the map
as your destination, which is useful when
you want to go to a city without selecting any
specific address.
Note:
A route to a city center uses the
geographical center of the city as the
destination point.
1. Tap
from the Main Menu.
2. Enter City:
Tap
Previous
to select the city from the
list of previous cities.
Use the keyboard to enter the first few
characters of any significant word in the
city name to select a new city. If the city
you are searching for appears in the top
field, tap on the city name or
.
Содержание RoadMate 9600-LM
Страница 1: ...Magellan RoadMate User Manual 2016...