Using GOTO Routes
A GOTO route is simply a route with a start point (your present position)
and a single destination point ( a waypoint you select). All that is required
to create a GOTO route is having the destination waypoint saved in memory
. This waypoint can be one that you have saved earlier (which is stored in
your User Waypoint List() or any of the landmarks that come with the
Meridian in its built-in database.
In the previous section, you created a waypoint named "Home". Now
suppose you had gone some place else and you wanted your Meridian to
guide you back. All you need do is to create a GOTO route and the
Meridian will do the rest.
The uses for a GOTO route are endless. You could mark the position of
your campsite and always find your way back. Or you could mark the
location of a hot fishing spot you found, and next season come back to the
exact same spot. Even mark the location of your car in a large parking lot
and never have to worry about roaming endlessly looking for your car.
Creating a GOTO Route
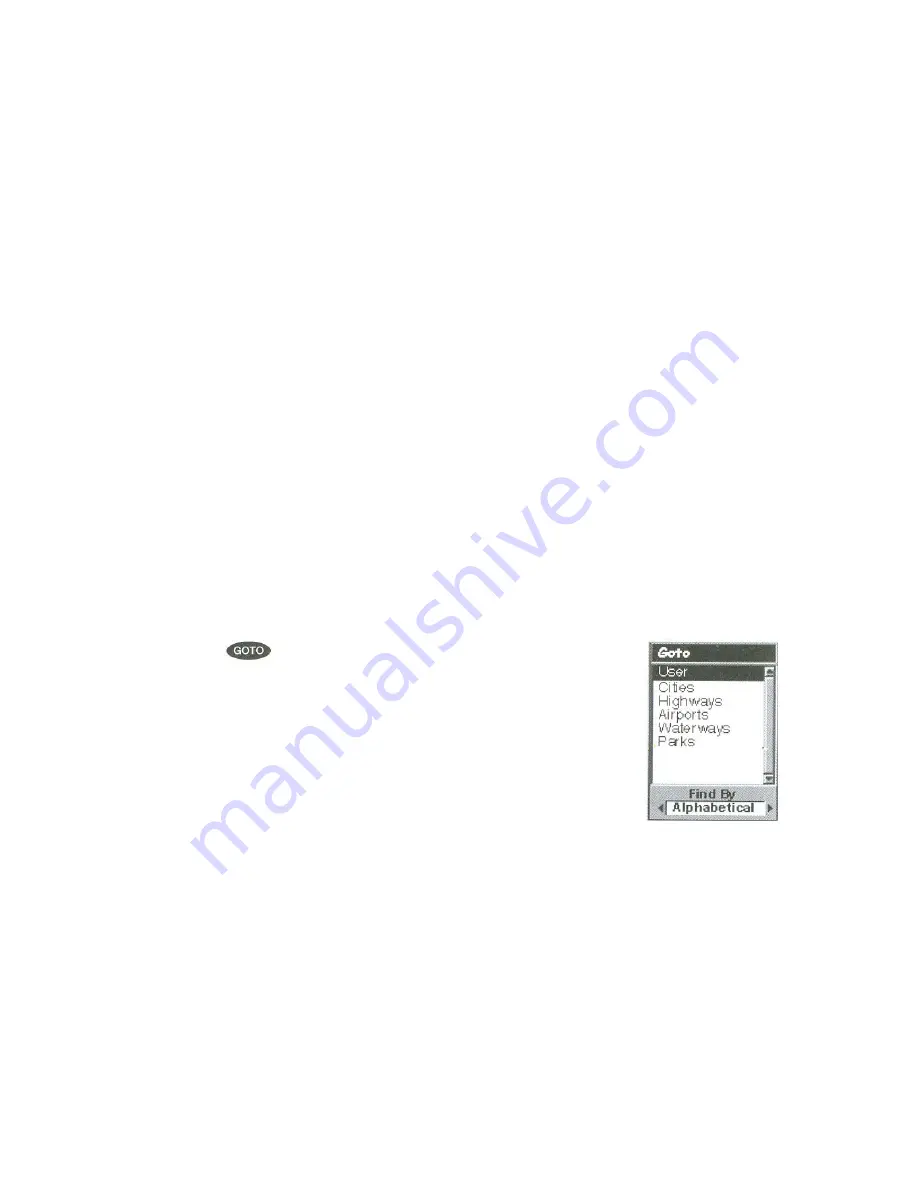
Step1: Accessing GOTO
Step 2: Select Category of Waypoints
Step 3: Select Find By
Press
. The first thing that has to be done is to
select the destination waypoint. This is done by
accessing the waypoint database. The first screen is
used to select the category of the database that the
waypoint is in and how it will be found, alphabetically
or nearest to your position, a city or other waypoints.
Use the Up/Down arrows to move the highlight through the list of waypoint
categories. The first categories in the list is "User Waypoint" and these are
all of the waypoints that you have entered into your Meridian receiver. The
remaining categories are ones that have waypoints which have been
preloaded into your Meridian and are stored in permanent memory. If you
have the Meridian Marine, you will notice your list is considerably longer
then the one shown here as you have additional marine waypoints
preloaded into your Meridian. (For this example, select the "User
Waypoint" category).


