17
Owner’s Manual
Owner’
s Manual
3.4.6 SNAP
Press the
SNAP
button to display and edit the settings
on the SNAPSHOTS TT control software screen. See
Snapshots
on page 42 for a complete discussion.
See
Snapshots
on page 18 to learn about the console’s
Snapshot controls.
3.4.7 EFX
Press the
EFX
button to display effects settings on
the EFX Touchscreen. There are four internal EFX
processors.
See
Effects
on page 45 for more information about the
EFX Touchscreen.
Also see
Internal Effects Processors
on page 27 and
Tabular Summary of DSP
and Effects on page 28.
3.4.8 MATRIX
Press the
MATRIX
button to display the MATRIX
Touchscreen. See
Matrix Mix
on page 44 and
Matrix
Output
on page 27 for more information.
3.4.9 Engineer’s Utility
The Engineer’s Utilities area consists of the clipboard
buttons (
COPY
and
PASTE
) and four green backlit but-
tons:
HELP
,
SETUP
,
UTIL
, and
CTRL
.
HELP
The HELP button displays the current firmware ver-
sion in the TT24 mixing console.
SETUP
Press the
SETUP
button to open the SETUP Touch-
screen, which accesses global console parameters from
the following categories: Operation, General, Digital,
and MIDI. See page 45 for details.
UTIL
Press the
UTIL
button to open the UTIL Touchscreen,
which accesses useful console configuration functions:
Monitor Source, Stereo Input Assign, Talkback, Meter-
ing, Test Tones, and User Bank. See page 49 for details.
CTRL
Pressing and holding the
CTRL
button while access-
ing some console controls provides alternate functions:
•
Default Values
: Press and hold the
CTRL
button
and touch any console parameter to restore its
default value.
For example, press and hold
CTRL
and turn a Pan
V-Pot to return it to its center position or turn an
EQ Gain knob to return the setting to 0.
•
Multiple Solo
: Press and hold the
CTRL
button
to select multiple
SOLO
buttons. This works even
when
EXCLUSIVE SOLO
mode is active in the
GENERAL SETUP Touchscreen (see page 46).
•
Special TT Control Screens
: CTRL+METERS,
CTRL+BANK (ANLG, DGTL, RTNS, or MSTR),
CTRL+MATRIX
COPY
Press the
COPY
button to copy the selected channel’s
parameters to the clipboard (can only contain one
channel’s parameters).
PASTE
Press the
PASTE
button to paste the clipboard con-
tents onto the selected channel(s). The
PASTE
button
has no effect until a channel is copied to the clipboard.
The parameters copied and pasted can be restricted
depending on the current Touchscreen:
• 4-and 6-BAND EQ Touchscreens: only EQ param-
eters
• COMPRESSOR Touchscreen: only compressor pa-
rameters
• GATE/EXP Touchscreen: only gate/expander param-
eters
• DYNAMICS Touchscreen:
both
compressor and
gate/expander parameters
• GRPS/AUXES Touchscreen: only Group and Aux
assignments
• FAT OVERVIEW Touchscreen: all parameters
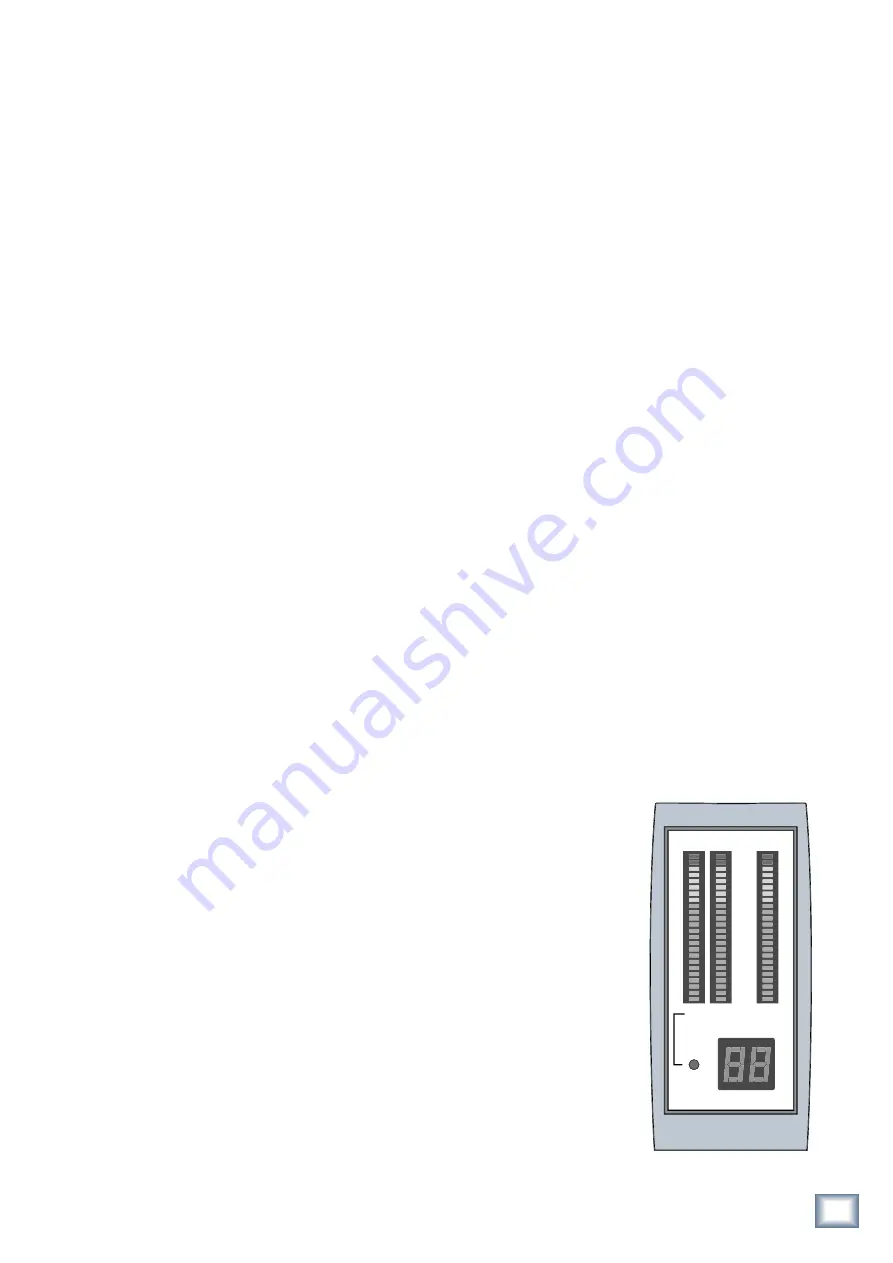
3.4.10 Main Meters and RUDE SOLO LED
The main meters display
the Left, Right, and Center/
Mono outputs, depending on
the console configuration.
The meters receive the same
signal as the Main outputs.
The first red Clip LED at the
top of the meter lights when
the signal reaches -2 dBFS.
If any channel is soloed,
the
RUDE SOLO
LED flashes
red. The
L
and
R
meters now
display the stereo solo signal
instead of the main output.
If the solo signal is mono, it
appears on both the L and R
meters.
The
CTR/MONO
meter
does not display anything
2
L
R
CTR/MONO
RUDE
SOLO
SNAPSHOTS
4
7
10
15
20
25
30
35
40
50
OL
Figure 3-6 Main Meters
and RUDE SOLO


