base
casset
e
cove
r
ic
e
dr
a
w
er
lo
w
e
r
guide
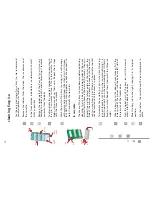
pin A
pin B
hole
slot
pin C
CLEANING%ASYICE
1
3
4
5
2
6
8
9
10
7
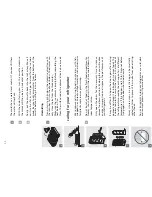
For the easy cleaning of your Easy Ice, we recommend
you disassemble it as follows:
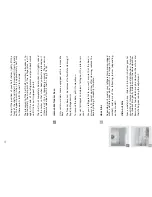
Remove the shelves from the door, the ice drawer and
the cassette.
In the freezer door, slide de Easy Ice sideways to the left
as far as possible.
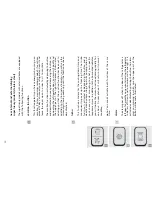
Remove the upper part of the Easy Ice from its mount,
holding the sides in both hands and pulling it towards
you away from the door.
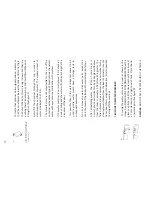
To disassemble the cassette’s components you most push
the pin C outwards to free it from the cassette. The
knobs will come off on their own. Repeat these steps
with the three ice molds.
Wash the parts of the Easy Ice using just a soft sponge
with water and a mild soap. After that, dry it. It is Impor-
tant NOT TO USE scouring packs or abrasive products to
wash it, especially the ice molds.
TOASSEMBLE
The cover of the Easy Ice may become detached during
cleaning. To put it back, the lower guides of the cover
must enter the holes in the base of the mount, then you
should line up the lateral guide of the cover with the
slide of the mount and press the cover onto the mount
until you can hear it has fitted on. The cassette should
not be inserted until the cover is in place.
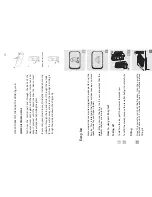
To assemble the cassette put pin A into hole O making
sure pin B enters slot R. Push the ice mold until pin C is
fixed in position. Put on the knob making sure it is firmly
fixed to ice mold. Repeat these steps whit the three ice
molds.
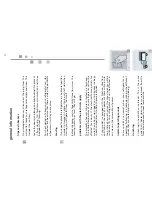
Take the Easy Ice to the door of your freezer. Put the
lower guide of the mount into the extreme left side of
the rear slot of the freezer door.
Push the upper part of the Easy Ice until the mount
enters into the back of the door.
Slide the Easy Ice to the right, leaving it in its original
position.
Put the shelves, the cassette and the ice drawer back in
place.
42

