21
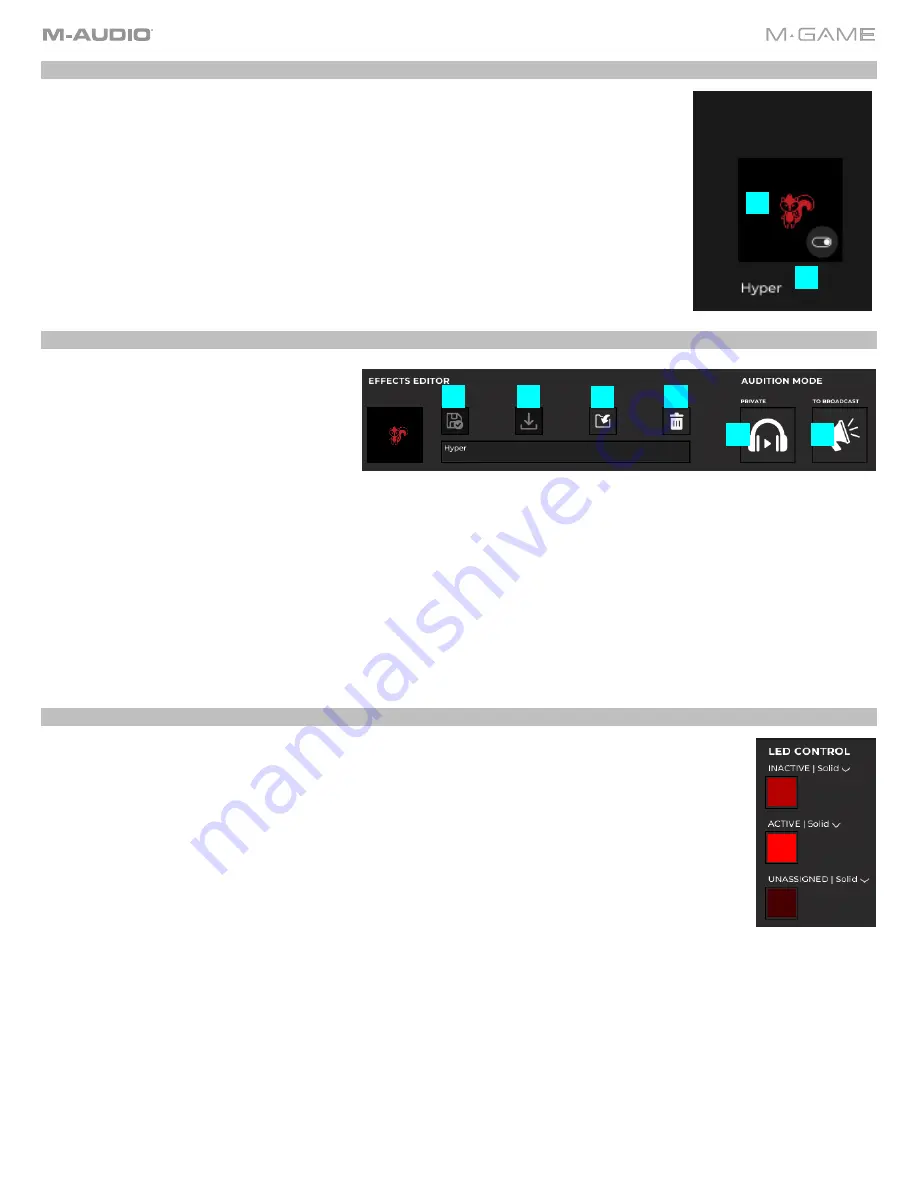
Button Control
Inside the effect button control there is a visual display of the hardware where you can set up
the effect button.
1.
Frame
: When an effect has been assigned, this framed area will show a voice effect’s
corresponding image and Button Type (Mode).
2.
Name
: Below the floating frame is the name of the voice effect. You can drag voice effects
from the effect list onto the button or into the image frame, and it will associate that button
with the effect. The image will fill the frame, the name of the effect will appear below, and
the button type will appear in the small frame at the bottom right of the image.
Menu Bar
A menu bar has basic functions that allow a
user to interact with effects. It contains basic
save, save as, open, new, and remove
functions.
1.
Update Current Effect
: This works like a
standard save function, where changes
to the active Effect are updated.
2.
Save As New Effect
: This works like a standard save as function, showing the Effect and changing the name.
3.
Import Effect Preset
: This opens a special finder type window which allows a user to search for effects library XML
files. You can navigate to an EFFECTS library XML file which would show all potential EFFECTS that could be imported
into the EFFECTS list. You can also select multiple EFFECTS to import using the Shift and CTRL keys.
4.
Remove Effect
:
Removes the currently selected Effect from the Effect list. This
does not
delete the effect from your
hard drive.
5.
Audition Privately
: This will remove the microphone from every output except the headphones for mid-stream editing
purposes. When the app is in audition in phones mode, the AUD indicator at the top of the app will be lit. Navigating
away from the page will turn off audition mode. Audition in phones overrides all mute states / live effect mode.
6.
To Broadcast
:
This will send the effected microphone signal to the live broadcast.
LED Control
Click to select what the button’s LED color and effect will be.
•
Solid
: Keeps the LED as the selected solid color. One color can be selected from the list of colors.
•
Pulse
:
Activates the pulsing effect, which will brighten the LEDs and then dim the LEDs. When Pulse
is active, the LEDs will pulse uniformly.
You can select up to a maximum of 4 LED colors to pulse
between. These colors will go in order from 1-4, and then repeat starting at 1.
1
2
1
2
3
4
5
6
Содержание M-Game Solo
Страница 1: ...M Game Solo User Guide v1 2...
Страница 4: ...4 Appendix 31 LEDs 31 Voice Effects 32 Technical Specifications 33 Trademarks and Licenses 33...
Страница 27: ...27 Color Frame Press a button to open a color selection menu to set the sample color for the hardware control...
Страница 34: ...35...


