Lynx FinishLynx Platinum Скачать руководство пользователя страница 6

FinishLynx P

LATINUM

 Package Quick Start Guide - For Vision Cameras 


Remote Focus (adjusts near/far image focus) 

1.  Click  and  hold 

  and 

  on  the  keypad  on  the  right  of 

the  FinishLynx  screen  until  the  image  becomes  crisp.  Start 
by  focusing  on  the  far  lane  and  adjust  until  all  lanes  are  in 
focus. Ensure that athletes in all lanes (near and far) are in 
focus. 

2.  Once  the  camera  appears  to  be  aligned,  click  the  green 

alignment 


icon  to  close  2-D  alignment,  then  click  the 

red 1-D alignment icon 


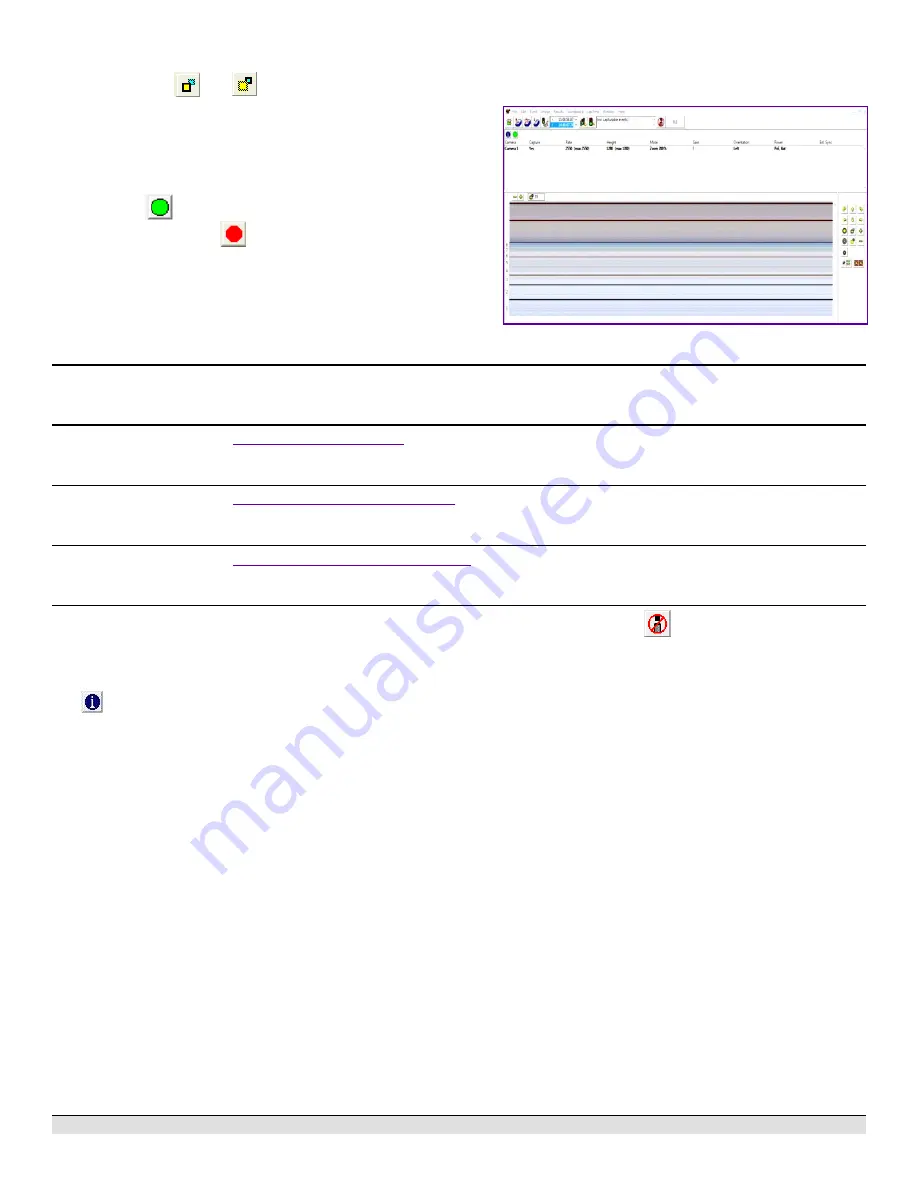
You will know when your camera is aligned on the finish line 
because  the  1-D  image  will  be  primarily  white.  See  image 
below for proper 1-D alignment. 

If  you  followed  the  steps  closely  in  2-D  align,  the  camera 
should  already  be  aligned  in  1-D  mode  as  well.  The  1-D 
image should look similar to the following screen capture: 


Step 10:  

Align the Reverse Angle Camera 

1.  Repeat Step 1:  above for the non-timing Reverse Angle Camera. 

Step 11:  

Mount & Install IdentiLynx camera 

Follow the instructions on the 

IdentiLynx Quick Start Guide    

Step 12:  

Setup RadioLynx wireless start 

Follow the instructions on the 

Internal RadioLynx Quick Start Guide   

Step 13:  

Connect Scoreboard 

Follow the instructions on the 

Portable LED Display Quick Start Guide  

Step 14:  

Automatic Capture Module (ACM) Setup and Operation 

A.  Using ACM to Stop Running Time


The following information will help to set up the ACM feature for 
automatically capturing the athletes as they cross the finish line. 

1.  In  the  Hardware  Control  window,  click 

Camera  Settings 

2. 

Navigate  to  the 

Capture


tab,  set 

Capture  Method


to 

Automatic

, and uncheck 

Manual

.


B.  Using ACM to Stop Running Time


The following information will help to set up the ACM feature for 
stopping or pausing the running time with each race. 

1.  In 

Camera  Settings

,  navigate  to  the 

Inputs 

tab  and  set 

Photo Eye


to 

Internal

2.  Click 

OK


to close the Camera Settings. 

3.  Go to 

Scoreboard 

|


Options

 and set the 

Offset


to 

0.03

C.  Manually Control ACM 

1.  Click 

File 

|


New


to  create  a  new  blank  event,  or  click  the 

Create New Blank Event 

button in the upper left. 

2.  In  the  Event  Window,  make  sure  there  is  an 

A


for  Armed 

and 

S


for Scoreboard, and it says 

Armed


to the right of the 

race  clock.  (When  using  ACM,  the  C  for  capture  will  not 
show until capture is enabled). 

3.  Create a start for the event and confirm that the running time 

is showing on the Portable LED display. 

4.  Click  the  Capture  icon 

  to  enable  capture,  then  hit  the 

Alt


+


F


keys and it will say 

Finishing


to the right of the race 

clock (click 

Scoreboard 

for shortcut keys). 

5.  Have  someone  run  through  the  finish  line.  The  camera 

should capture image, and the running time should stop and 
display the time to the hundredths. 

6.  As you evaluate the image, the results should populate and 

page on the Portable LED Display.


NOTE:

  In  multi-lap  races,  you  can  use 

Alt 

+


P


to  pause  the 

running time as competitors pass in front of the camera. 

D.  Automatic ACM Setting 

NOTE

: Autobreak settings will occur automatically for every race, 

so play with your settings to make sure it fits the way you want to 
handle each race, even multi-lap races. 

1.  Go to 

Scoreboard 

|


Options

2.  Under Running Time: on the third line is 

Autobreak

. These 

settings allow it to occur automatically. 

3.  Checking 

Finish


will  cause  the  running  time  to  stop  when 

capture is enabled and the competitors cross the finish line. 

4.  Checking 

Pause


will cause the running time to  pause each 

time competitors cross the finish line in multi-lap races when 
capture is enabled. 

Содержание FinishLynx Platinum

Страница 1: ...FinishLynx PLATINUM Package Quick Start Guide For Vision Cameras 1 FinishLynx Platinum package Quick Start Guide For EtherLynx Vision Cameras ...

Страница 2: ... switch PoE Switch Super Head Clamp x2 BG2909 Connection box C Box Capture button and USB Serial adapter 1A205U RadioLynx Transmitter and Receiver includes RadioLynx start sensor red case 3L900 2 x Carrying case 1A207 Button splitter B SPL Wired SeriaLynx 8L108 Sonic Wind Gauge with Tripod and 50m cable WG Lynx Lynx 84x168 Pixel LED Display KLXLED084 x168 2x CS Mount 2 8 10mm P Iris lens CS2810P C...

Страница 3: ... Capture Mode ACM plug ins When prompted enter the serial numbers from your flash drive 1 Start FinishLynx by clicking the Windows Start button and selecting All Programs FinishLynx 2 Verify that you have correctly installed the RL NCP and ACM plug ins by clicking Help from the Menu bar and selecting About When the About FinishLynx window appears the NCP ACM and RL plug ins are listed with the ser...

Страница 4: ... track Step 7 Attach the cameras to the tripods NOTE Primary camera is marked TIMING ENABLED on camera ID plate on base of camera 1 Secure the remote positioner to the camera bottom by turning the black handled thumbscrew Make sure the FinishLynx label faces in the same direction as the camera lens will face Note Cables omitted for clarity and actual lens may vary from model shown 2 Connect the ca...

Страница 5: ...reen status bar to complete its cycle Align Camera in EasyAlign 2 D Video Mode 1 Activate EasyAlign by clicking on the 2 D Align Icon in the top left hand corner of the FinishLynx Hardware Control screen 2 The icon turns green and the 2 D video viewer appears within the software The 2 D viewer makes it easy to see how your camera is aligned on the finish The goal is to align the green vertical lin...

Страница 6: ...owing information will help to set up the ACM feature for stopping or pausing the running time with each race 1 In Camera Settings navigate to the Inputs tab and set Photo Eye to Internal 2 Click OK to close the Camera Settings 3 Go to Scoreboard Options and set the Offset to 0 03 C Manually Control ACM 1 Click File New to create a new blank event or click the Create New Blank Event button in the ...

Страница 7: ...a portion of the FinishLynx image by right clicking on the image and drawing a box around the portion you want to appear in your printout For example the first place finisher or a close finish between two competitors Click Ok and then select the printer from the Print dialog to send the image with results to the printer 8 Click File Close Window and then click Yes to save changes you made to the F...

Страница 8: ...ss light in 5 Have your assistant run through the finish line and watch where they appear on the computer monitor The goal is for the runner s torso to be fully visible in both the inside and outside lanes Now have your assistant run through the inner most and outer most lanes Adjust the tilt of the camera until they are clearly visible on both ends of the finish line Note It may be necessary to m...

Отзывы: