


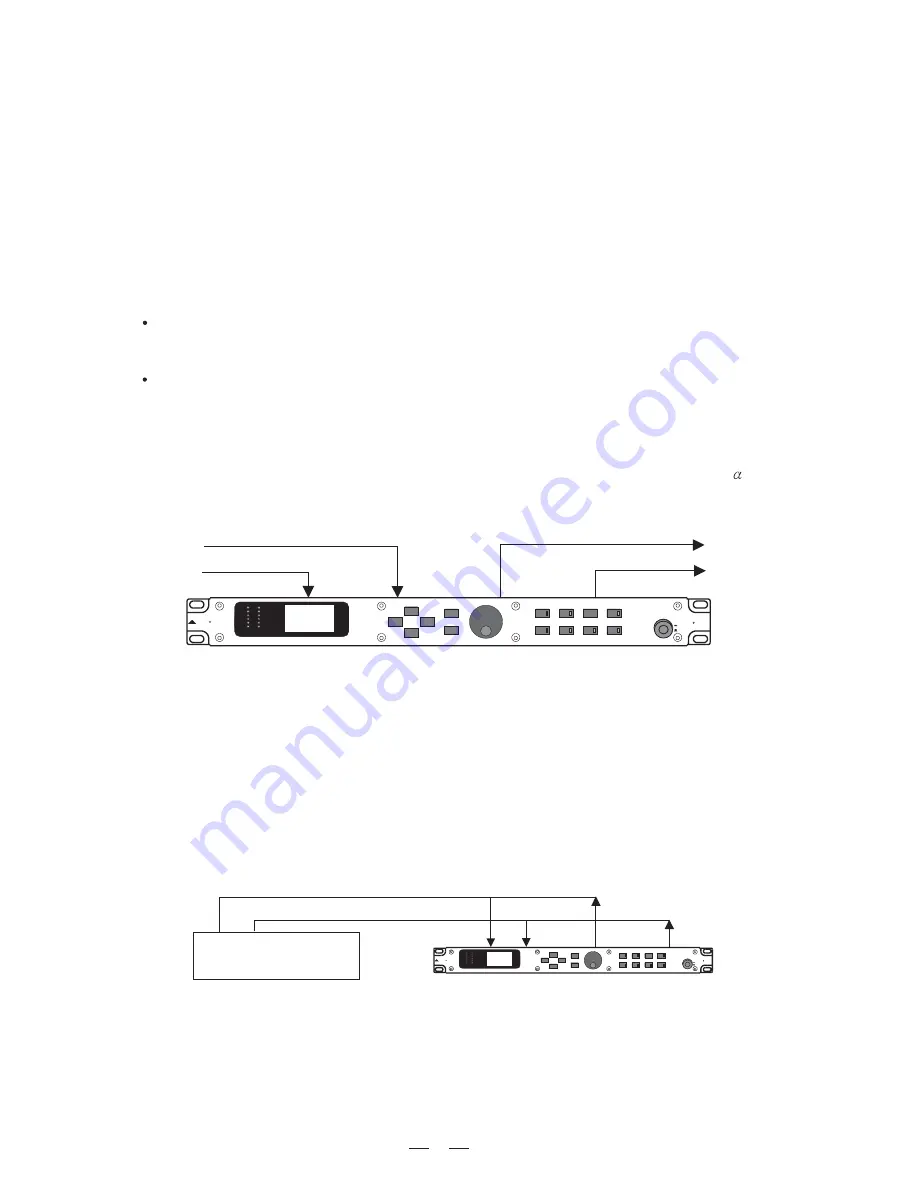
4.3.4 AUX
Press
key (the related LED is ON), this screen will present:
AUX
Up/Down/Left/Right key:
These keys are used to navigate menus.
Enter/Esc key:
These keys are used to access or to leave the menus, or to confirm the parameter values.
Graphic display:
128
64 pixel
11
a. Standard Use
The CONTROL60 may be placed almost anywhere: on a table, on top of an amp, next to a mixing console. If it will
be on furniture, check the rubber feet provided to the bottom of the unit. Make sure to place the CONTROL60 away
from other audio equipment that may induce fields, and away from the signal wiring.
It is possible that CONTROL60 may pick up noise fields generated by other equipment such as large power amplifiers;
in this case, move the CONTROL60 until the noise goes away.
b. Application Examples
- line instrument
To Amplifier or Mixing Console
Output 2
Output 1
From Stereo Audio Source
Input 2
Input 1
- mixer
Interfacing to a Mixing Console
4.2 Installation
6
ON
OFF
POWER
UP
LEFT
RIGHT
DOWN
ENTER
ESC
UTILITY
EDIT
BYPASS
HP/LP
FLAT
AUX
CHANNEL
VU METER
CONTROL60
30 30 Band
Digital Equalizer
R
LTO
-18
-24
-30
-6
-12
CLIP
Using Inserts
MIXING CONSOLE
Input 1
Output 1
Input 2
Output 2
Inserts
When connecting audio cables and/or turning power on and off, make sure that all devices in your system have
their volume controls turned down.
CONTROL60 has two XLR balanced inputs and two XLR balanced outputs allowing the CONTROL60 to be
used in a classical Stereo in and Stereo Out connection or in Mono configuration as described below.
MONO. Select the mono way in EQ TYPE. Connect one audio cable to the
of the CONTROL60 from
Input1
a mono source, and one or two other audio cables from the Output1 and Output2 of the CONTROL60 to a mono/
stereo amplification system or one/two mixer inputs.
STEREO. Select the stereo way in EQ TYPE. Connect two audio cables to the Input1 and Input2 of the CON-
TROL60 from a stereo source, and two other audio cables from the Output1 and Output2 of the CONTROL60
to a stereo amplification system or two mixer inputs.
This connection scheme is suitable also for processing Hi-Fi stereo sources like CD players or recording decks.
To process the signal coming from low signal voltage devices such as Hi-Fi turntable cartridges or microphones,
please insert before CONTROL60 a suitable pre-amplifier (i.e. a RIAA stage for turntables, our
MicTube for
microphones).
The CONTROL60 can accept mono or stereo sends at all system levels. The input circuitry of the CONTROL60
can easily accept professional levels while having enough input and output gain to interface with the low signal
levels of home recording systems.
The CONTROL60 may be connected to a mixing console connecting the unit directly to the channel insert
socket of a single channel that is to be processed. Another way of interfacing the CONTROL60 to a mixer or
recording console would be in-line between the output of your mixing console and the input of a tape deck or
power amplifier. This last setup would be used only if you wanted to process the entire mix.
Use
to select between Freq, Order relative to HP and LP (Butter worth).
Dial changes selected values, while updating the graphics, the asterisk will be shown as above. The filter
will be inserted into the signal path in real time (no confirmation needed).
UP/DOWN/LEFT/RIGHT
Use
to select between Delay Adjust, Delay Fine, Output Volumes and Input Gain.
UP/DOWN/LEFT/RIGHT
Dial changes selected values, no confirmation is needed.
When finished editing the EQ preset, if desired the result can be saved with the STORE function; otherwise
whatever preset loading will overwrite all the parameters. In the same way when the EQ is switched off all
unsaved data will be lost. If the system is switched off while in bypass mode, when switched on again it will
start in bypass mode. In this mode all the keys are disabled until the user presses again the
key
BYPASS
restoring the system to normal operation.
Bypass key:
Using this key is possible to bypass the process, sending to the CONTROL60 outputs exactly
the input signals. this is a digital bypass and the input signal is anyway converted digitally before to be sent
to the outputs. When the CONTROL60 is in this mode (bypass LED will on), all the keys except the
BYPASS
key are disabled.
Edit key:
This key allows the user to enter the EDIT menu (the Edit LED will be On).
When entered the edit menu, the user will be able to access and modify all the parameters related to the
process. When the user modifies one parameter value, the LED starts to blink to signal the update. The LED
will blink until the storing of the new modified preset in one of the 64 available locations.
Flat key:
By means of this key it is possible to reset all the parametric filters, i.e. Set all the gains to 0dB.
This key works only when the edit LED is lit. When entering into EDIT EQ , flat key should be used to set all
the gains to 0dB.
Channel key:
Selects the channel to be edited if the EQ type is dual mono; the channels are indicated by
different LED colors.
Vu-meter key:
This function allows the user to set visualization of input (LED OFF) or output (LED ON)
signal on the LED bar-graphs.
In the above figure it is described the situation in which you want to apply the CONTROL60 to a couple of
channels arriving to a mixing console, in order to apply the desired equalization to single 'instruments' signals;
in this case you will have to use a mixer which features individual channel inserts. Insert jacks on the back of
a mixer provide a way of 'inserting' external processing equipment into the signal path. The insert occurs after
the input amplifier, and before the channel fader; essentially it is the same as connecting the
ON
OFF
POWER
UP
LEFT
RIGHT
DOWN
ENTER
ESC
UTILITY
EDIT
BYPASS
HP/LP
FLAT
AUX
CHANNEL
VU METER
CONTROL60
30 30 Band
Digital Equalizer
R
LTO
-18
-24
-30
-6
-12
CLIP


