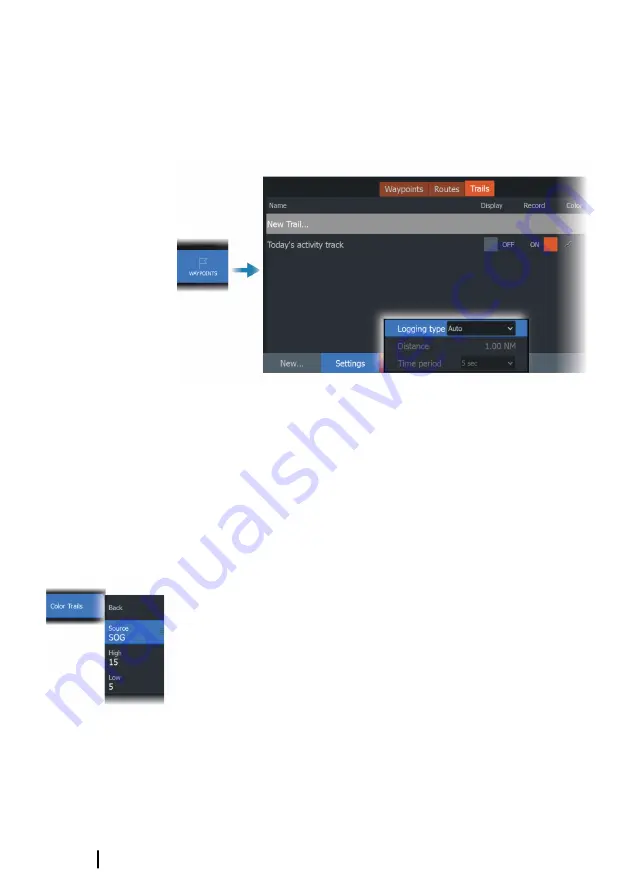
You can select to position trail points based on time settings,
distance, or by letting the system position a trail point automatically
when a course change is registered.
Ú
Note:
The Trails option must also be turned ON in the panel
settings dialog to be visible.
The trail can be colored two ways:
•
Select the trail in the Trails dialog and set the color for the entire
trail in the Edit Trail dialog.
•
Select to let the system color the trail based on source data and
high/low settings. Refer to
Color trails based on data
A trail can be colored based on what source data and the high/low
limits you set:
•
Specify the source (data type) to be colored. To turn off coloring,
select source None.
•
Select the high and low options to set high and low values (after
you specify the source).
A colored trail represents only one source at a time. If you switch
from one source to another, then the colors represent the newly
selected source.
The colors can be shades of green, yellow, and red. Green is for the
high limit you set. Yellow is the value that is the average of the high
and low. Red is for the low limit. If the value is between the high and
the middle values, it appears as a greenish-yellow color. If the value
is between the middle and the low, it appears as an orange color.
58
Waypoints, routes, and trails
| HDS Live Operator
Manual
Содержание HDS Live
Страница 1: ...ENGLISH HDSLive Operator Manual www lowrance com ...
Страница 2: ......
Страница 16: ...16 Contents HDS Live Operator Manual ...
Страница 23: ... pressing the power key The user interface HDS Live Operator Manual 23 ...
Страница 197: ......
Страница 198: ... 988 12063 001 ...


