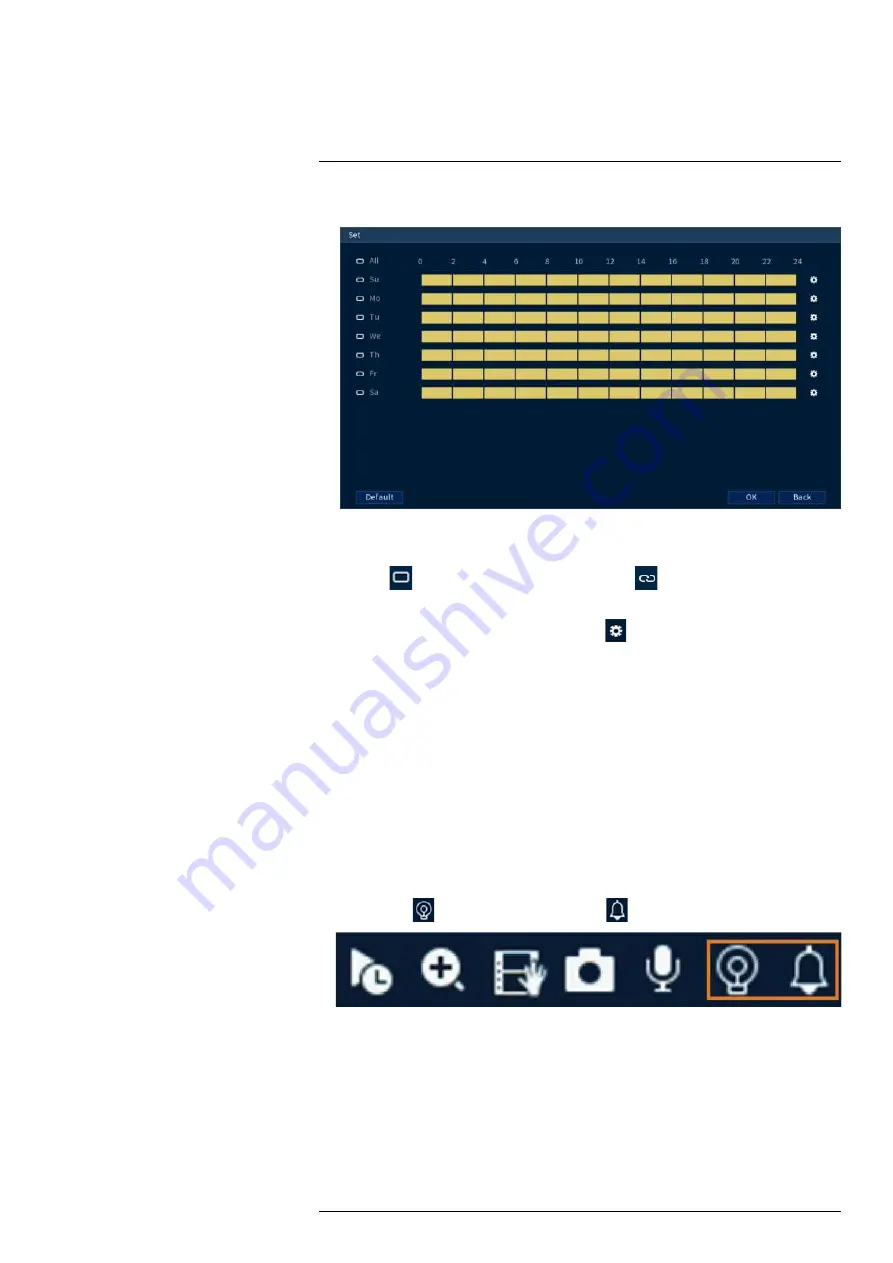
6. Click
Set
next to
Schedule
to set the weekly schedule for automatic deterrence.
• Click or click-and-drag along each of the yellow timelines to quickly add or remove time
from each day’s schedule in 15–minute segments.
• Click
beside 2 or more days to link schedules (
). This allows you to quickly
change multiple schedules at once.
• To make fine adjustments to a schedule, click
. This will allow you to set exact start
and end times for a schedule.
• Click
OK
when finished.
7. Configure preferences for the warning light:
•
Duration:
Choose how long the warning light will stay on when motion is detected.
• Select
Warning Light
for a solid white light, or
Strobe
for a flashing light. If you select
Strobe
, set how quickly the light will flash under
Strobe Frequency
.
8. Click
Apply
.
13.2 Manually Activate Deterrence Features
The system has multiple options for activating deterrence features.
To activate deterrence features on a single camera:
• Hover the mouse pointer near the top of the camera image in Live View to reveal the Camera
Toolbar. Click
to activate the warning light, or
to activate the siren.
• Activate deterrence features using the Lorex Home app.
To activate deterrence features on all connected cameras:
• Push and hold the front panel panic button on the recorder for 3 seconds.
#LX400113; r. 9.0/57192/57197; en-US
42
Содержание N4K2-86BB
Страница 1: ...User Manual N842 Series...
Страница 2: ......
Страница 3: ...User Manual N842 Series LX400113 r 9 0 57192 57197 en US iii...
Страница 51: ...Active Deterrence 13 From the Live View display click on the Navigation Bar LX400113 r 9 0 57192 57197 en US 43...
Страница 105: ...Pan Tilt Zoom PTZ Cameras 20 To run autoscan Click LX400113 r 9 0 57192 57197 en US 97...
Страница 125: ......


