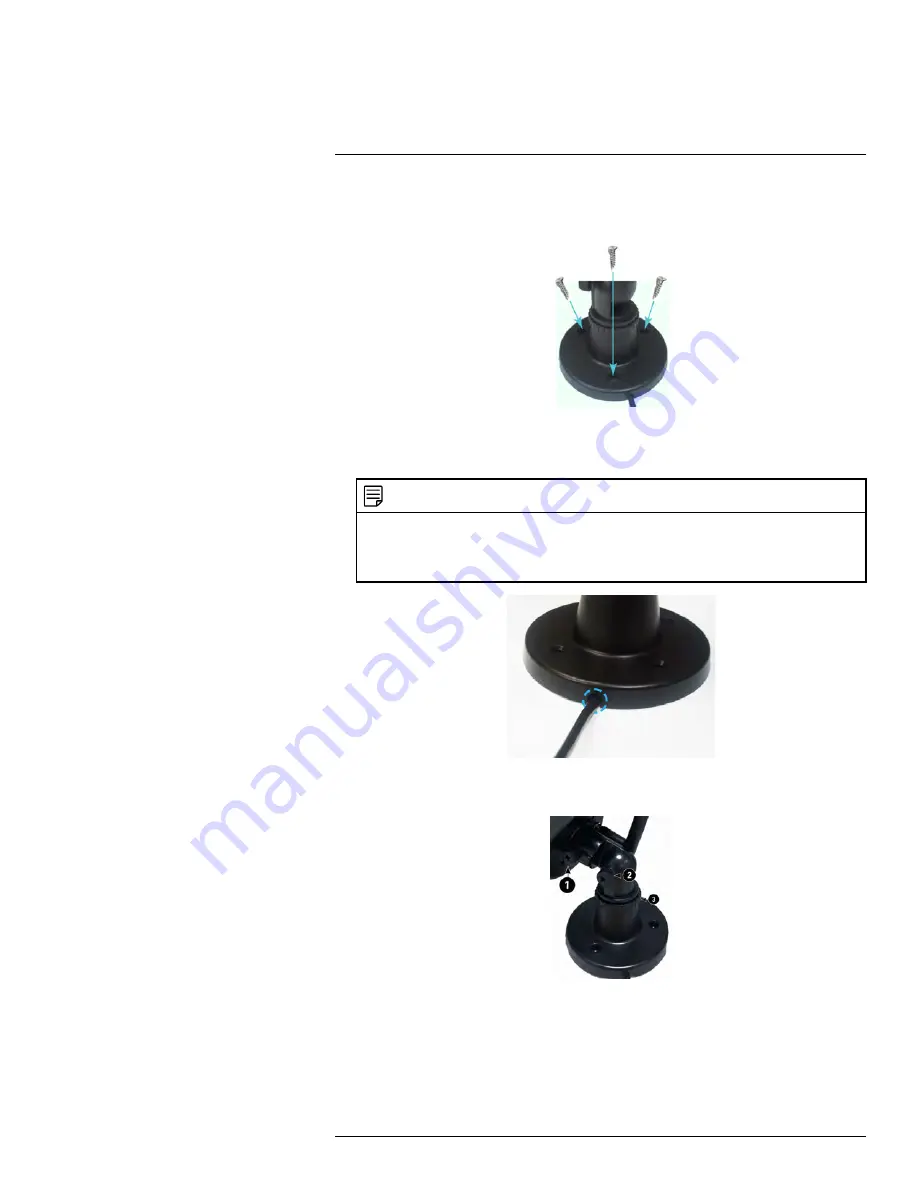
To install the camera(s):
1. Use the included mounting screws to mount the cameras to the mounting surface:
• Mark the positions of the screw holes on the mounting surface.
• Drill holes and insert the drywall plugs (included) as needed.
• Firmly attach the cameras to the mounting surface using the included screws.
NOTE
•
If you run the power cable through the mounting surface, connect power before attaching the
camera to the wall.
•
If you run the power cable along the mounting surface, the cable must go through the cable notch
on the camera base. This will keep the camera base flush to the mounting surface.
2. Loosen the thumbscrews
(1, 2)
and the adjustment ring
(3)
by turning them counter
clockwise.
3. Adjust the angle of the cameras until the desired view is set. Tighten the thumbscrews
and the adjustment ring to secure each camera’s position.
#LX400077; r.43964/43966; en-US
7
Содержание LW2760 Series
Страница 1: ...USER S GUIDE LW2760 Series...
Страница 2: ......
Страница 3: ...USER S GUIDE LW2760 Series LX400077 r 43964 43966 en US iii...
Страница 71: ......


