49
B1001
3.
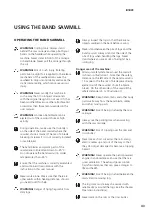
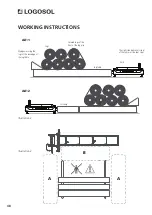
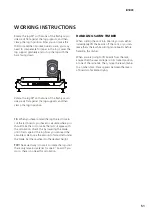
Use a log turner/rotator when rolling a log on the
log bed. Centre the log on the log bed and roll it up
against the log supports. Check the position of the
log on the log bed. To be able to cut through the
whole length of the log, the log should not protrude
past the last cross bunk.
4.
Rotate the log to a position that will give the best
sawing yield.
5.
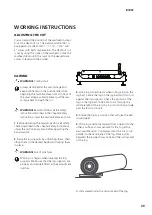
If the log is distinctly tapered from one end to the
other, you have to compensate for this to get the
best possible result. You always want the cut to run
parallel to the centre line of the log. Place a shim
between the log bed cross bunk and the narrow end
of the log.
SAWING
WARNING!
Cutting tools:
Always stand behind the saw carriage and
keep both hands on the push handle while
operating the machine. Never stand in front of
the saw carriage or blade. Never pull the saw
carriage back through the cut.
WARNING!
Read and follow all the safety
instructions described in the chapter
Safety
Instructions
under the section
Before each cut
.
1
. Before operating the sawmill, perform all safety
checks described in the chapter
Safety Instructions
under the section
Every time before operating the
band sawmill
.
2
. Raise the log supports by unhitching them, then
lifting them to the desired height and locking them
in place.
WARNING!
Risk of pinching.
Watch your fingers when lowering the log
supports. Make sure that the log supports are
properly and securely fitted in their adjustment
notches.
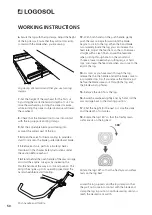
ADJUSTING THE CUT
You can adjust the position of the sawhead in steps
to set the depth of cut. The band sawmill B1001 is
equipped as standard with 1”, 1 1/2”, 1 3/4” and
2” scales with kerf compensation. The depth of cut
is set by using the crank on the sawhead. Crank the
sawhead down until the mark on the desired scale
comes in level with the pointer.
A shim placed under the narrow end of the log.
WORKING INSTRUCTIONS

