manualshive.com logo in svg
background image

13

• VLAN Configuration allows you to group individual ports into a small

“virtual” network of their own, independent of the other ports.

• Priority Configuration allows you assign varying degrees of priority to

each port, making it possible for the information being transmitted on spe-
cific ports to always take precedence over other ports.

• Restart allows you to restart the Switch, causing it to reboot.

• Exit takes you out of the Configuration.

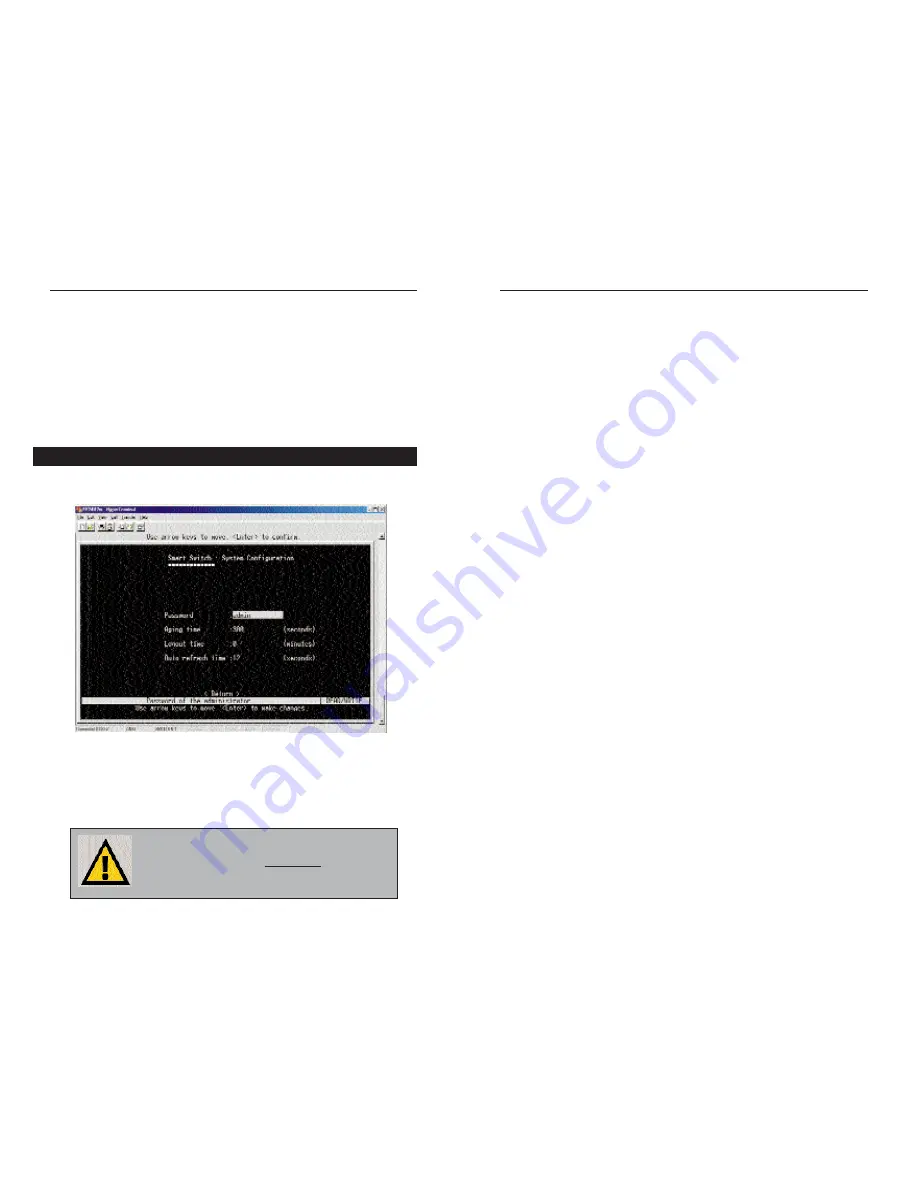
The System Configuration Menu screen (shown here),  allows you to view or
change the following values:

• Password - This is where the administrative password for the Switch is set.

With the password value highlighted, press the Enter key.  Type in the new
desired password and press the Enter key.  You will receive a message in
the white status bar near the bottom of the screen that indicates whether or
not the change was accepted.  Passwords may be made up of any charac-
ters on the keyboard.

12

EtherFast

®

Dual Gigabit with 24-Port 10/100 Switch

Instant Gigabit

®

Series

The System Configuration Menu

N

No

otte

e:: When changing your Password, record the

new Password in a safe place.  If this new
Password is lost, there is n

no

o  m

me

etth

ho

od

d of recovering

it..  Without the Password, it will be impossible to
change any other settings on the Switch.

• Aging time - This value indicates how long the Switch will keep an MAC

address which has had no activity in its buffer memory.  Keeping the
MAC address in memory is valuable because the Switch does not have to
search the network in order to deliver data to that MAC address, signifi-
cantly preserving network bandwidth.  After the specified amount of time
passes, the Switch will “dump” the inactive MAC address, meaning that
when new data comes through for that MAC address, the Switch will have
to relocate it before transmitting.  The higher the value, the longer the
Switch will remember the MAC address before dumping it.  To change the
value, highlight it and press the Enter key.  Enter the new value, which is
measured in seconds, and press the Enter key again.  You will receive a
message in the white status bar near the bottom of the screen that indicates
whether or not the change was accepted.

• Logout time - This value, measured in minutes, is how long the Switch

will wait before logging an inactive user off the network.  Once the speci-
fied number of minutes have passed, any inactive user will be automatical-
ly logged out.  In order to change this value, highlight the Logout time
value and press the Enter key.  Type in the new desired value and press
the Enter key.  You will receive a message in the white status bar near the
bottom of the screen that indicates whether or not the change was accept-
ed.

• Auto refresh time - This value, measured in seconds, is how often the

Switch will refresh the values on any screens in the menu. In order to
change this value, highlight the Auto refresh time value and press the
Enter key.  Type in the new desired value and press the Enter key.  You
will receive a message in the white status bar near the bottom of the
screen that indicates whether or not the change was accepted.

Once you have made all the changes you wish to make, highlight Return
and hit the Enter key to return to the Main Menu.

Содержание EF24G2 - EtherFast Dual Gigabit

Страница 1: ...EtherFast Dual Gigabit with 24 Port 10 100 Switch Use this guide to install Linksys EtherFast Dual Gigabit with 24 Port 10 100 Switch EF24G2 User Guide Instant Gigabit Series...

Страница 2: ...sys makes no warranty or representation expressed implied or statutory with respect to its products or the contents or use of this documentation and all accompa nying software and specifically disclai...

Страница 3: ...Gigabit ports and connect your workstations to any of the available 10 100 ports and you ve maximized your network In addition the Switch has easy hassle free setup with no configuration required Sav...

Страница 4: ...ting in full duplex mode and flicker amber when collisions are being encountered GIGABIT PER PORT G1 G2 1000Link Green The LED will illuminate when the Gigabit Port is successfully connected to a netw...

Страница 5: ...gh 5 Instant Gigabit Series The EtherFast Dual Gigabit with 24 Port 10 100 Switch is equipped with twenty four 10 100 RJ 45 ports These RJ 45 ports support network speeds of either 10Mbps or 100Mbps a...

Страница 6: ...ed in any standard 19 inch rack Use the following instructions to rack mount the Switch Before you begin disconnect all cables from the Switch 1 Place the Switch right side up with the front panel fac...

Страница 7: ...ing click the arrow and choose the COM port that the Switch will be connected to In the example below COM1 is the port selected Click the OK button 8 EtherFast Dual Gigabit with 24 Port 10 100 Switch...

Страница 8: ...ows you configure speed duplex and flow control admin status and auto negotiation Port Trunking Configuration allows you trunk ports together for faster backplane speeds in data transmission Port Mirr...

Страница 9: ...twork in order to deliver data to that MAC address signifi cantly preserving network bandwidth After the specified amount of time passes the Switch will dump the inactive MAC address meaning that when...

Страница 10: ...screen that indicates whether or not the change was accepted The default setting for this value is Enabled Speed Duplex Current This value is automatically determined by the Switch and cannot be chang...

Страница 11: ...omatically determined for these two ports by the Switch and cannot be changed by the user Speed Duplex This value is automatically determined for these two ports by the Switch and cannot be changed by...

Страница 12: ...Port mirroring allows the user to assign two different ports to carry the same data stream This is a diag nostic tool that permits the user to verify that all data is being transmitted and received p...

Страница 13: ...ort causing your Switch to malfunc tion The VLAN Configuration Menu Link Status and Admin Status Same as the other 24 ports See the beginning of this section Auto Negotiate This value is automatically...

Страница 14: ...shold see above Each of the 26 ports are listed Using the arrow keys highlight the port you wish to set the priority value for and press the Space Bar key This will toggle between the options 0 7 Once...

Страница 15: ...s wires junctions and connectors in terms of the data rates that they can sustain CAT 5 cable has a maximum throughput of 100 Mbps and is usually utilized for 100BaseTX networks CAT 5e The additional...

Страница 16: ...number Mbps MegaBits Per Second One million bits per second unit of measure ment for data transmission Network A system that transmits any combination of voice video and or data between users NIC Netw...

Страница 17: ...0 C to 70 C 40 F to 158 F Operating Humidity 20 to 95 Non Condensing Storage Humidity 20 to 95 Non Condensing Environmental Warranty Information BE SURE TO HAVE YOUR PROOF OF PURCHASE AND A BARCODE FR...

Страница 18: ...nksys Customer Support at one of the phone numbers or Internet addresses below Sales Information 800 546 5797 LINKSYS Tech Support and RMA Issues 800 326 7114 949 261 1288 Fax 949 261 8868 Email suppo...

Страница 19: ...Copyright 2001 Linksys All Rights Reserved Printed in the USA http www linksys com...

Отзывы: