Step 5 - Enter the MTH Data
The MTH (math) screen tells the ScanGauge the math needed to scale and/or offset the value received
for the X-GAUGE entry screens. When you’re done, press the OK button to proceed to the next step.
Step 6 - Give Your Gauge a Name
The Name Screen allows you to input a 3-letter designator for the name of the gauge you are making.
This screen allows a complete ASCI set of characters to be used. This includes punctuation and
symbols. You can give the gauge any 3-character name. Please note, you can give your new gauge a
name that matches those that are already defined. This should be avoided as it can cause confusion.
When you’re done, press the OK button to proceed to the next step.
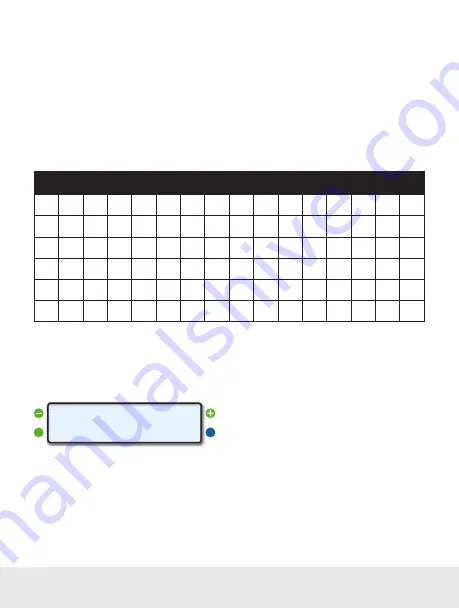
Available ASCI Characters
A
B
C
D
E
F
G
H
I
J
K
L
M
N
O
P
Q
R
S
T
U
V
W
X
Y
Z
a
b
c
d
e
f
g
h
i
j
k
l
m
n
o
p
q
r
s
t
u
v
w
x
y
z
1
2
3
4
5
6
7
8
9
0
!
@
#
$
%
^
&
*
(
)
-
+
{
|
}
!
~
;
:
‘
,
<
.
>
/
?
[
]
_
«
°
Step 7 - Saving Your X-GAUGE
To save your new X-GAUGE programming, press the lower right function button next to SAVE. If you
wish to discard the changes you have made, press CANCEL. This will cause all the modifications to the
X-GAUGE memory slot to be canceled and not saved.
Pressing SAVE will return you to the X-GAUGE
Home Screen. The new X-GAUGE name will also
appear in the top line, next to the memory slot
number.
<EDIT
<XGAUGE
EXIT>
AAA 0>
44 — www.ScanGauge.com


