


7
Chapter 3
Managing Switch Using the Web Interface
Manage the Switch Using Web Browser
After you power up the switch for the first time, you can configure the switch using a web browser. For
more information about managing the switch, see the user interface manual.
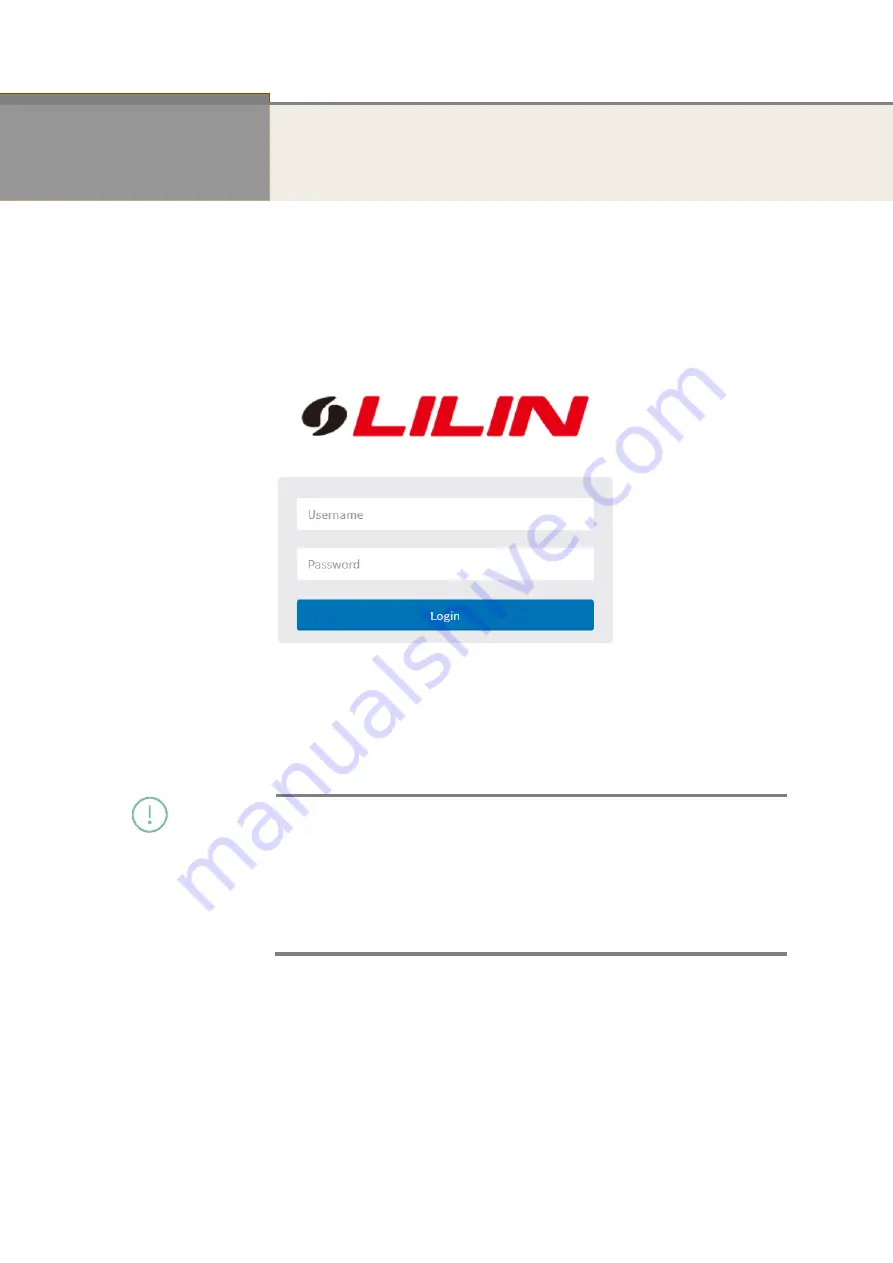
Figure 9 Web Interface login page
Step1.
Power on the computer and the switch.
Step2.
Plug in the power cable.
Step3.
Set the IP configuration on your computer.
N
OTE
:
1. If the switch is using the factory default IP address of 192.168.0.1,
you must chose an IP address for the computer in the range of
192.168.0.1
—192.168.0.253 that is not already in use.
2. If the IP addresses is assigned by a DHCP server, make sure the
DHCP server is running and can be reached from the switch and
the computer. It might be necessary to disconnect and reconnect
the devices for them to discover their new IP addresses from the
DHCP server.
Step4.
Enter the user name and password (The default username is “admin” and password is
“admin”.), and then click “Login” to login to the switch configuration window.


