Whole-House Water Systems
START-UP PROCEDURE / INITIAL BACKWASHING OF NEW SYSTEM
1.
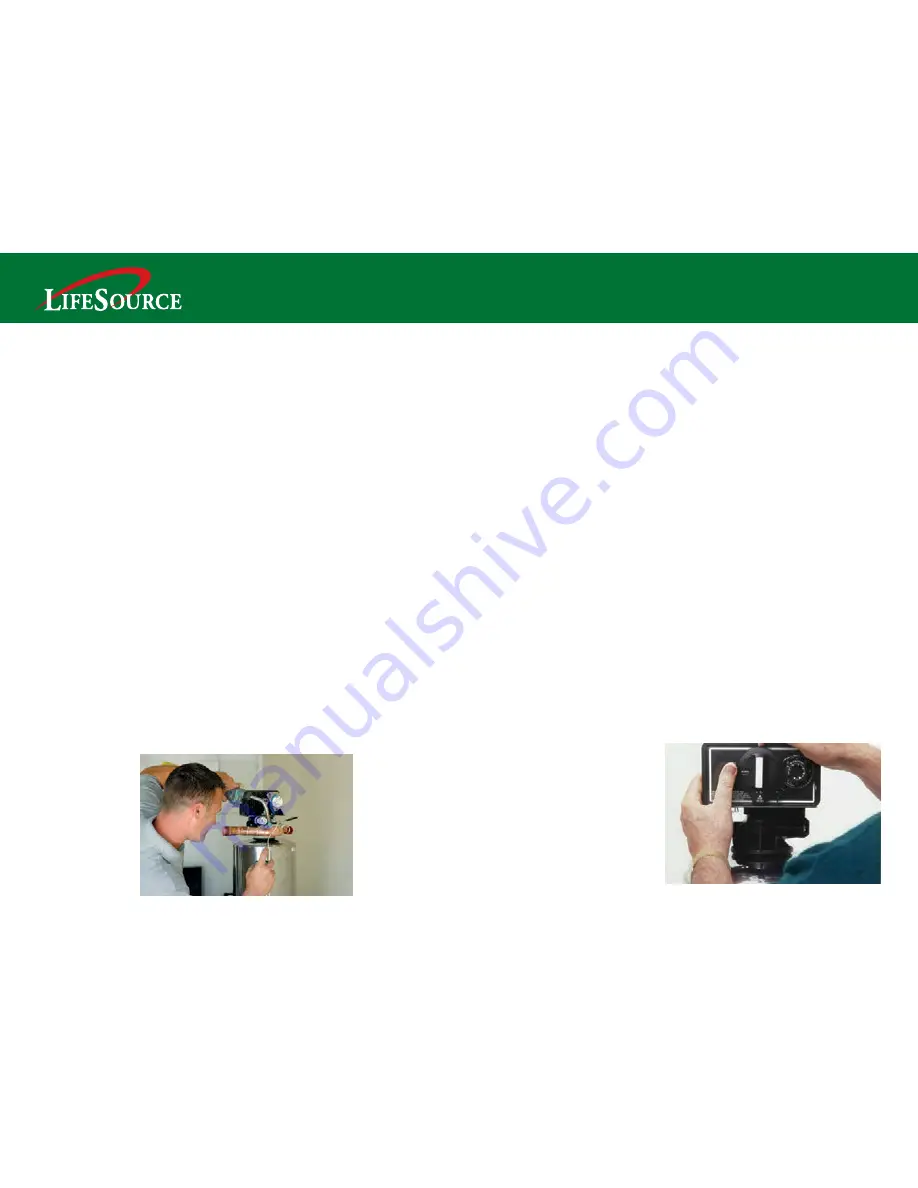
Lift off the valve cover and turn the control knob on your left (as you face the tank)
CLOCKWISE, from the SERVICE position (notch in 9 o'clock position) to the BACK-
WASH position (notch in roughly the 12 o'clock position).
2.
Using the built-in bypass lever as the control for the flow of water, GRADUALLY
move the lever half-way to the service position to allow the water to SLOWLY fill the
tank. The water flows down the riser pipe, allowing the tank to fill from the bottom. A
moderate amount of air will escape out of the backwash line as the water fills the
extensive pore network of the carbon.
3.
Allow the backwash water to run for two to three minutes. Then SLOWLY move the
bypass lever to the SERVICE position. The water will continue backwashing. Leave the
bypass lever in the SERVICE position.
4.
Turn the Control knob at the top of the tank SLOWLY clockwise to RAPID RINSE
(between 4 and 5 o’clock). Stop and leave it on RAPID RINSE for 2 to 3 minutes. Water
will be running out the backwash line during this time.
5.
Then turn the control knob slowly clockwise to BACKWASH (approximately 12
o’clock). While turning the control knob, the water will stop running out the backwash
line. Once you reach the BACKWASH position, the water will once again begin flowing
out the backwash line. Stop and let it run for two or three minutes at BACKWASH.
5.
Repeat this procedure of SLOWLY turning the control knob clockwise to RAPID
RINSE (between 4 and 5 o’clock), stopping there and letting it run for two to three
minutes, then SLOWLY turning the control knob clockwise to BACKWASH (approxi-
mately 12 o’clock) stopping there and letting it run on BACKWASH for two to three
minutes to thoroughly prep your new filter. SLOWLY turning the control knob between
BACKWASH and RAPID RINSE
is manually backwashing your
filter. Your system is equipped
with a timer to automatically
backwash the system on a
regular basis for you, so you will
not need to manually backwash
it in the future.
Continued Next Page
INSTALLATION INSTRUCTIONS
1.
Set the tank where it is to be installed. If tank head was shipped separately, fill
tank with water, remove the blue cap on the center riser pipe and screw on the valve
head securely.
2.
Open the bypass lever and take out the blue plastic caps in the bypass to allow
air to escape. Plumb in the tank. The arrows on the valve head indicate incoming
and outgoing water. If installing a sediment filter, plumb in the sediment filter before
the tank. Arrows indicate in and out. Care should be taken to cool the plastic casing
when soldering nearby pipe connections. The house ground wire, if necessary,
should be looped around the system to maintain proper grounding.
3.
Connect the drain line, using care not to over-tighten. If using PVC pipe, 1/8"
holes can be drilled about 4" apart along the pipe lying on the ground to better
distribute the water in a garden area. Do NOT cap the end of the pipe. In areas where
freezing occurs, the backwash line cannot be located outdoors.
4.
If using the 24-volt transformer, run wire and make connections - but do not plug in.
5.
Before turning on the main water line, set the built-in bypass lever to the BYPASS
position.
6.
Turn on the main water supply. Check all connections for leaks.
After installing your new LifeSource Water System, it is extremely important that the
system be backwashed thoroughly to remove the dust and carbon fines on the new
carbon. If the tank has been pre-filled with water, extreme care must be taken in the
initial filling. Filling the tank with water too quickly can cause the carbon to be forced
up into the valve head and may jam or ruin the piston which controls the backwash.
6
7
Содержание Premier 2250-S
Страница 1: ......


