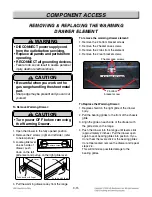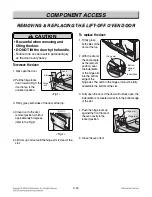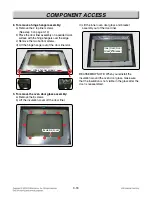
3-17
COMPONENT ACCESS
REMO
REMO
VING THE O
VING THE O
VEN DOOR HANDLE & GLASS
VEN DOOR HANDLE & GLASS
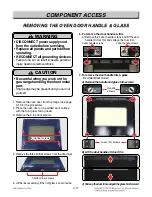
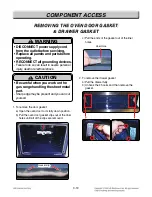
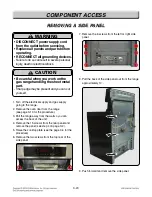
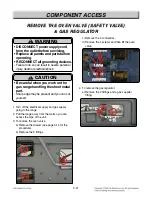
1. Remove the oven door from the range (see page
3-15 for the procedure).
2. Place the oven door on a padded work surface
with the front glass facing down.
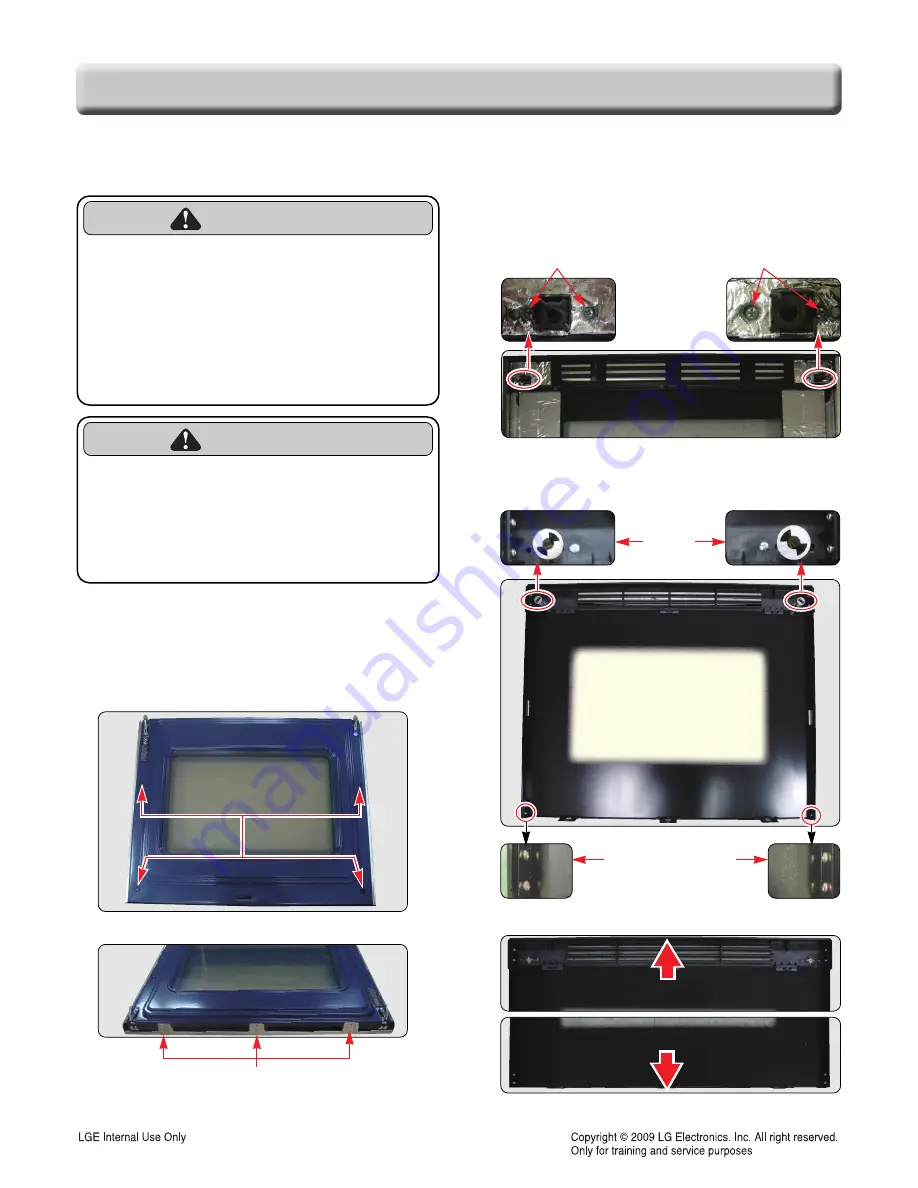
3. Remove the 4 top door screws.
4. Remove the three bottom screws from the door liner.
5. Lift the liner assembly off the front glass and set it aside.
6. To remove the door handle & trim
a) Remove the 4 door handle screws and lift the door
handle off door trim and slide up the door trim.
7. To remove the door handle trim & glass
(for white / Black model)
a) Remove the handle and glass trim screws
b) Lift the door handle off door trim
c) Slide up the door trim and pull the glass trim forward
4 top liner screws
4 top liner screws
4 top liner screws
4 top liner screws
4 top liner screws
4 top liner screws
4 top liner screws
4 top liner screws
4 top liner screws
4 top liner screws
4 top liner screws
4 top liner screws
4 top liner screws
4 top liner screws
4 top liner screws
4 top liner screws
4 top liner screws
4 top liner screws
4 top liner screws
4 top liner screws
4 top liner screws
4 top liner screws
4 top liner screws
4 top liner screws
4 top liner screws
4 top liner screws
4 top liner screws
4 top liner screws
4 top liner screws
4 top liner screws
2 door handle screws
3 bottom liner screws
2 door handle screws
WARNING
• DISCONNECT power supply cord
from the outlet before servicing.
• Replace all panels and parts before
operating.
• RECONNECT all grounding devices.
- Failure to do so can result in severe personal
injury, death or electrical shock.
CAUTION
• Be careful when you work on the
gas range handling the sheet metal
part.
- Sharp edge may be present and you can cut
yourself.
Handle
screws
Glass trim screws

