3-6
COMPONENT ACCESS
NOTE:
When servicing the burner housing or the
valve, it is necessary to service also the pipe which
is designated.
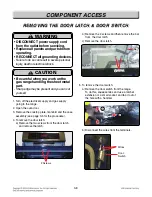
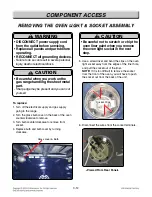
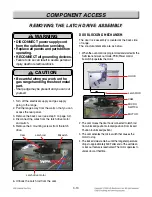
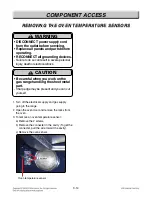
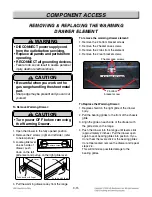
1. Turn off the electrical supply and gas supply
going to the range.
2. Remove the cooktop plate (See “REMOVING
THE COOKTOP PLATE” on page 3-4).
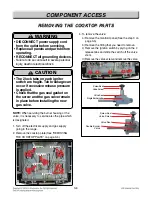
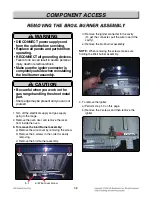
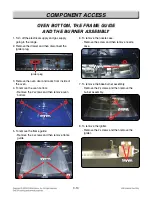
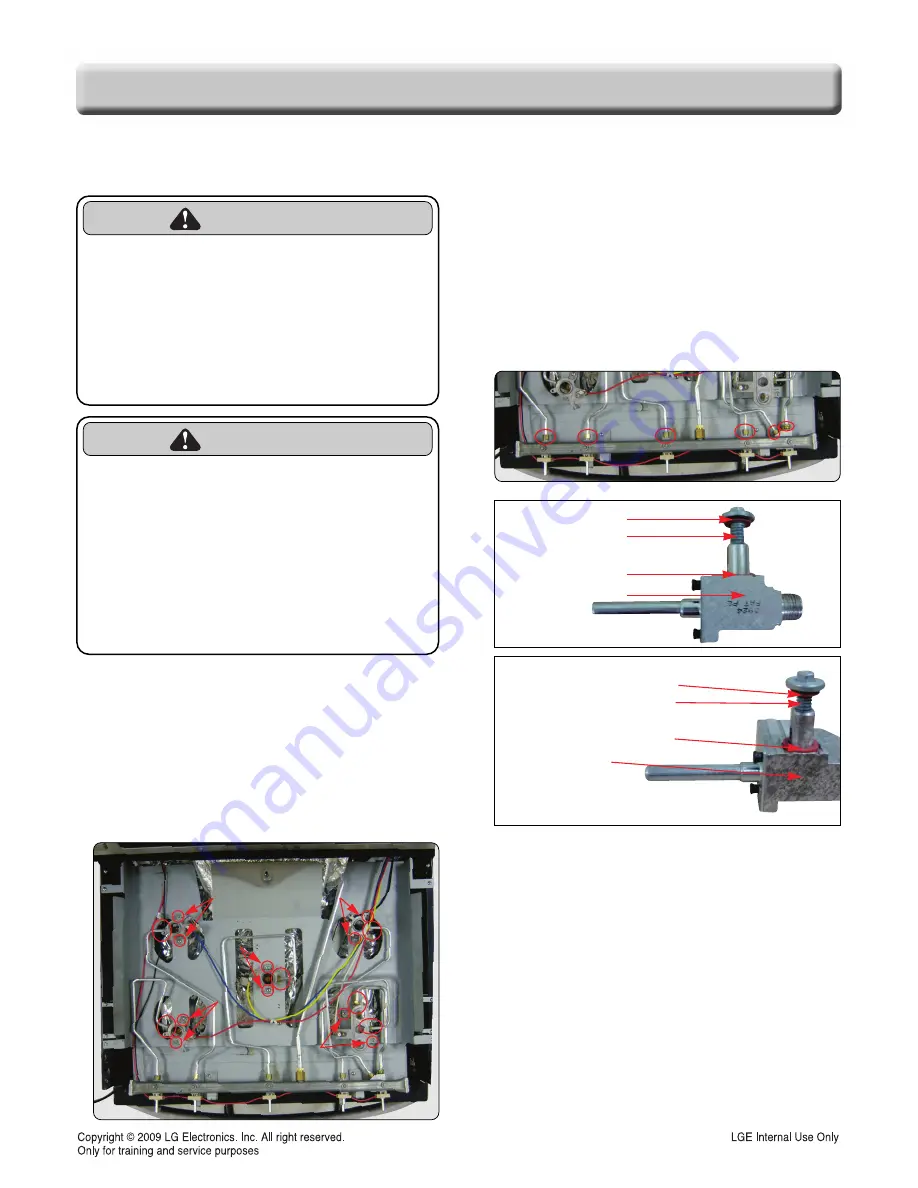
4. To remove the valve:
a) Remove the manifold panel (See the step 3 on
page 3-5).
b) Remove the fitting that you need to remove.
c) Remove the ignition switch by prying on the 2
release tabs and slide the switch off the valve
stem.
d) Remove the valve screw and remove the valve.
REMO
REMO
VING THE COOKT
VING THE COOKT
OP P
OP P
AR
AR
TS
TS
WARNING
• DISCONNECT power supply cord
from the outlet before servicing.
• Replace all panels and parts before
operating.
• RECONNECT all grounding devices.
- Failure to do so can result in severe personal
injury, death or electrical shock.
CAUTION
• The 2 lock tabs on each igniter
switch are fragile. Tab breakage can
occur if excessive release pressure
is applied.
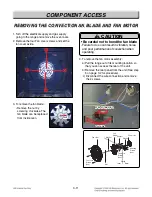
• Check that the gas seal gasket on
the screw and the gas valve remain
in place before installing the new
gas valve.
2 screws
2 screws
2 screws
2 screws
2 screws
2 screws
2 screws
2 screws
2 screws
2 screws
2 screws
2 screws
2 screws
2 screws
2 screws
2 screws
2 screws
2 screws
2 screws
2 screws
2 screws
2 screws
2 screws
2 screws
2 screws
2 screws
2 screws
2 screws
2 screws
2 screws
2 screws
2 screws
2 screws
2 screws
2 screws
2 screws
2 screws
2 screws
2 screws
2 screws
2 screws
2 screws
2 screws
2 screws
2 screws
2 screws
2 screws
2 screws
2 screws
2 screws
2 screws
2 screws
2 screws
2 screws
2 screws
2 screws
2 screws
2 screws
2 screws
2 screws
2 screws
2 screws
2 screws
2 screws
2 screws
2 screws
2 screws
2 screws
2 screws
2 screws
2 screws
2 screws
2 screws
2 screws
2 screws
2 screws
2 screws
2 screws
2 screws
2 screws
2 screws
2 screws
2 screws
2 screws
2 screws
2 screws
2 screws
2 screws
2 screws
2 screws
Screw Seal
Valve Screw
Valve Seal
Single Burner valve
Screw Seal
Valve Screw
Valve Seal
Double Burner
Valve

