Action
Yes
No
1
Measure the distance between the defects.
•
If the distance between the defects equals 35.4 mm
(1.39 in.) or 125.7 mm (4.95 in.), then replace the
photoconductor unit.
•
If the distance between the defects equals 42.0 mm
(1.65 in.), then replace the developer unit.
•
If the distance between the defects equals 47.1 mm
(1.86 in.) or 90.0 mm (3.54 in.), then replace the transfer
module.
•
If the distance between the defects equals 78.5 mm
(3.09 in.), then replace the transfer roller.
•
If the distance between the defects equals 96.6 mm
(3.80 in.) or 127.6 mm (5.02 in.), then replace the fuser.
2
Resend the print job.
Do the repeating defects still appear?
Take note of the
distance, and then
contact
or your service
representative.
The problem is solved.
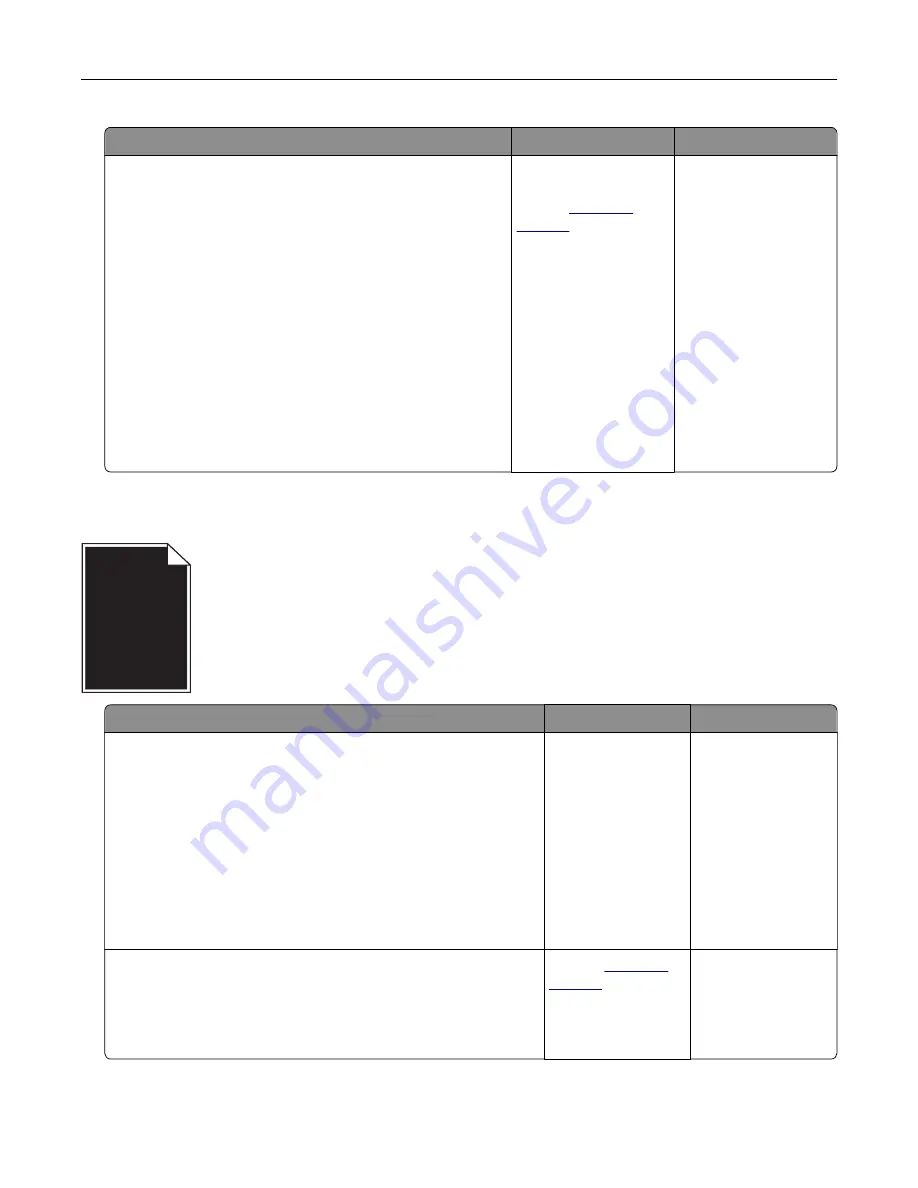
Solid color or black images
Action
Yes
No
Step 1
a
Remove, and then reinstall the imaging unit or imaging kit.
Warning—Potential Damage:
Do not expose the imaging unit
or imaging kit to direct light for more than 10 minutes.
Extended exposure to light may cause print quality problems.
Warning—Potential Damage:
To avoid damage, do not touch
the underside of the imaging unit or imaging kit.
b
Resend the print job.
Is the printer still printing solid color or black images?
Go to step 2.
The problem is
solved.
Step 2
Replace the imaging unit or imaging kit, and then resend the print
job.
Is the printer still printing solid color or black images?
Contact
The problem is
solved.
Troubleshooting
150
Содержание CX820 Series
Страница 1: ...XC8100 Series User s Guide March 2016 www lexmark com Machine type s 7564 Model s 596 598 ...
Страница 60: ...2 Remove and empty the hole punch box 3 Insert the hole punch box 4 Close door J Maintaining the printer 60 ...
Страница 64: ...2 Open door A 3 Remove the waste toner bottle Maintaining the printer 64 ...
Страница 69: ...2 Open door A 3 Remove the waste toner bottle Maintaining the printer 69 ...
Страница 72: ...2 Open door A 3 Remove the waste toner bottle Maintaining the printer 72 ...
Страница 76: ...3 Remove the pick roller 4 Unpack the new pick roller Maintaining the printer 76 ...
Страница 83: ...4 Remove the waste toner bottle 5 Open door A1 6 Remove the transfer belt Maintaining the printer 83 ...
Страница 93: ...2 Open door G 3 Remove the staple cartridge 4 Unpack the new staple cartridge Maintaining the printer 93 ...
Страница 95: ...2 Open door G 3 Pull out the staple cartridge holder Maintaining the printer 95 ...
Страница 113: ...2 Remove the jammed paper Note Make sure that all paper fragments are removed Clearing jams 113 ...
Страница 119: ...2 Open door G 3 Pull out the staple cartridge holder Clearing jams 119 ...
Страница 123: ... Area J1 Areas J3 and J4 Areas J5 and J6 3 Close door J Clearing jams 123 ...
Страница 127: ...Staple jam in door J 1 Open door J 2 Remove the staple cartridge holder Clearing jams 127 ...
Страница 129: ...5 Insert the staple cartridge holder 6 Close door J Clearing jams 129 ...
Страница 179: ...Installing the staple finisher 1 Turn off the printer 2 Open door C 3 Remove the paper bail Upgrading and migrating 179 ...
Страница 182: ...4 Open the covers at the right side of the caster base 5 Open door C Upgrading and migrating 182 ...


