Verifying RFID printer setup
Before you encode the tags and print the forms, make sure that:
The RFID option is installed correctly.
–
The RFID option is installed below the standard 550
‑
sheet tray.
–
The RFID option is installed above the media tray.
Note:
For more information, see
“Installing the RFID option” on page 9
The RFID option is connected to the rear USB port of the printer.
The RFID
‑
enabled firmware is installed correctly.
1
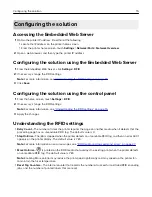
From the Embedded Web Server, click
Settings
>
Reports
>
Device
>
Device Information
.
2
From the CALSTAT section, look for Engine, and then check its value. The value must be
CB.
040.E015RFID
. If the value is incorrect, then install the RFID
‑
enabled firmware. For more information,
see
.
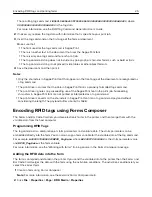
If you encode RFID tags using Forms Composer, then make sure that the Forms and Bar Code Card is
installed correctly. For more information, see
“Installing the Forms and Bar Code Card” on page 11
If you encode RFID tags using PCL data stream, then make sure that you have installed the special
‑
release
version of the Lexmark Universal Print Diver PCL 5 emulation. For more information, see
You have tested the compatibility of the RFID media with the printer.
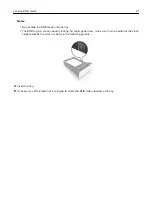
1
Load the RFID media with the RFID tag facedown. Make sure that the RFID tag is placed toward the
back of the tray.
2
Insert the flash drive that came with the RFID option package.
3
From the display, touch
LexmarkRFID_Testfile.pdfa
.
4
Touch
.
5
Using an RFID reader, scan the tag on the RFID media. If the RFID reader shows
ASCII
LexCS725RFID
or
HEX 4c 65 78 43 53 37 32 35 52 46 49 44
, then the RFID media is
compatible with the printer.
The RFID media are loaded properly in the media tray. For more information, see
.
Verifying RFID printer setup
22


