


Setting Top-Of-Form for continuous forms in pull mode
1
Turn the printer on.
The Paper Out light blinks if no paper is loaded.
2
Move the paper select lever down to the position.
3
Load continuous form paper on the pull tractor feed pins.
4
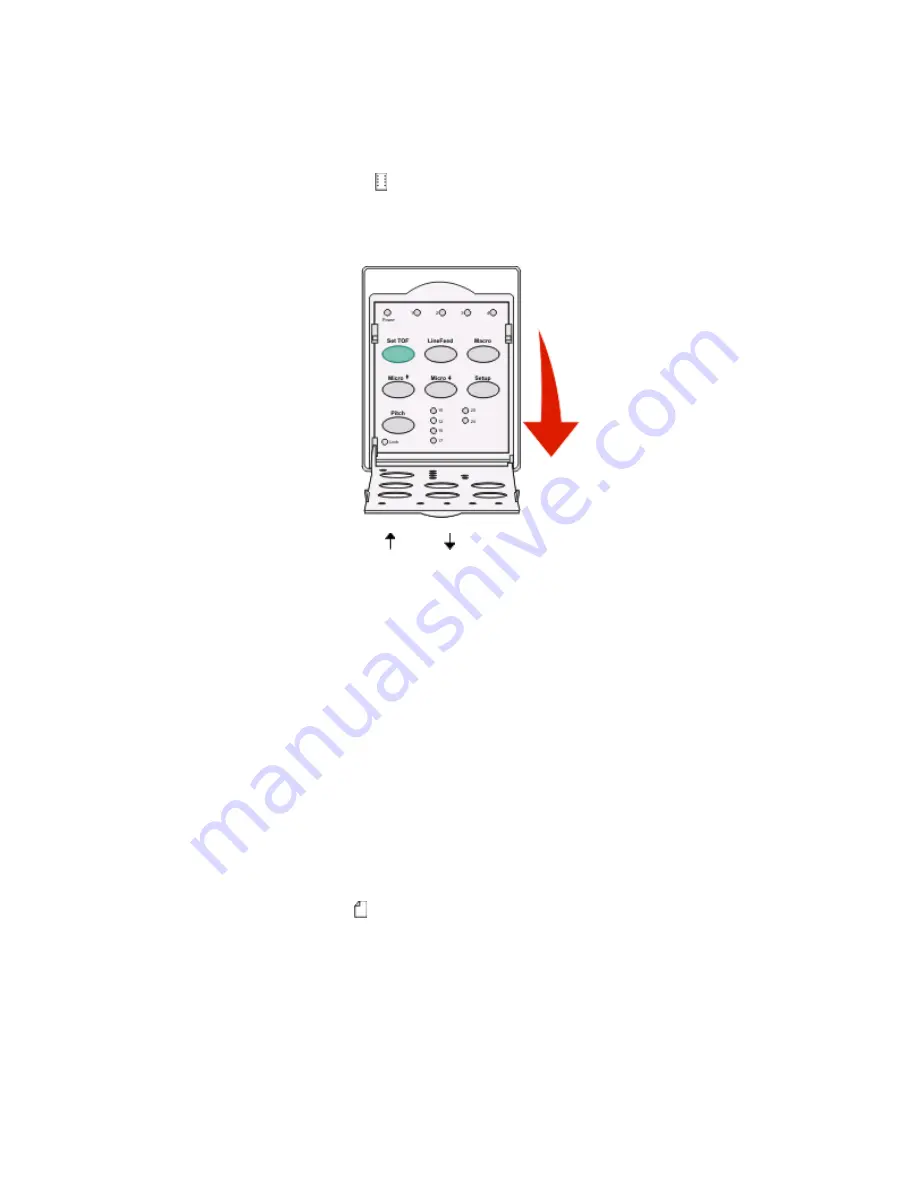
Open the control panel cover to access layer 2.
5
Press any paper movement button (
Micro
,
Micro
, or
LineFeed
) to move the paper to the Top-Of-Form
position.
Note:
Use the second sheet of continuous forms paper to set Top-Of-Form.
6
Press
Set TOF
to set and save Top-Of-Form.
7
Close the control panel cover.
Note:
Top-Of-Form is not saved if the printer is turned off or runs out of paper when the printer is in pull tractor
mode.
8
Press
Start/Stop
to set the printer online.
Setting Top-Of-Form for a cut form or an envelope
Top-Of-Form can range from minus one inch to plus 22 inches from the top of a cut form.
1
Clear the paper path.
The Paper Out light blinks if no paper is loaded. If the Paper Out light is off, tear off excess forms, and then press
Load/Unload
. If a single form is loaded, press
FormFeed
to clear the paper path.
2
Move the paper select lever up to the position.
3
Load a cut sheet of paper or an envelope through the manual feeder.
•
If Auto Cut Sheet is set to On, the printer will move the paper or envelope to the current Top-Of-Form.
•
If Auto Cut Sheet is set to Off, press
FormFeed
when the Paper Out light goes off.
Loading paper
41
Содержание 2500 Series
Страница 5: ...Notices 76 Edition notice 76 Power consumption 79 Index 83 Contents 5 ...
Страница 6: ...6 ...


