Faxing
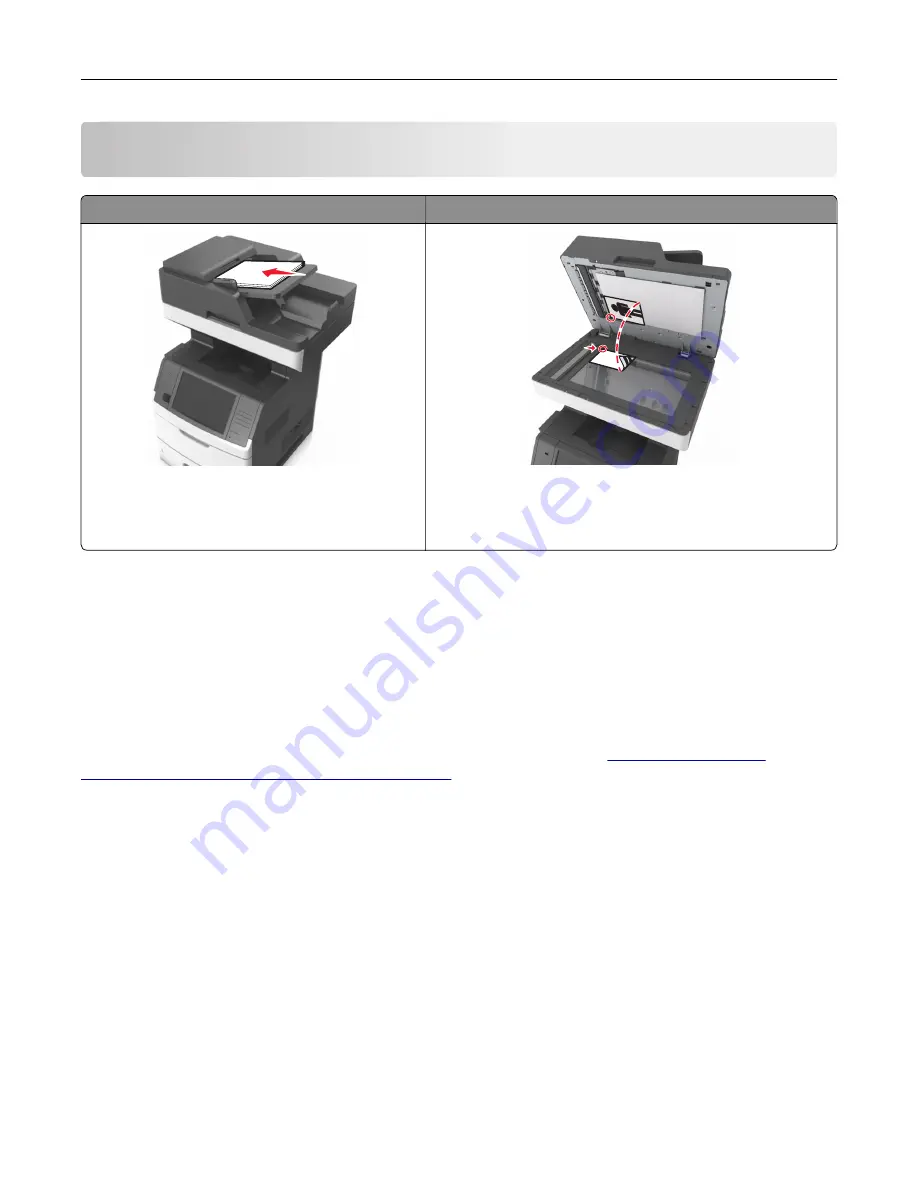
Automatic document feeder (ADF)
Scanner glass
ABC
Use the ADF for multiple
‑
page documents including
two-sided pages.
Use the scanner glass for single-page documents, book
pages, small items (such as postcards or photos),
transparencies, photo paper, or thin media (such as magazine
clippings).
Setting up the printer to fax
Initial fax setup
Many countries and regions require outgoing faxes to contain the following information in a margin at the top
or bottom of each transmitted page, or on the first page of the transmission: fax name (identification of the
business, other entity, or individual sending the message) and fax number (telephone number of the sending
fax machine, business, other entity, or individual). For more information, see
telecommunication terminal equipment” on page 342
To enter your fax setup information, use the printer control panel, or use your browser to access the Embedded
Web Server and then enter the Settings menu.
Note:
If you do not have a TCP/IP environment, then you must use the printer control panel to enter your fax
setup information.
Using the printer control panel for fax setup
When the printer is turned on for the first time, a series of start
‑
up screens appear. If the printer has fax
capabilities, then the Fax Name and Fax Number screens appear.
1
When the Fax Name screen appears, do the following:
a
Enter the name to be printed on all outgoing faxes.
b
Enter the fax name, and then touch
Submit
.
2
When the Fax Number screen appears, enter the fax number, and then touch
Submit
.
Faxing
114


