


8
When all power cables have been properly connected, push the Power Switch on
the back of the GNS-8000A. The LCD Panel will light up and the system is ready
for set-up:
At this time the hardware installation of your GNS-8000A is complete. Please
proceed to “Set-up before First Operation”.
2.2 Set-up before First Operation
The factory default settings of your GNS-8000A will search the network via DHCP
(Dynamic Host Configuration Protocol) to automatically detect IP address settings.
If your network does not support the DHCP protocol, the GNS-8000A will use the
default settings listed below:
IP Address: 192.168.0.1
Subnet Mask: 255.255.255.0
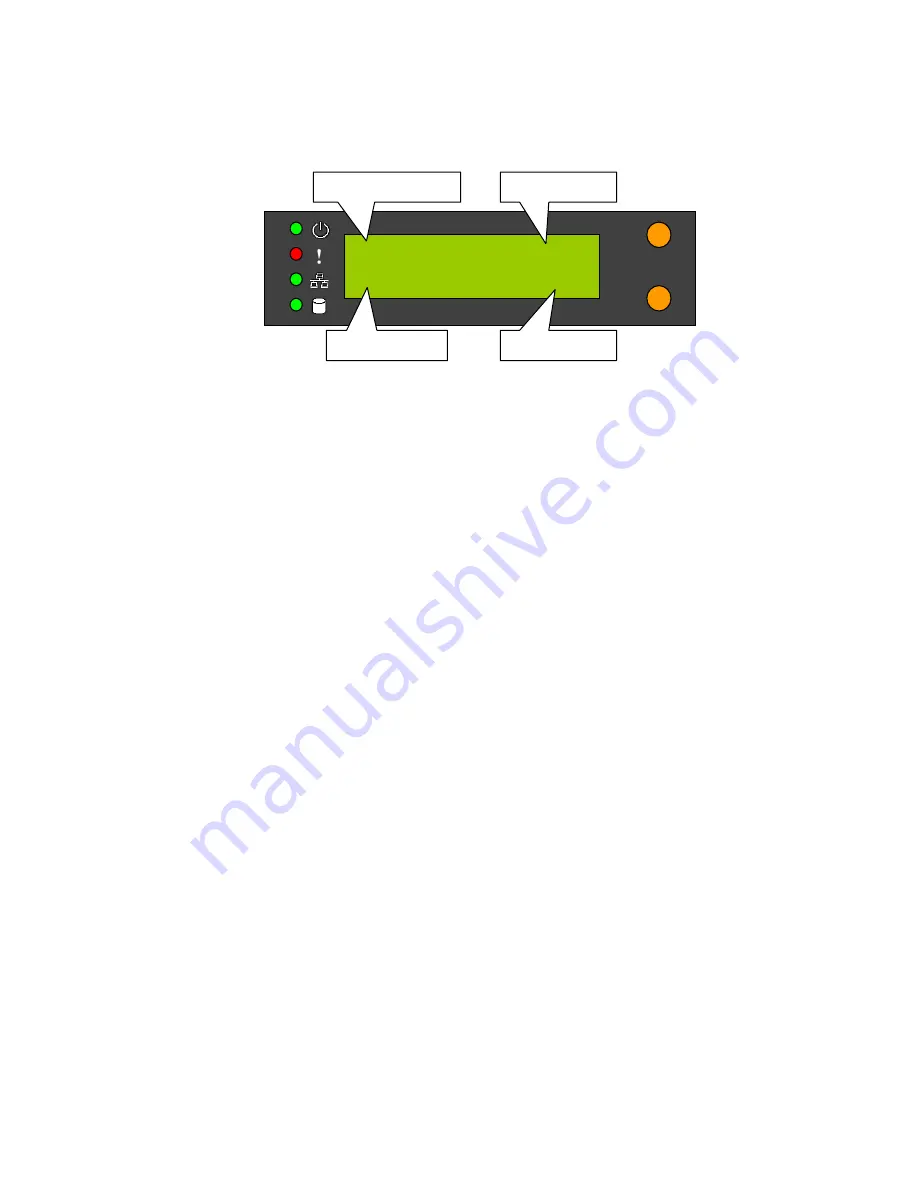
Once the GNS-8000A completes its boot-up process, the LCD panel displays the
current IP address settings.
If your network does not support the DHCP protocol, you must configure your
GNS-8000A to the proper LAN settings before using it for the first time. (If you
do not know your LAN settings, please contact your network administrator).
1. Use the LCD panel to change the network settings. For more information, see
Appendix A.
2. Use the Quick Install Wizard on the CD-ROM to change the network settings.
For more information, see Appendix F.
Once you complete the GNS-8000A settings, you can use your web browser to
perform further administrative settings.
NAS001122 05/22
192.168.0.1 02:48
Server Name
IP Address
Date
Time
Содержание GNS-8000A
Страница 1: ...Fa LevelOne GNS 8000A 4 bay NAS w 2 Gigabit Ethernet User s Manual...
Страница 12: ...11 3 2 Server Administration...
Страница 44: ...43 1 2 3...
Страница 78: ...77 Backup Select files or folders to be backed up...
Страница 80: ...79 C Monitor Select folder s or file s to be monitored and then click Monitor...
Страница 81: ...80 Restore A Select Restore to original position or click to specify the directory for restoring...
Страница 83: ...82 Event A Click Option to select type of logs to be recorded B To clear all logs click Clear All...


