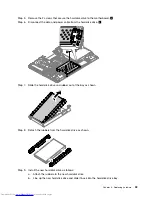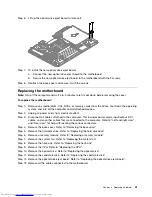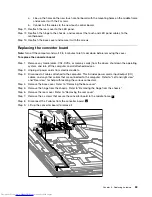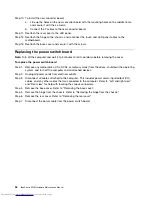
Step 6.
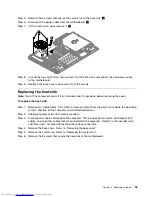
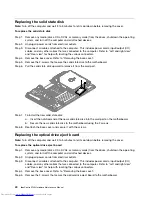
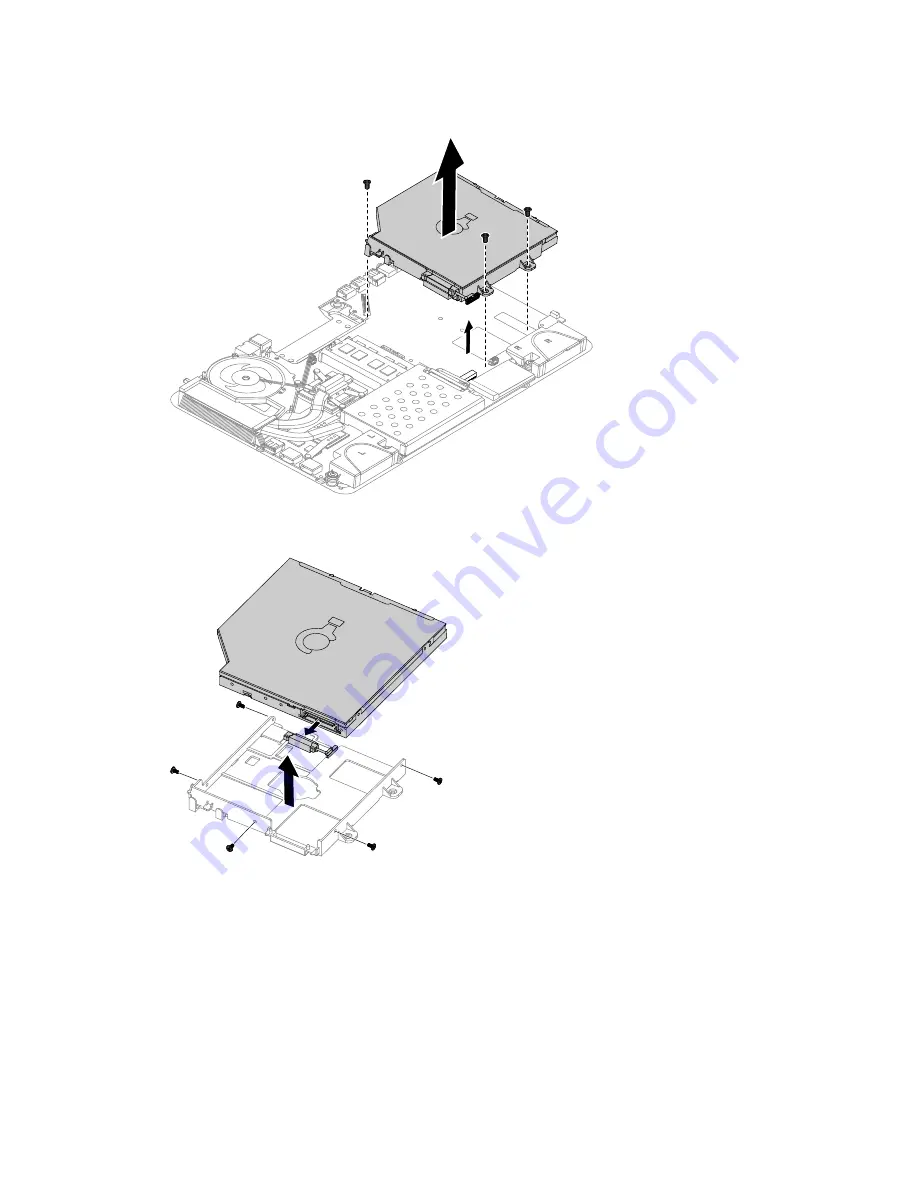
Remove the 3 screws that secure the optical drive to the motherboard and lift it up to remove it.
Step 7.
Remove the 5 screws that secure the optical drive to the bracket and disconnect the data cable
from the optical drive.
Step 8.
Install the new optical drive as follows:
a.
Connect the data cable to the new optical drive.
b.
Align the new optical drive with the bracket, push it into position and secure it with the 5 screws.
c.
Line up the optical drive bracket holes with the mounting holes in the motherboard and secure
it with the 3 screws.
d.
Connect the data cable to the motherboard.
Step 9.
Reattach the base cover and secure it with the screws.
Chapter 8
.
Replacing hardware
39
Содержание IdeaCentre A730
Страница 1: ...IdeaCentre A730 Hardware Maintenance Manual ideaideaideaCentreidea Machine Types 10123 F0A0 A730 ...
Страница 2: ......
Страница 3: ...IdeaCentre A730 Hardware Maintenance Manual Machine Types 10123 F0A0 A730 ...
Страница 6: ...iv IdeaCentre A730Hardware Maintenance Manual ...
Страница 8: ...2 IdeaCentre A730Hardware Maintenance Manual ...
Страница 16: ...10 IdeaCentre A730Hardware Maintenance Manual ...
Страница 18: ...12 IdeaCentre A730Hardware Maintenance Manual ...
Страница 24: ...18 IdeaCentre A730Hardware Maintenance Manual ...
Страница 34: ...28 IdeaCentre A730Hardware Maintenance Manual ...


