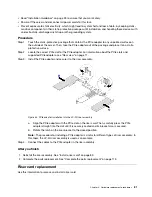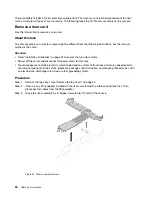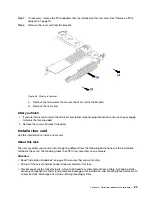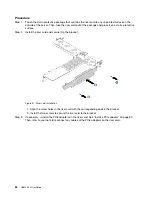
• Read “Installation Guidelines” on page 25 to ensure that you work safely.
• Prevent exposure to static electricity, which might lead to system halt and loss of data, by keeping static-
sensitive components in their static-protective packages until installation, and handling these devices with
an electrostatic-discharge wrist strap or other grounding system.
Procedure
Step 1. Touch the static-protective package that contains the hot-swap power supply to any unpainted
surface on the outside of the server. Then, take the hot-swap power supply out of the package and
place it on a static-protective surface.
Step 2. If there is a power-supply filler installed, remove it.
Figure 49. Hot-swap power supply filler removal
Step 3. Slide the new hot-swap power supply into the bay until it snaps into position.
Figure 50. Hot-swap power supply installation
Step 4. Connect the power supply unit.
76
HR650X V2 User Guide
Содержание HR650X V2
Страница 1: ...HR650X V2 User Guide Machine Types 7D4D ...
Страница 8: ......
Страница 14: ...6 HR650X V2 User Guide ...
Страница 30: ...22 HR650X V2 User Guide ...
Страница 122: ...114 HR650X V2 User Guide ...
Страница 152: ...144 HR650X V2 User Guide ...
Страница 176: ...168 HR650X V2 User Guide ...
Страница 182: ...174 HR650X V2 User Guide ...
Страница 186: ...178 HR650X V2 User Guide ...
Страница 190: ...182 HR650X V2 User Guide ...
Страница 191: ......
Страница 192: ......


