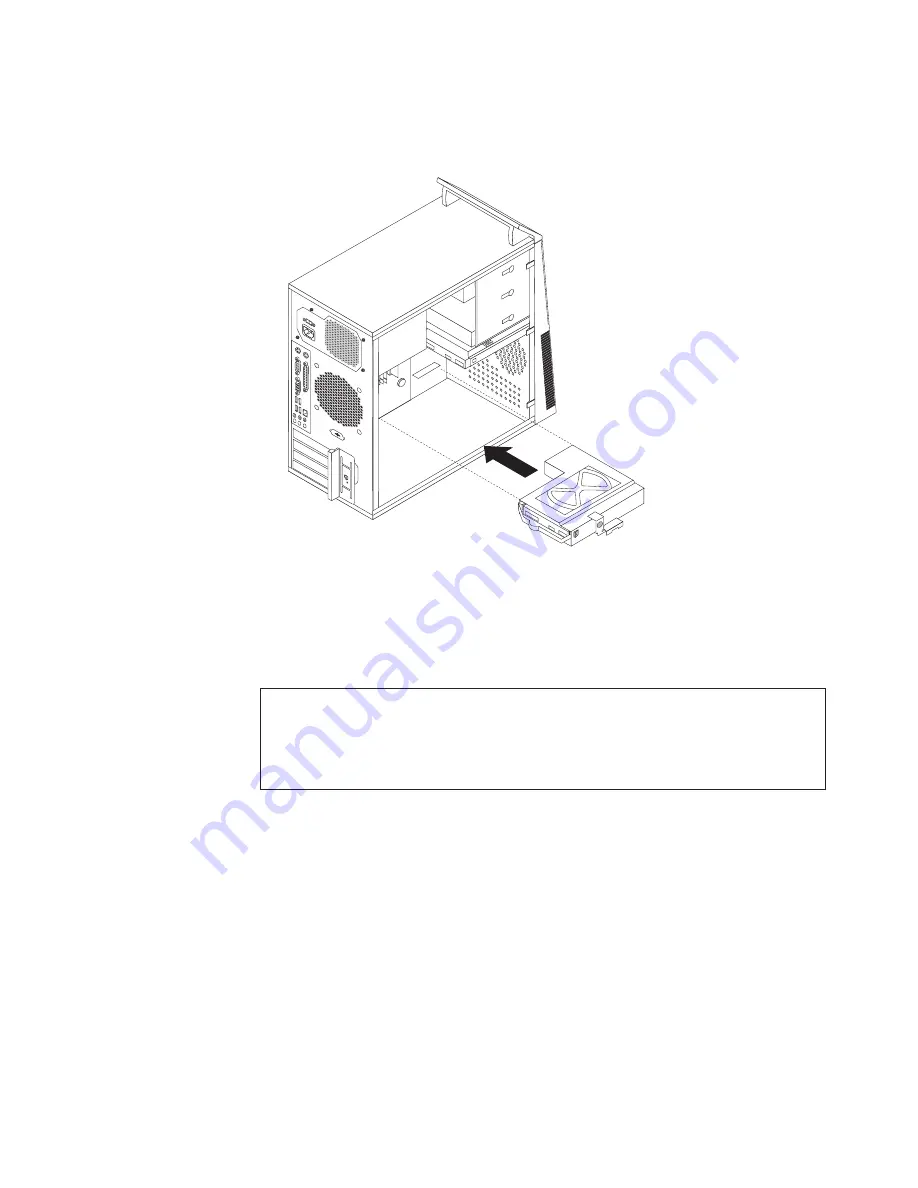
10.
Install the hard disk drive cage into the chassis until it snaps into position
underneath the metal tab. Make sure that the hard disk drive cage is secured
in the chassis.
11.
Connect the signal and power cables to the rear of the new hard disk drive.
12.
Go to “Completing the parts replacement” on page 46.
Replacing the optical drive
Attention
Do not open your computer or attempt any repair before reading and understanding the
“Important safety information” in the
ThinkCentre Safety and Warranty Guide
that came with
your computer. To obtain a copy of the
ThinkCentre Safety and Warranty Guide
, go to:
http://www.lenovo.com/support
This section provides instructions on how to replace the optical drive.
To replace the optical drive:
1.
Remove the computer cover. See “Removing the computer cover” on page 14.
2.
Remove the front bezel. See “Removing and reinstalling the front bezel” on
page 16.
3.
Disconnect the signal cable and the power cable from the rear of the optical
drive.
Figure 24. Installing the secondary hard disk drive and drive cage
Chapter 2. Installing options and replacing hardware
37
Содержание 7515-J9U - ThinkCentre A58 Desktop PC
Страница 1: ...Machine Types 7515 7523 7569 and 7611 ThinkCentre User Guide ...
Страница 2: ......
Страница 3: ...ThinkCentre User Guide ...
Страница 8: ...vi User Guide ...
Страница 20: ...12 User Guide ...
Страница 74: ...66 User Guide ...
Страница 90: ...82 User Guide ...
Страница 91: ......
Страница 92: ...Part Number 53Y6259 Printed in USA 1P P N 53Y6259 ...


