


Page 18
2018-08-07
LABvault-HD
Administrative Web Interface
Left Column
“MPEG Recorder” Controls
¾
“AES”: corresponds to the AES terminals on the LABvault-HD’s audio input terminal block
¾
“Embedded 1-2”, “Embedded 3-4,” “Embedded 5-6,” and “Embedded 7-8”: if your audio is embedded within the
incoming video signal, select the embedded audio channel pair that you want to record
• “
Closed Captions
”: Select the “Enable Closed Captions” option to capture any closed caption data from the source.
Closed captions are hidden in the video signal and decoded for display on televisions with built-in decoders or
televisions connected to external decoders.
• “
PEGcasting
”: if you want your LABvault-HD files transferred to your E-HD2 server 15 seconds after the files
begin recording, select the “Enable” “PEGcasting” option. To use the PEGcasting Next to Live autoplay feature for
simulated live broadcasting, you must still complete the “PEGcasting N2L” configuration settings on the “E-HD2”
tab.
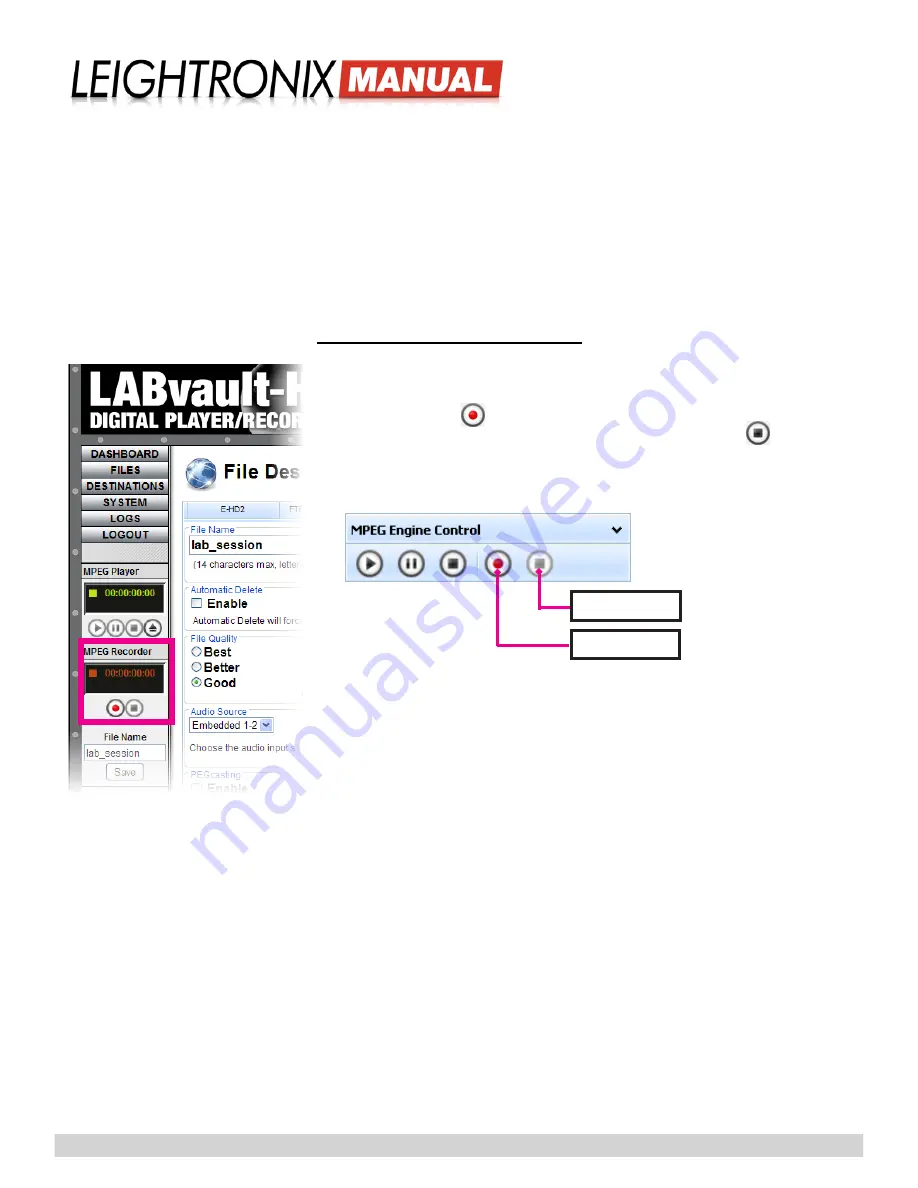
Recording from the Web Interface
Start/Stop recording from the LABvault-HD Web interface as follows:
1. From the “MPEG Recorder” panel under the menu buttons or from the “MPEG
Engine Control” panel on the bottom of the “File Management” screen, click
the record button
to begin recording.
2. To end the recording session, click the stop recording button
. If a file
destination was configured and enabled in the Web interface, your recorded
file will be automatically transferred to the destination.
“MPEG Engine Control” Panel
Record Button
Stop Button


